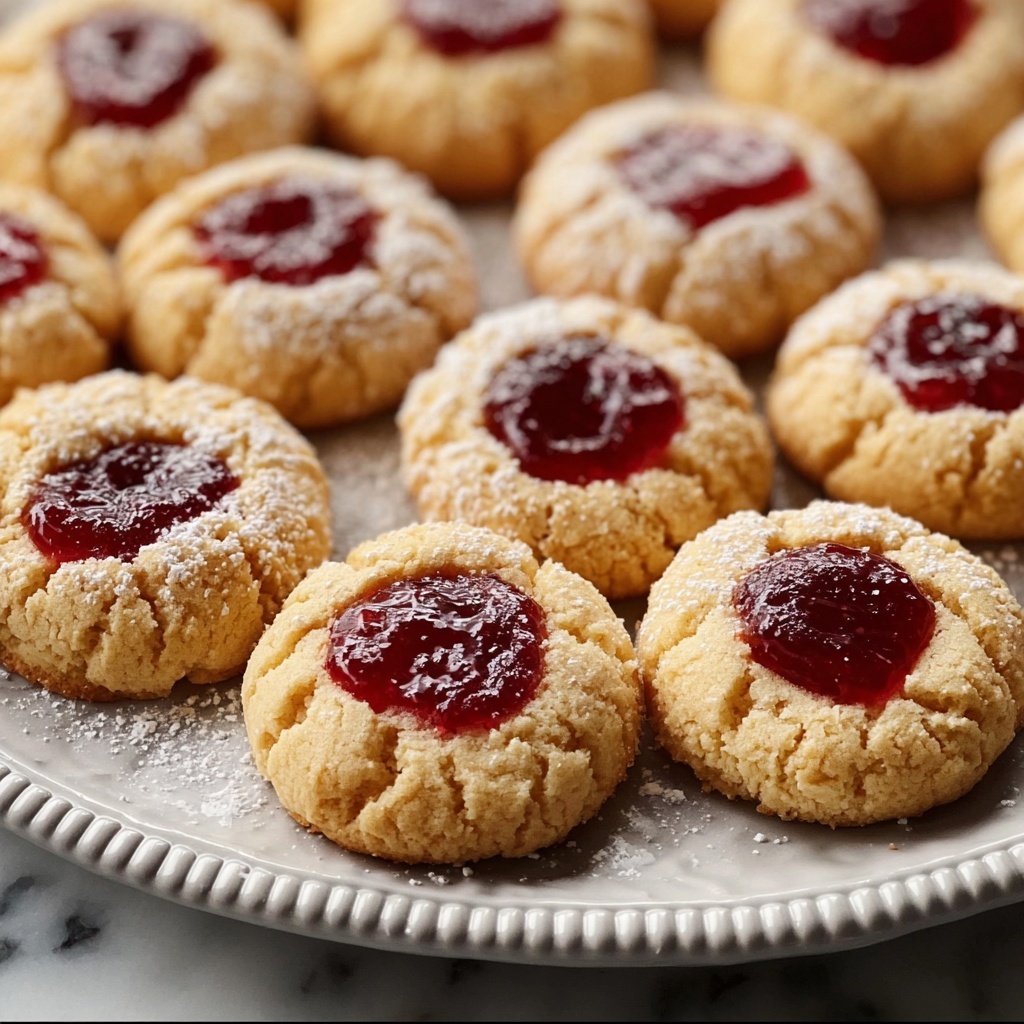
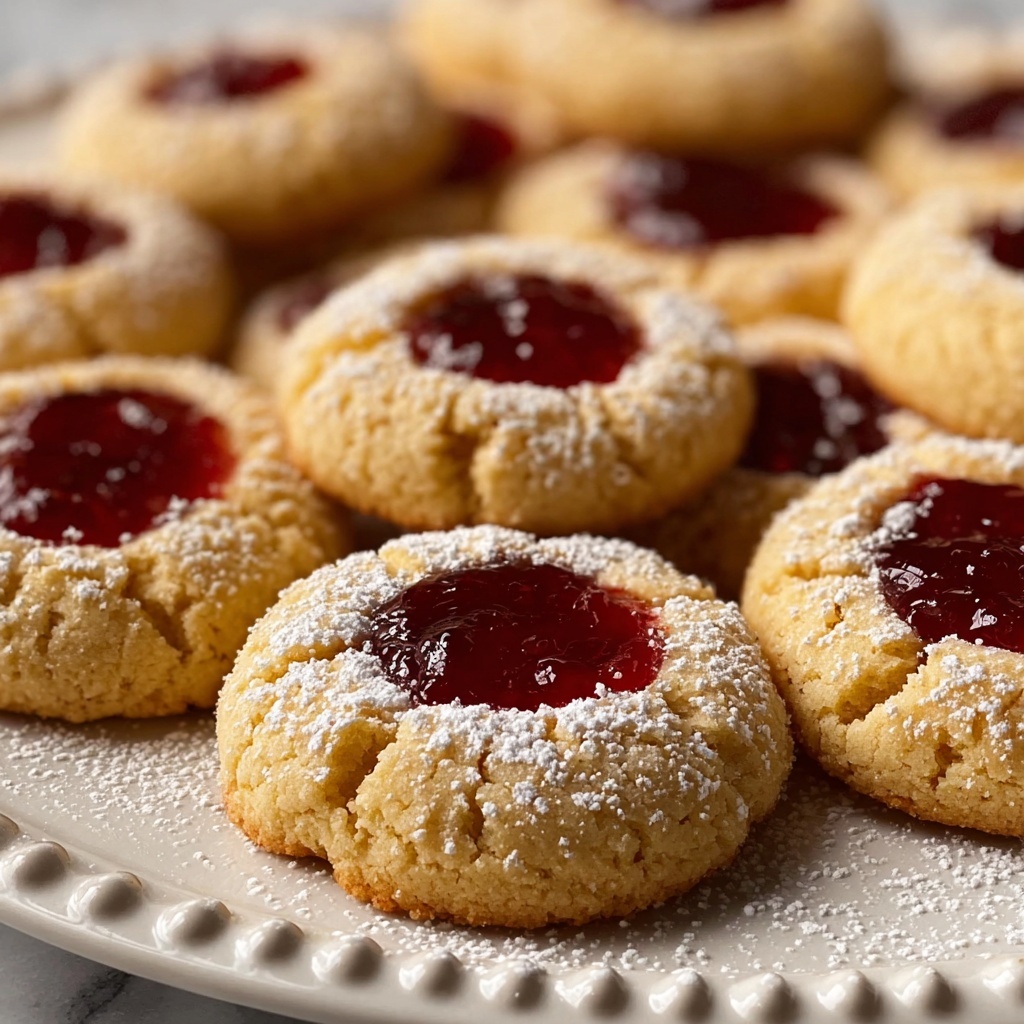
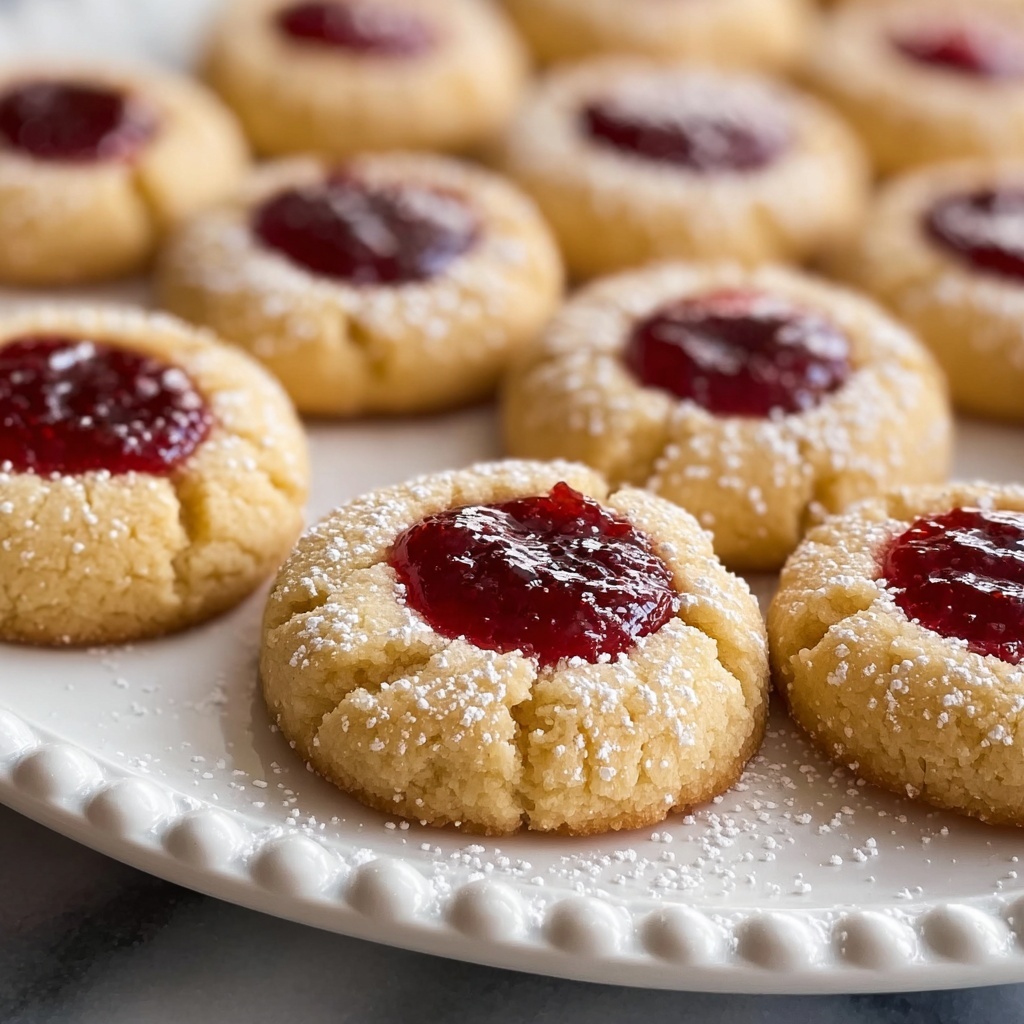
There’s something irresistibly charming about homemade thumbprint cookies, especially when they’re filled with your favorite fruit jam. The Thumbprint Cookies with Fruit Preserves Recipe is a delightful treat that brings together a buttery, tender cookie base with a burst of vibrant fruity sweetness right in the center. These cookies not only taste fantastic but also look gorgeous, inviting you to enjoy a little piece of comfort with every bite. Whether you’re baking for a holiday, a cozy afternoon snack, or a thoughtful gift, this recipe is one you’ll return to again and again.
Ingredients You’ll Need
The beauty of this recipe lies in its simplicity. Each ingredient plays a crucial role in creating that perfect balance of texture and flavor, giving you cookies that are both soft and sturdy enough to hold the luscious jam in the middle. Here’s what you’ll need to create these gems:
- 1 cup unsalted butter, room temperature: Provides a rich, creamy base and keeps the cookies tender.
- 1/2 cup granulated sugar: Adds just the right amount of sweetness and helps with the cookie’s light texture.
- 1 large egg yolk: Gives the dough structure while keeping it moist.
- 1 teaspoon vanilla extract: Brings a warm, fragrant depth of flavor to the dough.
- 2 cups all-purpose flour: The sturdy foundation that holds everything together without being dense.
- 1/4 teaspoon salt: Balances the sweetness and enhances the other flavors.
- 1/2 cup fruit preserves or jam of choice: The star ingredient—choose your favorite flavor to make the cookies uniquely yours.
How to Make Thumbprint Cookies with Fruit Preserves Recipe
Step 1: Prepare Your Oven and Baking Sheet
Start by preheating your oven to 350°F (175°C). Line a baking sheet with parchment paper to ensure your cookies don’t stick and clean-up is a breeze. This small prep step sets you up for success and keeps the cookies looking perfect.
Step 2: Cream the Butter and Sugar
In a large bowl, use a mixer or a sturdy spoon to cream together the room temperature butter and granulated sugar. Beat until the mixture is light and fluffy, which is the secret to a delicate, melt-in-your-mouth texture. Don’t rush this step—it’s worth the time!
Step 3: Add the Egg Yolk and Vanilla
Next, mix in the egg yolk and vanilla extract until everything is beautifully combined. This adds richness and flavor complexity, making every bite feel luxurious.
Step 4: Combine the Dry Ingredients
In a separate bowl, whisk the all-purpose flour and salt together. Gradually add this dry mixture to your butter mixture, stirring just until everything comes together. Overmixing here can make the cookies tough, so gentle folding is key.
Step 5: Shape and Indent the Dough Balls
Roll the dough into 1-inch balls and place them evenly spaced on the lined baking sheet. Then, use your thumb (or the back of a small spoon) to press an indentation into the center of each ball. This little well is where the magic happens, holding all that fruity goodness.
Step 6: Fill with Fruit Preserves
Carefully fill each thumbprint indentation with about 1/2 teaspoon of your favorite fruit preserves or jam. Whether you opt for classic raspberry, apricot, or something more exotic, this step ensures a sweet, tangy burst inside every cookie.
Step 7: Bake Until Golden
Place your baking sheet in the oven and bake for 12–15 minutes. You’ll know they’re done when the cookie edges turn a lovely light golden color, signaling perfect doneness while keeping the centers soft.
Step 8: Cool and Enjoy
Let the cookies cool on the baking sheet for a few minutes before transferring them to a wire rack to cool completely. This helps the cookies set without breaking apart, so you get the perfect bite every time.
How to Serve Thumbprint Cookies with Fruit Preserves Recipe
Garnishes
Consider dusting your cookies lightly with powdered sugar right before serving for a touch of elegance and sweetness. Fresh mint leaves or a thin slice of fruit corresponding to your jam choice can add a beautiful and fresh garnish that amps up the visual appeal.
Side Dishes
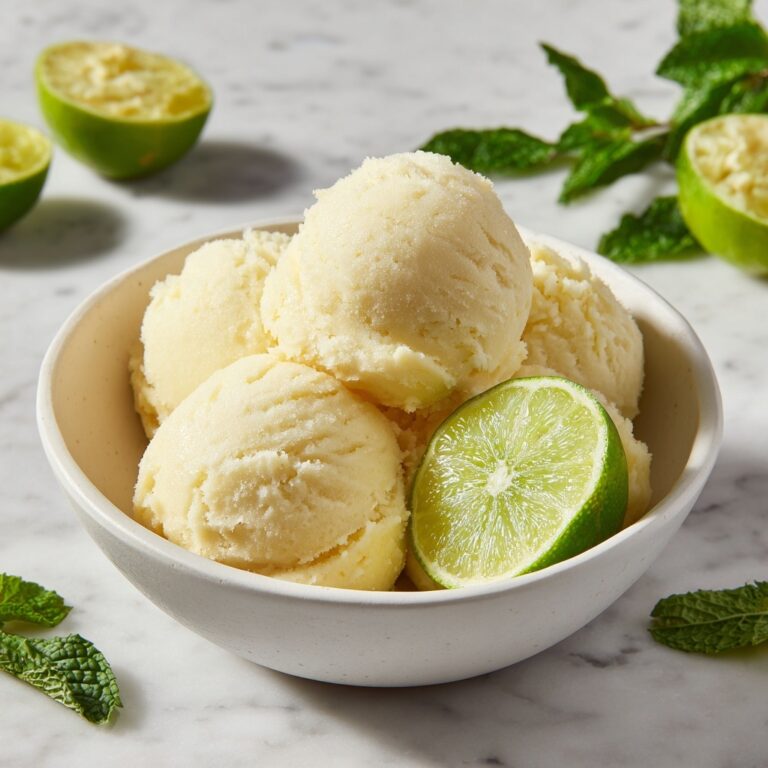
These cookies pair wonderfully with a hot cup of tea or coffee. For a festive touch, you could serve them alongside creamy vanilla ice cream or a scoop of lemon sorbet—the tartness cuts through the sweetness, creating a divine flavor combo.
Creative Ways to Present
Arrange the thumbprint cookies on a tiered dessert tray at parties for a stunning display. Alternatively, package them in a pretty box tied with a ribbon for gift-giving. You can even sandwich two cookies together with more preserves or chocolate spread for a fun twist.
Make Ahead and Storage
Storing Leftovers
Once cooled completely, keep your cookies in an airtight container at room temperature. They’ll stay fresh and soft for up to a week, making them perfect for prepping ahead of time for gatherings or casual snacking.
Freezing
You can freeze baked thumbprint cookies by placing them in a single layer on a baking sheet to freeze until firm, then transferring them to a freezer-safe container or bag. When wrapped well, these delightful treats will keep beautifully for up to two months.
Reheating
If you want to enjoy your cookies warm, briefly microwave them for 10-15 seconds or heat them in a low oven (around 300°F) for a few minutes. This brings out the buttery flavor and re-softens the centers, making them taste freshly baked.
FAQs
Can I use different types of jam or preserves in this Thumbprint Cookies with Fruit Preserves Recipe?
Absolutely! The fun of this recipe is its versatility. Feel free to experiment with strawberry, blackberry, fig, or even exotic flavors like mango or passionfruit to create your own unique twist.
Is it okay to use salted butter instead of unsalted?
While unsalted butter is recommended to control the salt level precisely, you can use salted butter if that’s what you have. Just reduce or omit the additional salt in the recipe to keep the balance right.
How do I prevent the indentations from disappearing during baking?
Press the thumbprints firmly but gently before baking, and fill them with jam just before putting them in the oven to retain shape. Also, avoid over-rolling or flattening the dough balls so they hold their structure well.
Can I substitute the all-purpose flour with gluten-free flour?
You can experiment with gluten-free flour blends, but results may vary. Look for blends designed for baking and be aware that the texture might be a little different, though still delicious.
What’s the best way to make the cookies more colorful and festive?
Use brightly colored jams and add a dusting of powdered sugar or edible glitter. You can also mix in finely chopped nuts or colored sprinkles around the edges of the jam before baking for that extra festive pop.
Final Thoughts
I sincerely hope you give this Thumbprint Cookies with Fruit Preserves Recipe a try soon. These cookies strike the perfect balance of buttery softness and fruity zing, making them your new go-to for sharing love and sweetness with friends and family. Once you’ve tasted one fresh from the oven, you’ll understand why this simple recipe holds such a special place in so many hearts.
Print
Thumbprint Cookies with Fruit Preserves Recipe
- Prep Time: 15 minutes
- Cook Time: 15 minutes
- Total Time: 30 minutes
- Yield: 24 servings
- Category: Dessert
- Method: Baking
- Cuisine: American
- Diet: Vegetarian
Description
These classic Thumbprint Cookies are buttery, tender, and filled with your favorite fruit preserves, making them a delightful treat for any occasion. Easy to prepare and perfect for sharing, these cookies offer a sweet and tangy burst with every bite.
Ingredients
Cookie Dough
- 1 cup unsalted butter, room temperature
- 1/2 cup granulated sugar
- 1 large egg yolk
- 1 teaspoon vanilla extract
- 2 cups all-purpose flour
- 1/4 teaspoon salt
Filling
- 1/2 cup fruit preserves or jam of choice
Instructions
- Preheat Oven: Preheat your oven to 350°F (175°C) and line a baking sheet with parchment paper to prevent sticking and ensure even baking.
- Cream Butter and Sugar: In a large bowl, cream together the unsalted butter and granulated sugar using a mixer or wooden spoon until the mixture becomes light, fluffy, and pale in color.
- Add Egg Yolk and Vanilla: Mix in the egg yolk and vanilla extract thoroughly to combine, which helps bind the dough and adds flavor.
- Combine Dry Ingredients: In a separate bowl, whisk together the all-purpose flour and salt to distribute the salt evenly before adding to the wet ingredients.
- Mix Dough: Gradually add the flour mixture to the butter mixture, stirring gently just until all ingredients are combined to avoid tough cookies.
- Shape and Indent: Roll the dough into 1-inch balls and arrange them spaced apart on the prepared baking sheet. Use your thumb or the back of a spoon to make an indentation in the center of each ball carefully without breaking the dough.
- Fill with Jam: Spoon about 1/2 teaspoon of your chosen fruit preserves or jam into each indentation, filling but not overflowing.
- Bake: Bake the cookies in the preheated oven for 12-15 minutes or until the edges are lightly golden and the jam is set.
- Cool: Let the cookies cool on the baking sheet for a few minutes, then transfer them to a wire rack to cool completely to maintain their texture.
Notes
- For best results, use room temperature butter to ensure easy creaming with sugar.
- You can substitute fruit preserves with nut butters or chocolate chips for variety.
- Store cookies in an airtight container at room temperature for up to one week.
- To prevent the jam from spreading too much, chill the dough balls for 30 minutes before baking.
- These cookies can be frozen after baking; thaw at room temperature before serving.


