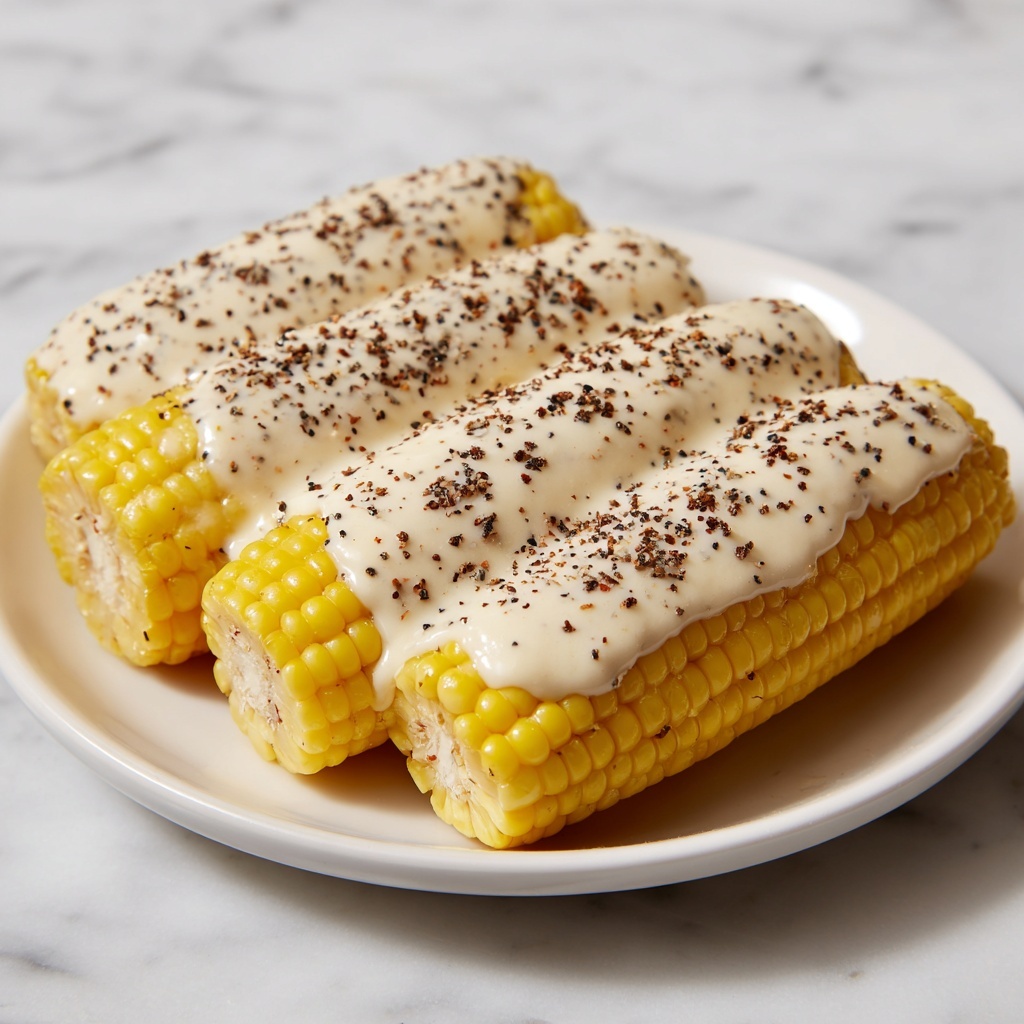
If you’re on the hunt for a snack or side that instantly elevates any summer meal, look no further than Garlic Parmesan Corn on the Cob: A Must-Try Summer Delight Recipe. This dish transforms humble fresh corn into a luscious, flavorful experience that combines the comforting richness of melted butter and garlic with the sharp, nutty tang of Parmesan cheese. Whether you’re hosting a backyard barbecue or craving a satisfying weeknight treat, this recipe promises a crowd-pleasing burst of color, texture, and irresistible taste that will have everyone reaching for seconds.
Ingredients You’ll Need
The magic of this recipe lies in its perfectly balanced blend of simple ingredients. Each one plays a crucial role in building layers of flavor and texture — from the sweetness of the corn to the savory hit of garlic and Parmesan. Here’s what you’ll need to make this summer favorite come to life:
- 4 cobs Fresh Corn: Choose the freshest ears you can find to ensure crisp, natural sweetness.
- 1/2 cup Unsalted Butter: Melts beautifully to coat the corn, carrying all the spices evenly.
- 4 cloves Garlic (minced): Adds a fragrant punch that complements the creamy cheese perfectly.
- 1 teaspoon Salt (to taste): Enhances every ingredient’s natural flavor without overpowering.
- 1/2 teaspoon Black Pepper (to taste): Provides a gentle heat that balances the richness.
- 1 teaspoon Italian Seasoning: Brings a herbaceous aroma that ties everything together.
- 1/4 teaspoon Red Pepper Flakes (optional): For those who enjoy a subtle kick, it adds a nice contrast to the creamy elements.
- 1 cup Parmesan Cheese (freshly grated): The star ingredient for that perfect cheesy crust and depth of flavor.
- 1/4 cup Chopped Fresh Parsley (for garnish): Adds a fresh, vibrant touch and color that brightens the dish.
How to Make Garlic Parmesan Corn on the Cob: A Must-Try Summer Delight Recipe
Step 1: Preheat and Prepare
Start by heating your oven to 375°F (190°C). This temperature is just right to melt the butter and cheese without drying out the corn, ensuring a tender and juicy result. While the oven warms up, arrange your fresh corn cobs neatly in a large baking dish or aluminum tray, so they’re ready for that buttery coating.
Step 2: Mix the Garlic Butter Sauce
In a bowl, combine the melted unsalted butter with minced garlic, salt, black pepper, Italian seasoning, and optional red pepper flakes. Stir these together thoroughly so every flavorful ingredient is perfectly blended, resulting in a rich sauce that will soak into the corn’s kernels.
Step 3: Coat the Corn
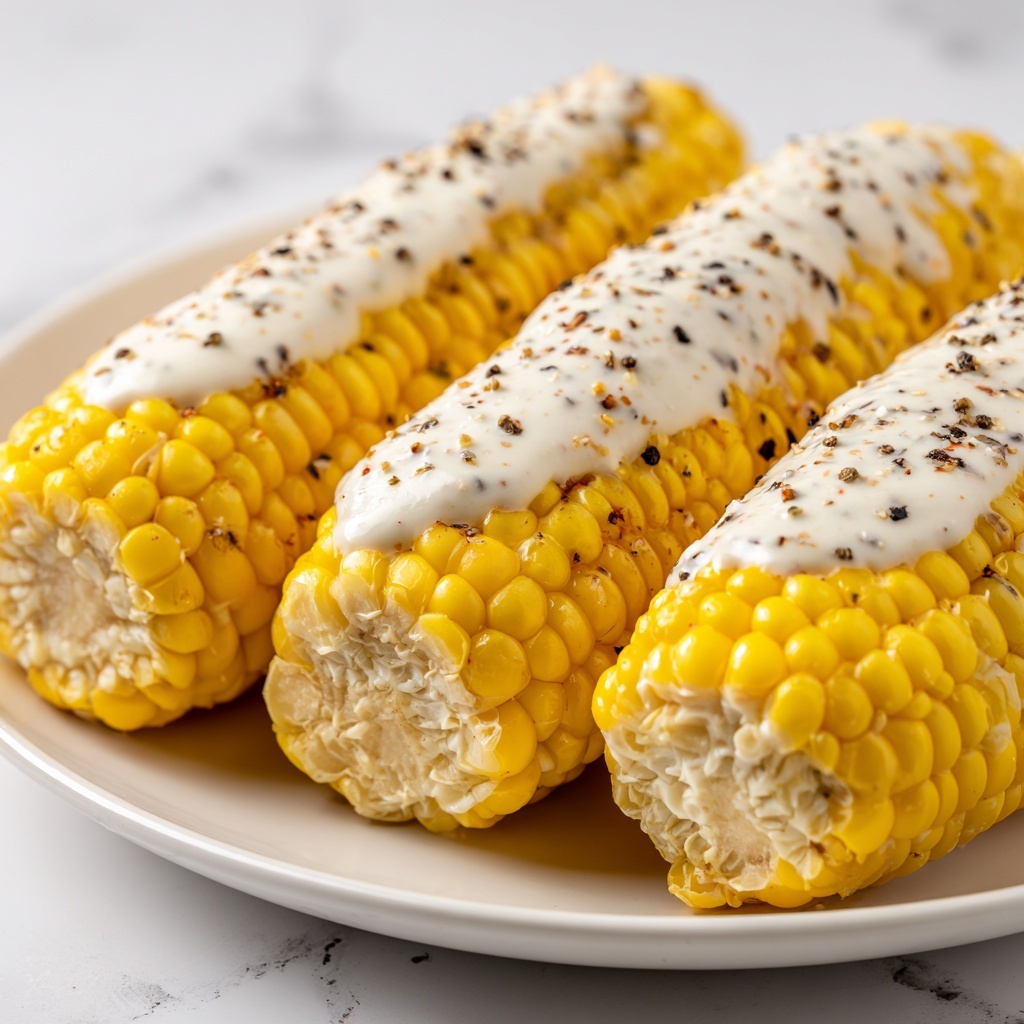
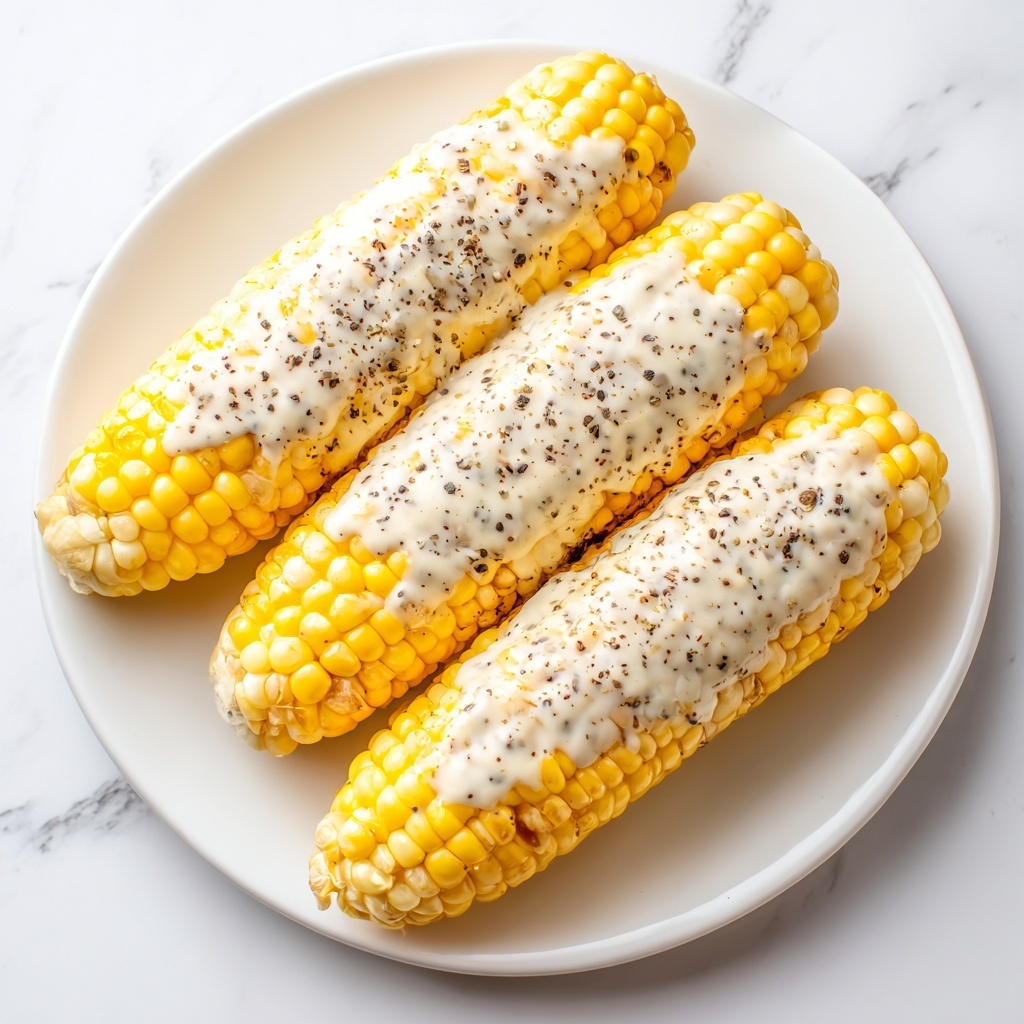
Pour your freshly mixed garlic butter over the corn, taking care to coat every cob generously. The butter mixture is what infuses the corn with its inviting aroma while ensuring the Parmesan sticks wonderfully to each piece.
Step 4: Add the Parmesan Layer
Sprinkle a luscious layer of freshly grated Parmesan cheese evenly across the butter-coated corn. This beautiful dusting will melt and crisp up to create a golden, bubbling topping that’s simply irresistible.
Step 5: Bake and Finish
Cover the baking dish tightly with foil to trap the moisture, then bake for 20 minutes. This steams the corn to tender perfection. Afterward, remove the foil and bake for an additional 5 to 10 minutes. This step allows the Parmesan to brown and bubble delightfully, adding a pleasant texture and flavor dimension. Finally, sprinkle chopped fresh parsley on top for a fresh and colorful finish.
How to Serve Garlic Parmesan Corn on the Cob: A Must-Try Summer Delight Recipe
Garnishes
Fresh parsley isn’t just for presentation; its herbaceous brightness cuts through the richness and adds a pop of green to your plate. For extra flair, you might also try a light drizzle of lemon juice or a sprinkle of smoked paprika to enhance the depth of flavors even further.
Side Dishes
This Garlic Parmesan Corn on the Cob: A Must-Try Summer Delight Recipe pairs beautifully with everything from grilled meats to fresh salads. Think juicy burgers, barbecued chicken, or a crisp garden salad to balance the indulgence with wholesome freshness.
Creative Ways to Present
Hosting a summer party? Serve the corn standing upright in a rustic wooden basket or on a colorful platter to show off that gorgeous golden cheese crust. For a fun twist, try cutting the corn off the cob after baking and tossing the kernels with extra Parmesan and herbs to create a flavorful corn salad.
Make Ahead and Storage
Storing Leftovers
Leftover Garlic Parmesan Corn on the Cob: A Must-Try Summer Delight Recipe refrigerates well when stored in an airtight container. Keep it fresh for up to 2 days, making it a perfect make-ahead side for quick meals.
Freezing
Freezing is not ideal for this recipe as the texture of cooked corn tends to become watery and lose its tenderness after freezing and thawing. It’s best enjoyed fresh for maximum flavor and texture.
Reheating
To reheat, place your corn on a baking sheet and warm it in the oven at 350°F (175°C) for about 10 minutes. This gently revives the cheesy topping and retains the rich garlic butter flavor without drying the corn out.
FAQs
Can I use frozen corn for this recipe?
Fresh corn is definitely preferred here because it offers a sweeter, juicier bite that pairs beautifully with garlic and Parmesan. However, you can use frozen corn—just be sure to thaw it completely and pat it dry before applying the butter and cheese mix to avoid sogginess.
Is there a dairy-free version of this recipe?
Absolutely! Swap out the unsalted butter for a plant-based alternative and use nutritional yeast instead of Parmesan for that cheesy flavor. The garlic and herbs will still make it incredibly tasty.
Can I grill the corn instead of baking?
Yes! Grilling the corn first adds a smoky depth that complements the Parmesan and garlic buttery coating. After grilling, brush the corn with the garlic butter and sprinkle the cheese on top just before serving.
How spicy is this recipe with red pepper flakes?
The optional 1/4 teaspoon of red pepper flakes provides just a mild background heat that balances the richness without overwhelming anyone. You can always omit or adjust the amount to suit your spice preference.
What’s the best way to grate Parmesan cheese?
For this recipe, freshly grated Parmesan works best because it melts nicely and has a vibrant flavor. Using a microplane grater or the fine side of a box grater ensures the cheese disperses evenly over the corn.
Final Thoughts
Once you try this Garlic Parmesan Corn on the Cob: A Must-Try Summer Delight Recipe, it’s destined to become a summer staple you’ll reach for again and again. It’s easy to make, packed with irresistible flavors, and perfect for sharing with friends and family. So go ahead, bring this dish to your table—and enjoy every buttery, cheesy, garlicky bite!
Print
Garlic Parmesan Corn on the Cob: A Must-Try Summer Delight Recipe
- Prep Time: 10 minutes
- Cook Time: 30 minutes
- Total Time: 40 minutes
- Yield: 4 servings
- Category: Side Dish
- Method: Baking
- Cuisine: American
- Diet: Vegetarian
Description
Garlic Parmesan Corn on the Cob is a flavorful and irresistible summer side dish that combines fresh corn with a rich garlic butter sauce, Italian seasoning, and freshly grated Parmesan cheese. Baked to perfection until golden and bubbling, it’s garnished with fresh parsley to add a pop of color and freshness. This recipe is perfect for family dinners or backyard barbecues and offers a delicious twist on classic corn on the cob.
Ingredients
Corn on the Cob
- 4 cobs Fresh Corn
Garlic Parmesan Butter Sauce
- 1/2 cup Unsalted Butter (melted)
- 4 cloves Garlic (minced)
- 1 teaspoon Salt (to taste)
- 1/2 teaspoon Black Pepper (to taste)
- 1 teaspoon Italian Seasoning
- 1/4 teaspoon Red Pepper Flakes (optional)
Toppings & Garnish
- 1 cup Parmesan Cheese (freshly grated)
- 1/4 cup Chopped Fresh Parsley (for garnish)
Instructions
- Preheat the Oven: Set your oven to 375°F (190°C) to prepare for baking the corn.
- Prepare the Corn: Arrange the fresh corn cobs evenly in a large baking dish or aluminum tray, making sure they’re spaced so the butter mixture can coat them fully.
- Make Garlic Butter Mixture: In a bowl, combine the melted unsalted butter with minced garlic, salt, black pepper, Italian seasoning, and red pepper flakes if using. Stir thoroughly to blend all flavors.
- Coat the Corn: Pour the garlic butter mixture evenly over the corn cobs, ensuring each piece is generously coated with the flavorful sauce.
- Add Parmesan Cheese: Sprinkle a generous and even layer of freshly grated Parmesan cheese over the coated corn to add a rich, savory crust.
- Bake Covered: Cover the baking dish with aluminum foil to lock in moisture and bake for 20 minutes in the preheated oven.
- Bake Uncovered: Remove the foil and continue baking for an additional 5 to 10 minutes until the Parmesan cheese is golden brown and bubbly.
- Garnish and Serve: Remove from oven, garnish with chopped fresh parsley for freshness and color, and serve warm for the best taste.
Notes
- For spicier corn, increase the amount of red pepper flakes or add a dash of cayenne pepper to the garlic butter mixture.
- Use freshly grated Parmesan cheese for the best flavor and melting quality.
- You can prepare the garlic butter mixture ahead of time and store it in the refrigerator for up to 2 days.
- Be sure to cover the corn while baking to keep it moist and tender.
- If you prefer a smokier flavor, try grilling the corn instead of baking and then finishing with the Parmesan cheese topping under a broiler.
