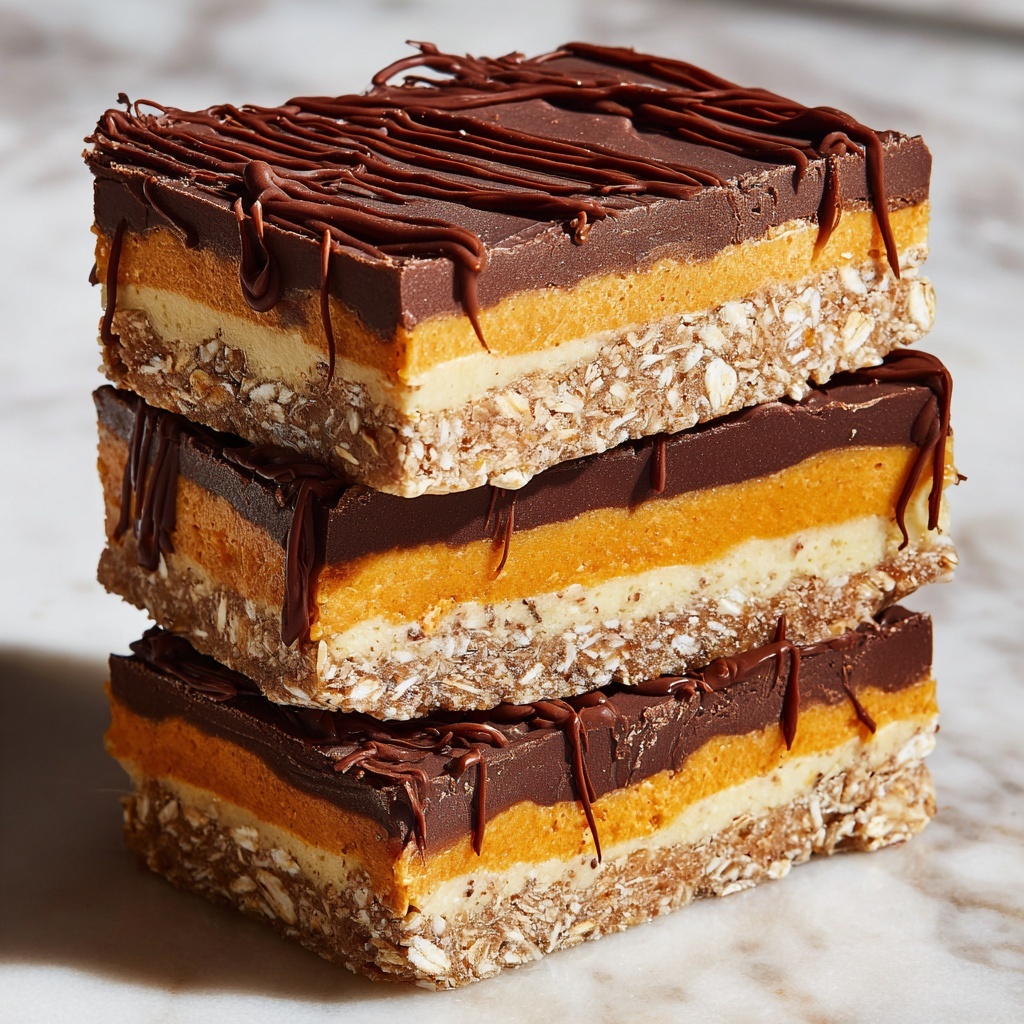
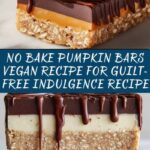
If you’re craving a treat that’s both indulgent and nourishing, you absolutely have to try this No Bake Pumpkin Bars Vegan Recipe for Guilt-Free Indulgence Recipe. These bars are the perfect blend of creamy pumpkin, cozy spices, and naturally sweet flavors all wrapped up in a wholesome, no-bake package. They’re incredibly easy to whip up, vegan-friendly, and pack a flavorful punch that makes healthy snacking irresistibly delightful.
Ingredients You’ll Need
Ingredients You’ll Need
Each ingredient in this recipe plays a crucial role in delivering the perfect balance of taste, texture, and color. From the wholesome oats to the luscious pumpkin puree, these simple staples come together to create magic in every bite.
- Rolled oats: Provides a chewy texture and adds fiber for a satisfying bite.
- Almond flour: Adds nuttiness and structure while keeping the bars gluten-free.
- Canned pumpkin puree: The star ingredient that infuses moistness and that classic pumpkin flavor.
- Maple syrup: A natural sweetener that balances the spices without overpowering the pumpkin.
- Coconut oil, melted: Adds richness and helps bind everything together with a subtle tropical hint.
- Vanilla extract: Elevates the flavor profile with warm, sweet undertones.
- Pumpkin spice: A cozy blend of cinnamon, nutmeg, ginger, and cloves that makes these bars unmistakably autumnal.
- Salt: Enhances all the other flavors and balances the sweetness perfectly.
How to Make No Bake Pumpkin Bars Vegan Recipe for Guilt-Free Indulgence Recipe
Step 1: Combine the dry ingredients
Grab a large mixing bowl and start by blending your rolled oats with the almond flour. This creates the hearty base that’ll give your bars a lovely texture and a hint of nutty flavor.
Step 2: Mix in the wet ingredients
Next, add in the canned pumpkin puree, maple syrup, melted coconut oil, vanilla extract, pumpkin spice, and salt. Stir everything together with enthusiasm until you have a uniform and sticky mixture that smells like all the best fall memories.
Step 3: Press into the pan
Line a baking dish with parchment paper for easy removal. Press the mixture evenly into the pan using your hands or a spatula. Firm pressure here helps the bars hold together when chilled, so don’t be shy with it!
Step 4: Refrigerate to set
Place your pan in the fridge and let these beauties chill for at least two hours. This step is key because it lets the bars firm up, so they’re sliceable and perfect for snacking.
Step 5: Slice and enjoy
Once set, lift the parchment paper out and cut into 12 squares or bars. These beauties are ready to enjoy immediately or pack for a guilt-free snack on the go.
How to Serve No Bake Pumpkin Bars Vegan Recipe for Guilt-Free Indulgence Recipe
Garnishes
Sprinkle a dash of cinnamon or a pinch of crushed pecans on top for extra texture and a beautiful finish. A drizzle of vegan caramel sauce can also make these bars a little more decadent if you’re feeling fancy.
Side Dishes
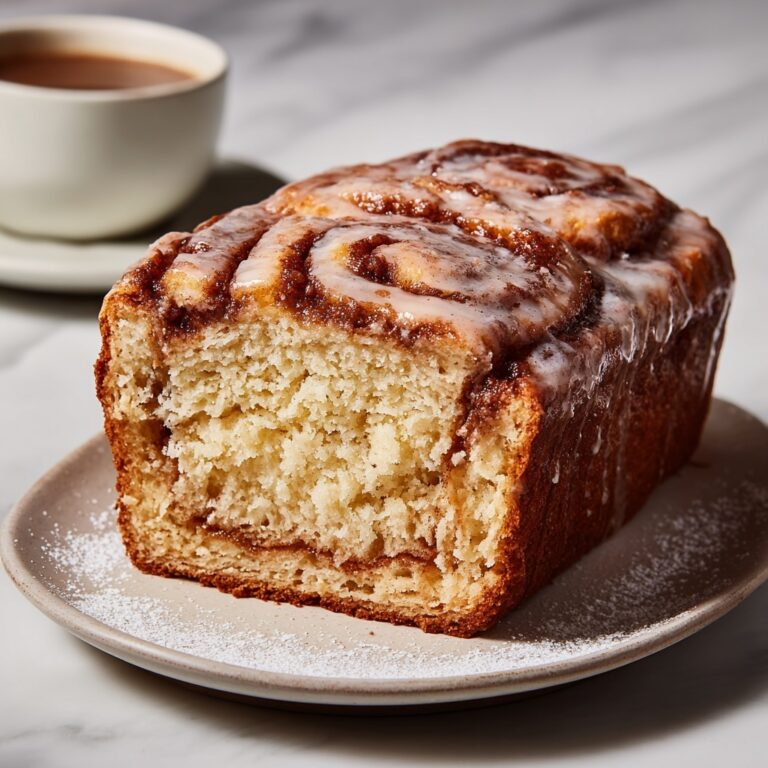
Pair your bars with a steaming cup of almond milk latte or a chai tea to complement that warm pumpkin spice flavor. They also work wonderfully alongside fresh fruit for a light and balanced snack.
Creative Ways to Present
Serve your pumpkin bars layered with a dollop of coconut whipped cream for a dessert-style treat. You can also cut them into bite-sized squares and offer them on a festive platter at your next gathering – they vanish quickly!
Make Ahead and Storage
Storing Leftovers
Keep your no bake pumpkin bars fresh by storing them in an airtight container in the refrigerator for up to a week. The fridge will maintain their firmness and keep the flavors vibrant, so they taste just like the day you made them.
Freezing
These bars freeze beautifully. Wrap individual bars or the whole batch tightly in plastic wrap and place them in a freezer-safe container. They can be stored for up to 3 months — perfect for making ahead during busy seasons.
Reheating
If you prefer a softer texture, thaw frozen bars overnight in the refrigerator and let them come to room temperature before serving. You can also warm them gently in the microwave for about 15 seconds for a cozy treat.
FAQs
Can I use fresh pumpkin instead of canned puree?
Absolutely! If you have fresh pumpkin, roast it until soft and puree it well. Just make sure to measure one cup of the cooked puree to maintain the right texture in your bars.
Are these pumpkin bars gluten-free?
Yes, as long as you use gluten-free rolled oats, this recipe is completely gluten-free and also vegan, making it great for many dietary needs.
Can I substitute maple syrup with another sweetener?
While maple syrup gives a signature flavor, you can substitute it with agave nectar or coconut nectar for a similar consistency and sweetness. Just avoid runnier sweeteners to keep the bar’s texture intact.
How long do these bars stay fresh at room temperature?
Since these bars contain pumpkin and no preservatives, it’s best to keep them refrigerated. At room temperature, they may become too soft and won’t keep more than a day.
Can I add mix-ins like nuts or dried fruit?
Definitely! Feel free to toss in chopped walnuts, pecans, or dried cranberries to elevate the texture and taste of your No Bake Pumpkin Bars Vegan Recipe for Guilt-Free Indulgence Recipe.
Final Thoughts
Making these No Bake Pumpkin Bars Vegan Recipe for Guilt-Free Indulgence Recipe has been an absolute joy and one of my favorite ways to enjoy pumpkin season without any fuss or guilt. They’re simple, wholesome, and endlessly versatile, perfect for satisfying that sweet tooth while sticking to your values. Give this recipe a try and discover how delicious healthy indulgence can be!
Print
No Bake Pumpkin Bars Vegan Recipe for Guilt-Free Indulgence Recipe
- Prep Time: 15 minutes
- Cook Time: 0 minutes
- Total Time: 2 hours 15 minutes
- Yield: 12 servings
- Category: Desserts
- Method: No-Cook
- Cuisine: American
- Diet: Vegan
Description
These No Bake Pumpkin Bars are a delicious and guilt-free vegan treat, perfect for fall indulgence without the hassle of baking. Packed with wholesome ingredients like rolled oats, almond flour, and pumpkin puree, these bars are naturally sweetened with maple syrup and flavored with warm pumpkin spice. Easy to make and perfect for a healthy snack or dessert, they require minimal prep and refrigeration to set.
Ingredients
Dry Ingredients
- 1 cup of rolled oats
- 1 cup of almond flour
- 1 teaspoon of pumpkin spice
- 1/2 teaspoon of salt
Wet Ingredients
- 1 cup of canned pumpkin puree
- 1/2 cup of maple syrup
- 1/4 cup of coconut oil, melted
- 1 teaspoon of vanilla extract
Instructions
- Mix Dry Ingredients: In a large bowl, combine the rolled oats, almond flour, pumpkin spice, and salt to create an even base mixture.
- Add Wet Ingredients: Pour in the canned pumpkin puree, maple syrup, melted coconut oil, and vanilla extract to the dry mixture.
- Combine Thoroughly: Stir all the ingredients together until the mixture is fully incorporated and uniform in texture.
- Press Into Dish: Transfer the mixture into a lined baking dish, pressing it down firmly to create an even layer.
- Refrigerate To Set: Place the dish in the refrigerator and chill for at least 2 hours, allowing the bars to firm up properly.
- Slice And Serve: Once set, cut the mixture into bars and serve as a healthy snack or dessert.
Notes
- Use a lined baking dish to easily remove the bars once set.
- For a nut-free version, substitute almond flour with oat flour or ground sunflower seeds.
- You can customize the spice level by adjusting the pumpkin spice quantity to taste.
- Store bars in an airtight container in the refrigerator for up to 5 days.
- These bars can be frozen for up to 1 month; thaw in the fridge before serving.