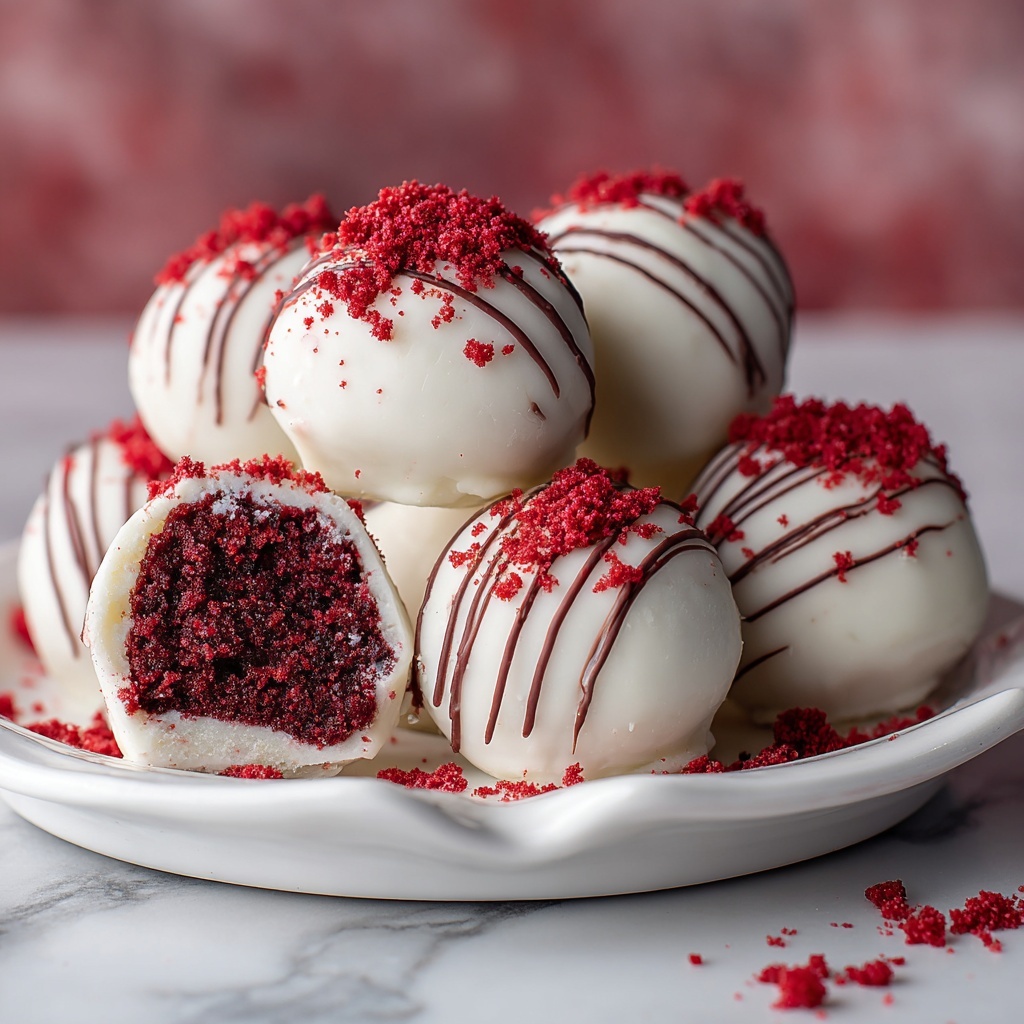
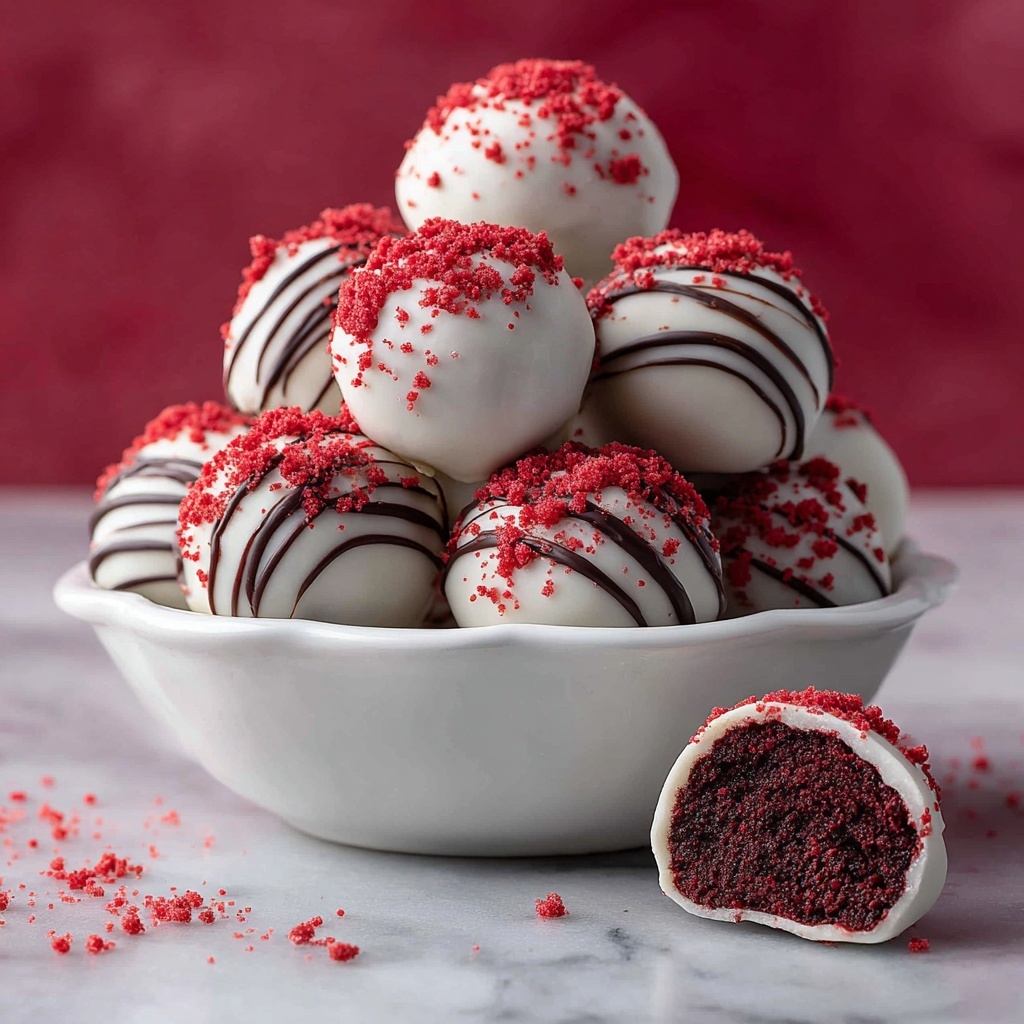
If you adore everything red velvet and love bite-sized treats that combine rich flavor with creamy texture, then this Red Velvet Cake Balls Recipe is going to be your new favorite indulgence. These little gems pack all the signature elements of classic red velvet cake—velvety crumb, subtle cocoa, and that perfect cream cheese zing—into a fun, poppable form. Coated in silky white chocolate and finished with sprinkles, they are the ideal sweet for parties, gifts, or when you just need a decadent pick-me-up that melts in your mouth.
Ingredients You’ll Need
These ingredients are straightforward, yet each plays an essential role in creating the perfect balance of flavor, texture, and that iconic red hue. This recipe keeps things simple, making it accessible for every home baker.
- 1 box (15 oz) red velvet cake mix: The foundation of your cake balls, providing rich flavor and vibrant red color effortlessly.
- ½ cup vegetable oil: Adds moisture and keeps the cake tender and soft when baked.
- 1 cup water: Hydrates the cake mix to create that wonderfully light crumb.
- 3 large eggs, room temperature: Bind everything together and help the cake rise beautifully.
- 1 cup full-fat cream cheese, room temperature: The secret ingredient that transforms crumbled cake into smooth, luscious cake ball dough.
- 2 cups white chocolate melting wafers: For the silky coating that adds sweetness and a glossy finish.
- Red or pink sprinkles: The cheerful garnish that adds a bit of whimsy and extra festive flair.
How to Make Red Velvet Cake Balls Recipe
Step 1: Bake the Red Velvet Cake
Start by baking your red velvet cake according to the package instructions—typically in a 9×13 inch pan. The aroma that fills your kitchen as it bakes will instantly boost your excitement for these treats. Once the time’s up and the cake is baked to perfection, make sure to let it cool completely before moving on. This is vital because warm cake won’t crumble well and will make mixing tricky. Patience here pays off with a smoother dough later.
Step 2: Crumble the Cake
Once cooled, crumble the cake into fine pieces inside a large bowl. This step is all about texture, so break it down thoroughly. No big chunks, please! This ensures a consistent and smooth final bite, allowing the cream cheese to blend evenly throughout.
Step 3: Fold in the Cream Cheese
Now the magic begins. Add your room temperature cream cheese to the crumbled cake and gently fold it in with a spatula or your clean hands. The goal is to create a uniform dough-like mixture. The cream cheese will make the cake balls rich and moist, binding them perfectly without being too sticky or crumbly.
Step 4: Shape the Cake Balls
Using a small scoop or your hands, portion the mixture into small, even balls. Aim for bite-size perfection. Place each one on a baking sheet lined with parchment paper. Consistent sizing ensures that every cake ball cooks and sets evenly, and it just looks so much nicer!
Step 5: Chill the Balls
Pop the baking sheet into the freezer for about 30 minutes or until the balls are firm to the touch. This step makes dipping them in chocolate easier and helps maintain their shape during coating.
Step 6: Melt the White Chocolate
Melt your white chocolate melting wafers using either the microwave at half power—stirring every 20 seconds—or a gentle double boiler. Take your time to ensure the chocolate is smooth and fully melted without any lumps. The silky coating is essential for that luscious finish.
Step 7: Coat the Cake Balls
Dip each chilled cake ball into the melted white chocolate, letting the excess drip off before placing it back onto the parchment-lined baking sheet. Watch how the smooth coating wraps around each bite-sized ball like a delicious shell—this is where taste and presentation come together beautifully.
Step 8: Add Sprinkles While the Chocolate is Wet
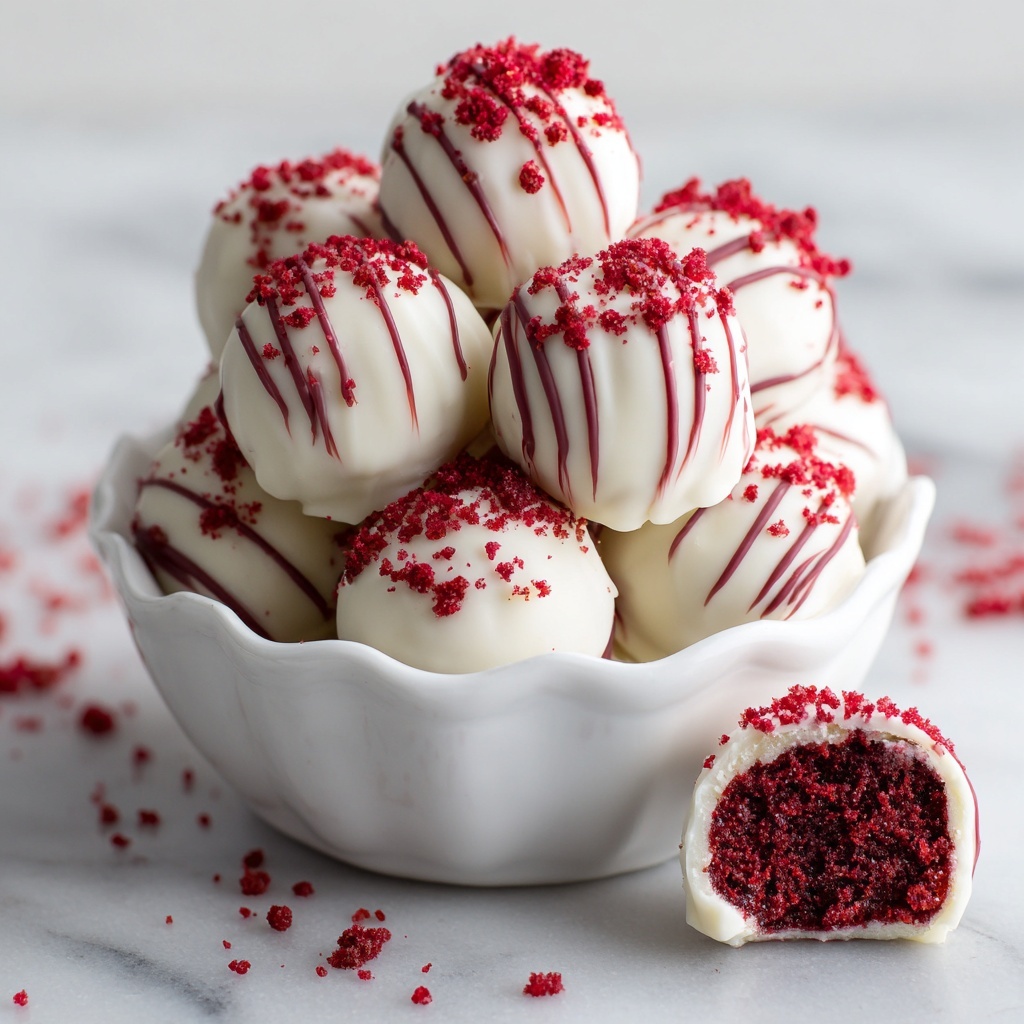
Before the chocolate hardens, sprinkle your red or pink decorations on top. The colorful sprinkles are not just a gorgeous pop of color—they add subtle texture and elevate the festive look of these treats.
Step 9: Let the Cake Balls Set
Allow your coated cake balls to set completely at room temperature or in the fridge. This final patience step results in perfectly firm bites with a crisp outer shell encasing that dreamy red velvet center.
How to Serve Red Velvet Cake Balls Recipe
Garnishes
While red or pink sprinkles are the go-to for that classic look, you can get creative with edible glitter, finely chopped nuts, or even a drizzle of dark chocolate for contrast. These little embellishments make your cake balls not only taste amazing but also turn heads at any gathering.
Side Dishes
Red velvet cake balls shine as a standalone treat but pair beautifully with fresh berries, a dusting of powdered sugar, or a dollop of whipped cream if you’re plating them for dessert. For a party spread, offer alongside a big pot of coffee or creamy milk for dipping—pure bliss!
Creative Ways to Present
Presentation can turn these delightful bites into conversation starters. Arrange them on pretty tiered stands, serve them in mini cupcake liners, or stick them onto colorful cocktail sticks like cake pops. Wrapped individually in cellophane tied with a ribbon, these make heartfelt homemade gifts that everyone will rave about.
Make Ahead and Storage
Storing Leftovers
Keep leftover cake balls fresh by storing them in an airtight container in the refrigerator. They will stay moist and delicious for up to 5 days, so you can enjoy them well beyond the day you make them.
Freezing
These cake balls freeze beautifully, which makes them perfect for prepping ahead of time. Arrange them in a single layer on a tray to freeze initially, then transfer to a freezer-safe container or bag. They’ll maintain their flavor and texture for up to 3 months—just thaw overnight in the fridge before serving.
Reheating
Since these are best enjoyed chilled or at room temperature, reheating is usually unnecessary. If you prefer them a little softer, simply leave them at room temperature for 15 to 20 minutes before serving to let the chocolate coating mellow slightly without melting.
FAQs
Can I use homemade red velvet cake instead of mix?
Absolutely! Homemade red velvet cake works wonderfully if you want to add your personal touch. Just make sure it’s fully cooled before crumbling and mixing with the cream cheese.
What if I don’t have white chocolate melting wafers?
You can substitute with good quality white chocolate bars, but make sure to chop them finely and melt gently to avoid burning. Candy melts are designed for easy melting but regular white chocolate can work with care.
Is cream cheese necessary in this recipe?
Yes, the cream cheese is key to binding the crumbled cake together and delivering that classic red velvet tang. Using full-fat cream cheese ensures the best texture and flavor.
Can I make these gluten-free?
To make gluten-free red velvet cake balls, use a gluten-free red velvet cake mix or your own gluten-free recipe. Just double-check all your ingredients for gluten content, especially the sprinkles and chocolate coating.
How do I prevent the cake balls from falling apart while dipping?
Chilling them well before dipping is the best trick. The firm cake balls will hold their shape better, and dipping quickly helps maintain their structure while the coating sets.
Final Thoughts
Making this Red Velvet Cake Balls Recipe is pure joy from start to finish—the delicious aroma, the playful shaping, and especially that sweet moment when you bite into one of these luscious treats. Whether for a special occasion, a cozy night in, or to share with friends, they bring a burst of happiness with every bite. I really encourage you to give these a try; they are irresistible, fun to make, and guaranteed to become a beloved staple in your dessert rotation.
Print
Red Velvet Cake Balls Recipe
- Prep Time: 15 minutes
- Cook Time: 30 minutes
- Total Time: 45 minutes
- Yield: 40 servings
- Category: Dessert
- Method: Baking
- Cuisine: American
Description
Delightfully sweet and festive red velvet cake balls coated in smooth white chocolate and topped with colorful sprinkles. These bite-sized treats blend moist red velvet cake with creamy full-fat cream cheese, then are frozen and dipped in melted white chocolate for a perfectly tender and indulgent dessert that’s perfect for parties or gifting.
Ingredients
Cake Balls
- 1 box (15 oz) red velvet cake mix
- ½ cup vegetable oil
- 1 cup water
- 3 large eggs, room temperature
- 1 cup full-fat cream cheese, room temperature
Coating & Garnish
- 2 cups white chocolate melting wafers
- Red or pink sprinkles for garnish
Instructions
- Bake the Cake: Preheat your oven and prepare the red velvet cake mix as instructed on the box, typically baking it in a 9×13 inch pan for about 30 minutes. Allow the cake to cool completely to room temperature.
- Crumble the Cake: Once cooled, break the cake into fine crumbs inside a large mixing bowl to create an even texture for the cake ball base.
- Mix with Cream Cheese: Add the full-fat cream cheese to the cake crumbs and gently fold together until a uniform, dough-like consistency forms.
- Form Cake Balls: Scoop out portions of the mixture and roll them into small, even-sized balls. Place these on a parchment-lined baking sheet to prevent sticking.
- Freeze the Balls: Place the baking sheet with cake balls into the freezer for about 30 minutes or until they are firm enough to dip without losing shape.
- Melt the White Chocolate: Using a microwave at 50% power, melt the white chocolate melting wafers by stirring every 20 seconds to avoid burning, or melt gently using a double boiler method.
- Dip the Cake Balls: Dip each chilled cake ball into the melted white chocolate coating, allowing excess chocolate to drip off before placing back onto the parchment paper.
- Add Sprinkles: Immediately sprinkle red or pink decorative sprinkles over the coated balls before the chocolate sets to add a festive touch.
- Set and Serve: Allow the cake balls to fully set at room temperature or in the fridge before serving or storing for later enjoyment.
Notes
- Ensure the cream cheese and eggs are at room temperature for smooth mixing and better texture.
- Freezing the cake balls before dipping helps maintain their shape and makes coating easier.
- White chocolate melting wafers are preferred for easy melting and smooth coverage but can be substituted with white chocolate chips.
- Store cake balls in an airtight container in the refrigerator for up to 5 days or freeze for longer storage.
- Use parchment paper to avoid sticking and ease cleanup during dipping and setting.


