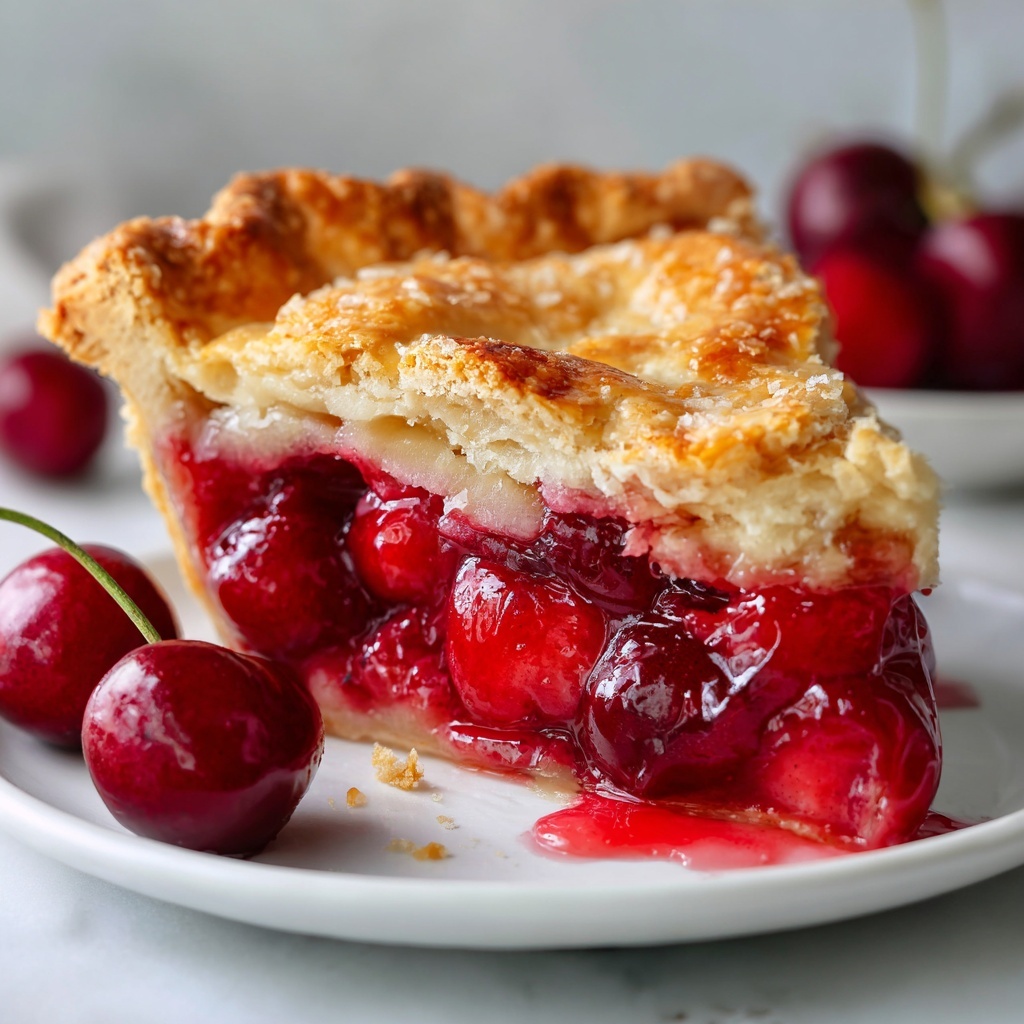
If you’re looking for a delightful dessert that captures the essence of sweet, tart cherries with a buttery, flaky crust, this Cherry Pie with Canned Cherries Recipe is an absolute must-try. It’s a charming twist on classic cherry pie recipes that brilliantly uses canned cherries to deliver consistent sweetness and juiciness without the fuss of fresh fruit prep. Each bite offers a comforting, homemade feel with that perfect balance of flavors and textures, making it a favorite to share with friends and family, no matter the occasion.
Ingredients You’ll Need
These simple ingredients form the backbone of the recipe, each playing an essential role in creating a pie that is as beautiful as it is delicious. From the rich buttery crust to the luscious cherry filling, every element comes together for an unforgettable taste experience.
- Canned cherries (1 can, about 21 oz): Provides the sweet, juicy fruit base that’s ready to use—no pitting or prepping required.
- Sugar (1 cup): Adds the perfect amount of sweetness to balance the natural tartness of cherries—adjustable to your taste.
- Cornstarch (2 tablespoons): Thickens the cherry filling so it sets nicely without being runny.
- Lemon juice (1 teaspoon): Brightens the filling and enhances the cherry flavor with a zesty touch.
- Almond extract (1/2 teaspoon, optional): Offers a subtle nutty aroma that complements the cherry notes beautifully.
- Butter (1 tablespoon, optional): Adds richness and a silky finish to the filling as it bakes.
- Pie crusts (2 crusts, homemade or store-bought): Form the golden, flaky container for your luscious cherries, with enough for both bottom and top.
- Egg (1, for egg wash): Brushed on the crust to create a gorgeous, golden shine after baking.
- Water (1 tablespoon, for egg wash): Mixed with the egg to make a smooth glaze, enhancing the crust’s color and texture.
How to Make Cherry Pie with Canned Cherries Recipe
Step 1: Prepare the Cherry Filling
Start by opening your can of cherries and drain the syrup into a separate bowl—don’t throw it away as it can be repurposed in smoothies or drinks! In a large bowl, combine the cherries, sugar, cornstarch, lemon juice, and almond extract if you’re using it. Mix everything thoroughly and set it aside for about 10 minutes. This allows the cornstarch to absorb the juices and thicken the filling perfectly.
Step 2: Prepare the Pie Crust
Whether you’re using store-bought or homemade dough, gently unroll one crust and fit it snugly into a 9-inch pie dish. Trim excess dough while leaving a 1-inch overhang to seal later. Roll out the second crust if you plan on making a traditional top or a lattice decoration. This step sets the stage for your delicious pie by creating a sturdy yet tender base and cover.
Step 3: Assemble the Pie
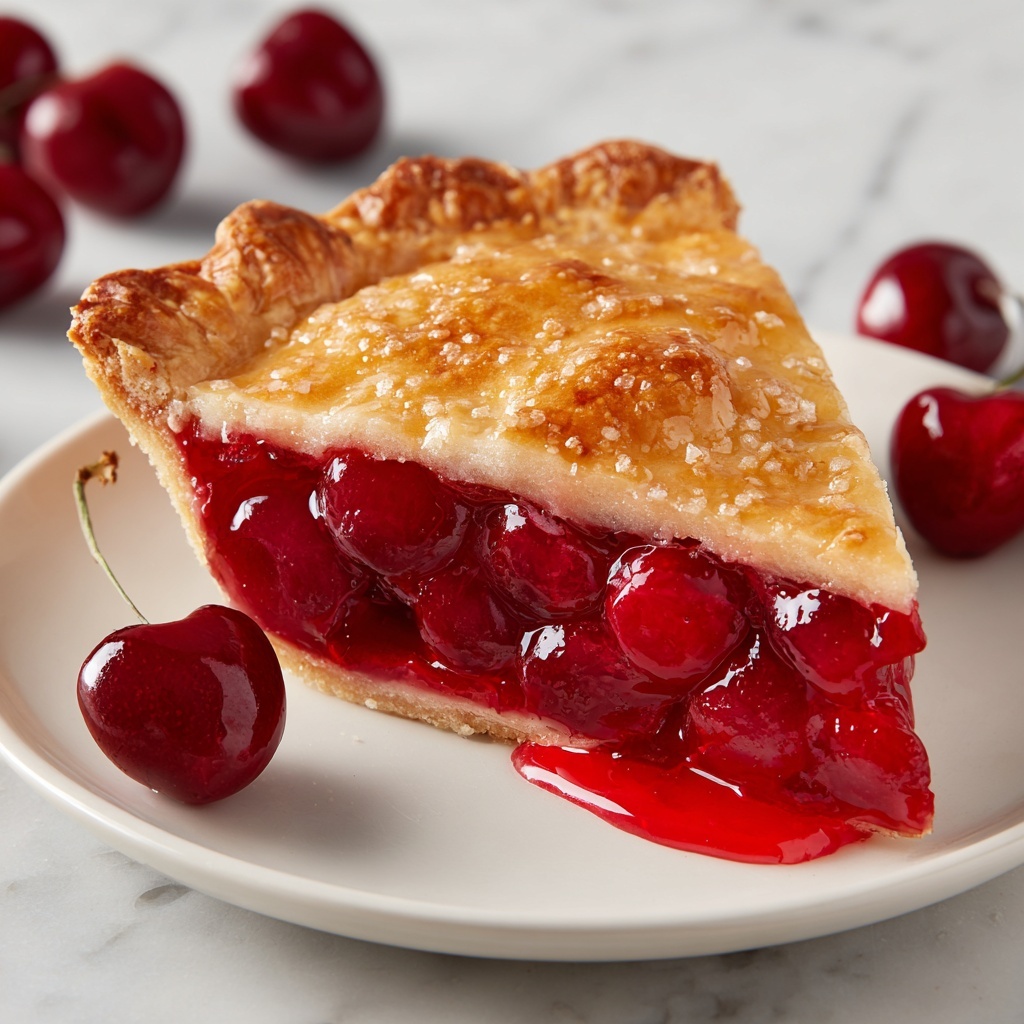
Pour your luscious cherry filling into the bottom crust, spreading it evenly. Now comes the fun part: create a lattice top by cutting the second crust into strips and weaving them across the pie in a crisscross pattern, or simply cover with a full crust and slice small vents for steam. Carefully crimp the edges to seal your pie and keep all that gorgeous filling inside while baking.
Step 4: Egg Wash and Bake
Whisk together the egg and water for an egg wash that will give your pie crust its beautiful golden shine. Using a pastry brush, apply the wash evenly on the top crust and edges. Place your pie on a baking sheet to catch any drips and slide it into a preheated oven at 375°F (190°C). Bake for 45 to 50 minutes, until the crust is golden and the filling is bubbling with excitement.
Step 5: Cool and Serve
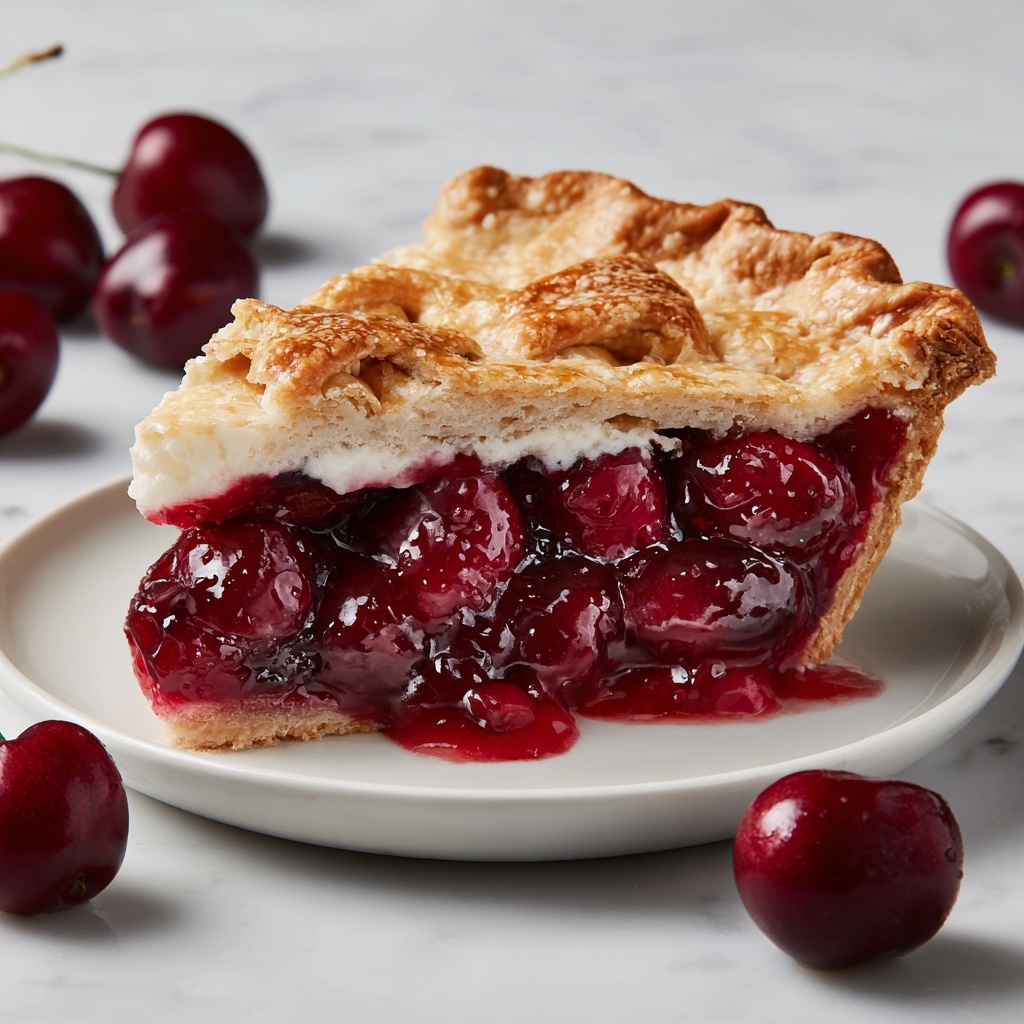
Once out of the oven, be patient and let the pie cool for at least 2 hours. This cooling time allows the filling to set perfectly, so each slice holds its shape beautifully. Serve warm or at room temperature, and don’t hesitate to add a scoop of vanilla ice cream or a dollop of whipped cream to elevate this cozy dessert even further.
How to Serve Cherry Pie with Canned Cherries Recipe
Garnishes
Your Cherry Pie with Canned Cherries Recipe shines beautifully as is, but a few simple garnishes can take it to the next level. Consider a sprinkle of powdered sugar for a delicate sweetness or a handful of sliced almonds for texture and nutty flavor. Fresh mint leaves add a pop of green color and a refreshing hint that pairs wonderfully with the warm pie.
Side Dishes
Pairing your cherry pie with the right accompaniments makes the experience even more memorable. A scoop of creamy vanilla or cinnamon ice cream never fails, melting into the warm filling delightfully. Alternatively, serve with a dollop of lightly sweetened whipped cream or a drizzle of caramel sauce for an indulgent twist that guests will rave about.
Creative Ways to Present
Looking to impress? Serve individual slices on pretty plates garnished with fresh cherries or a sprig of rosemary. You could even create mini cherry pies in muffin tins for charming single servings. For a rustic feel, a simple wooden board with pie slices and a spread of cheese and fruit makes an inviting dessert centerpiece.
Make Ahead and Storage
Storing Leftovers
Cherry pie leftovers are heaven on their own and should be stored in an airtight container or wrapped tightly with plastic wrap in the refrigerator. They will keep well for up to 3 to 4 days, allowing you to enjoy that comforting cherry goodness fresh and flavorful each time.
Freezing
If you want to save your pie for later, freezing works wonderfully. Wrap the whole pie or individual slices tightly in plastic wrap and then in aluminum foil to protect against freezer burn. Stored this way, your pie will stay delicious for up to 2 months. Just remember to thaw it slowly in the fridge before reheating.
Reheating
To bring your chilled or frozen cherry pie back to life, warm it in a preheated oven at 350°F (175°C) for about 15 to 20 minutes. Cover with foil if the crust starts browning too quickly. This method ensures the crust stays crisp while the filling becomes warm and bubbly again, just like freshly baked.
FAQs
Can I use fresh cherries instead of canned in this recipe?
Absolutely! Fresh cherries are wonderful but require pitting and sometimes adjusting the sugar due to their tartness. The canned cherries in this recipe provide a consistent sweetness and convenience that make the process quick and easy without compromising flavor.
Is almond extract necessary for the filling?
No, it’s optional but highly recommended as it adds a lovely depth and aroma to the cherry filling. If you don’t have it on hand, a little vanilla extract can be a nice substitute or simply omit it.
Can I make this pie gluten-free?
Yes! Use a gluten-free pie crust or make your own using gluten-free flour blends. Just make sure the other ingredients, like cornstarch, are gluten-free certified. This way everyone can enjoy the delight of the Cherry Pie with Canned Cherries Recipe.
How can I tell when the pie is fully baked?
Look for a golden-brown crust and bubbling filling that rises through the vents or lattice top. The bubbling indicates that the filling has thickened properly and the pie is cooked through.
What’s a good way to prevent a soggy bottom crust?
Placing the pie on a preheated baking sheet or pizza stone can help create a hotter bottom surface and prevent sogginess. Also, letting the pie cool completely before slicing helps the filling set and minimizes sogginess.
Final Thoughts
There’s something truly magical about making a pie from scratch, especially one as comforting and luscious as this Cherry Pie with Canned Cherries Recipe. Its simplicity combined with rich flavors makes it a treasure worth keeping in your dessert repertoire. I wholeheartedly encourage you to try this recipe—it’s a guaranteed crowd-pleaser that warms hearts and makes any day a bit sweeter.
Print
Cherry Pie with Canned Cherries Recipe
- Prep Time: 15 minutes
- Cook Time: 45 minutes
- Total Time: 2 hours 60 minutes (including cooling time)
- Yield: 8 servings
- Category: Dessert
- Method: Baking
- Cuisine: American
Description
This classic Cherry Pie recipe uses canned cherries to create a sweet, juicy filling encased in a flaky pie crust. With a simple mix of ingredients and an option for a lattice or full top crust, this homemade dessert is baked to golden perfection and makes a perfect treat for any occasion. Served best warm or at room temperature, it pairs wonderfully with whipped cream or vanilla ice cream.
Ingredients
For the Filling:
- 1 can (about 21 oz) canned cherries (with syrup)
- 1 cup sugar (adjust to taste)
- 2 tablespoons cornstarch
- 1 teaspoon lemon juice
- 1/2 teaspoon almond extract (optional)
- 1 tablespoon butter (optional)
For the Crust:
- 2 pie crusts (homemade or store-bought)
- 1 egg (for egg wash)
- 1 tablespoon water (for egg wash)
Instructions
- Prepare the Cherry Filling: Open the can of cherries and drain the syrup into a bowl to save for other uses. In a large mixing bowl, combine the cherries, sugar, cornstarch, lemon juice, and almond extract. Stir until well mixed, then let sit for about 10 minutes to thicken the filling and blend flavors.
- Prepare the Pie Crust: Unroll one pie crust and gently line a 9-inch pie dish with it, trimming excess dough to leave about 1 inch overhang. Prepare the second crust by unrolling it to use as the top crust or to cut into strips for a lattice top.
- Assemble the Pie: Pour the cherry filling evenly into the bottom crust. For a lattice crust, cut the second crust into strips and arrange in a crisscross pattern atop the filling. Alternatively, place the whole second crust over the filling and cut slits for steam to escape. Seal the edges by crimping the crusts together.
- Egg Wash and Bake: Whisk together the egg and water to create an egg wash. Brush this over the top crust to achieve a glossy, golden finish. Place the pie on a baking sheet to catch drips and bake in a preheated oven at 375°F (190°C) for 45-50 minutes until the crust is golden brown and the filling is bubbling.
- Cool and Serve: Remove the pie from the oven and let it cool for at least 2 hours to allow the filling to set. Serve warm or at room temperature, optionally with whipped cream or vanilla ice cream.
Notes
- Save the drained cherry syrup for smoothies or other recipes.
- The almond extract adds a subtle nutty flavor but is optional.
- You can make a lattice crust or use a full top crust with slits for venting.
- Letting the pie cool ensures the filling sets properly, preventing it from being runny.
- The egg wash gives the crust a beautiful golden shine.


