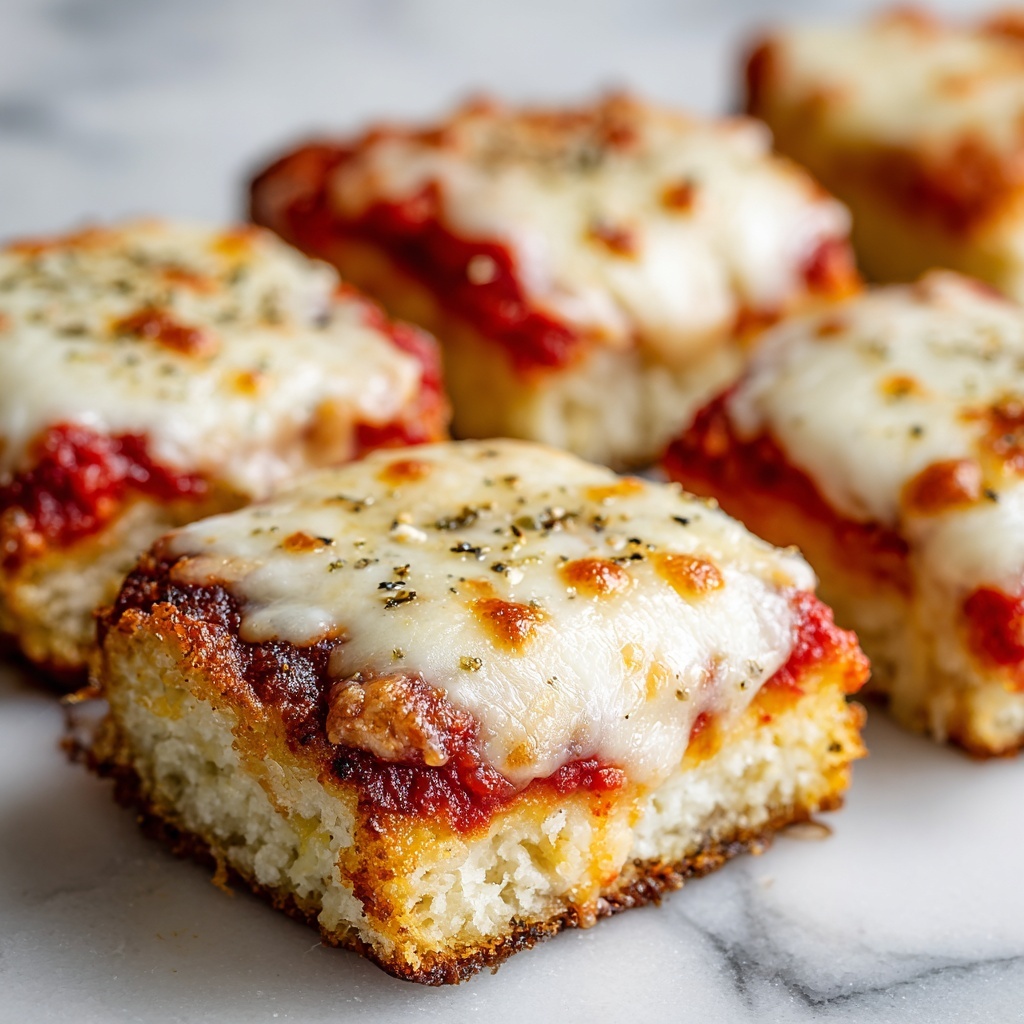
If you’ve been dreaming of a cozy, melty, and utterly irresistible snack, this Cheesy Pizza Pockets Recipe is exactly what you need to bring joy to your kitchen and your taste buds. Imagine pockets of soft, homemade dough hugging a rich filling of bubbly mozzarella, zesty pizza sauce, and your choice of pepperoni or veggies, all baked to a perfect golden brown. These pockets are comforting, fun to make, and perfect for sharing with family or friends any time of day. Whether it’s a casual dinner or a party treat, this recipe will quickly become your go-to for cheesy, savory satisfaction.
Ingredients You’ll Need
Each ingredient in this Cheesy Pizza Pockets Recipe plays a key role, whether it’s the tender dough, the flavorful filling, or the finishing touches that bring it all together. These simple staples combine to create the perfect balance of taste, texture, and delight in every bite.
- 2 cups all-purpose flour: The foundation of our dough, providing structure and softness.
- 1 packet active dry yeast: Brings life to the dough by making it rise and become airy.
- 1 teaspoon sugar: Feeds the yeast for a perfect, fluffy dough texture.
- 3/4 cup warm water: Activates the yeast and helps bring the dough together.
- 1 tablespoon olive oil: Adds moisture and a subtle richness to the dough.
- 1/2 teaspoon salt: Balances flavors and enhances the dough’s taste.
- 1 cup pizza sauce: Brings vibrant tomato tang and seasoning to the filling.
- 1 1/2 cups shredded mozzarella cheese: The star of the pockets, melting into gooey, cheesy goodness.
- 1/2 cup mini pepperoni slices or chopped vegetables: Adds savory spice or fresh, colorful crunch based on your preference.
- 1/2 teaspoon dried oregano: Infuses a classic Italian herbaceous note.
- 1/2 teaspoon garlic powder: Delivers a warm, aromatic depth to every bite.
- 1 egg beaten for egg wash: Gives the pockets a beautiful golden sheen when baked.
How to Make Cheesy Pizza Pockets Recipe
Step 1: Activate the Yeast
Start by combining warm water, sugar, and the active dry yeast in a bowl. Letting this mixture rest for about 5 minutes until it becomes foamy is key — it shows your yeast is alive and ready to create that fluffy dough we all love.
Step 2: Prepare the Dough
Now add the flour, salt, and olive oil to the foamy yeast mixture. Mix everything together until it forms a rough dough. Then, turn it out onto a floured surface and knead for about 5 to 7 minutes. This kneading step is where the magic happens as gluten develops, giving your dough the perfect chewiness.
Step 3: Let the Dough Rise
Place your kneaded dough into a greased bowl, cover it with a clean towel, and set it aside for about an hour. When it has doubled in size, you know it’s ready — this rising time ensures your dough is light and airy.
Step 4: Shape and Fill
Preheat your oven to 400°F (200°C). Roll out the dough and cut it into rectangles. On each piece, spread a spoonful of pizza sauce, then pile on the mozzarella and your choice of mini pepperoni slices or vegetables. Sprinkle with dried oregano and garlic powder to elevate the flavors before folding over the dough and sealing the edges firmly with a fork.
Step 5: Bake to Golden Perfection
Arrange your filled pockets on a lined baking sheet and brush the tops with beaten egg wash. Bake for 15 to 18 minutes until golden brown and inviting. Let them cool just a little before diving in — this step helps the cheese settle into the pockets for a perfect, melty bite.
How to Serve Cheesy Pizza Pockets Recipe
Garnishes
Adding a sprinkle of fresh basil or a pinch of red pepper flakes on top can add a fresh, fragrant pop that complements the rich cheese and sauce beautifully. A light drizzle of extra virgin olive oil or a dusting of parmesan also works wonders for an elegant touch.
Side Dishes
Serve these pockets alongside a crisp green salad with a tangy vinaigrette or some roasted veggies for a balanced meal. For a fun twist, you can also pair them with a creamy dipping sauce like ranch or garlic aioli to amp up the indulgence.
Creative Ways to Present
If you’re hosting a gathering, arrange your Cheesy Pizza Pockets Recipe on a rustic wooden board with small bowls of dipping sauces. For a party, consider setting up a “pizza pocket bar” where guests can customize their own fillings and sauces before baking. Kids especially love the interactive aspect of making their own pockets.
Make Ahead and Storage
Storing Leftovers
Leftover pizza pockets keep well in an airtight container in the refrigerator for up to 3 days. This makes them a fantastic option for next-day lunches or quick snacks that still feel homemade and special.
Freezing
You can freeze unbaked pizza pockets by wrapping them tightly in plastic wrap and placing them in a freezer-safe bag. When you’re ready to enjoy, bake them straight from frozen, adding a few extra minutes to the baking time to ensure a golden crust and melty filling.
Reheating
For best results, reheat leftovers and frozen pockets in a preheated oven at 350°F until warmed through and crisp on the outside. A microwave can be used in a pinch but may result in a softer, less appealing crust.
FAQs
Can I use whole wheat flour instead of all-purpose flour?
Absolutely! Whole wheat flour will add a nuttier flavor and a bit of extra fiber, though the dough might be slightly denser. You can also try a mix of both flours to keep that perfect balance.
What vegetarian fillings work best in this recipe?
Sliced mushrooms, bell peppers, olives, and even caramelized onions make excellent fillings. Just be sure to cook any vegetables that release a lot of moisture before adding them to the pockets to avoid sogginess.
Can I prepare the dough in advance?
Yes, you can prepare the dough the night before, let it rise in the refrigerator overnight, then bring it to room temperature before shaping and filling. This slow rise often results in extra flavorful dough.
How do I prevent the pizza pockets from leaking during baking?
Make sure to seal the edges really well by pressing firmly with a fork and avoid overfilling them. Also, brushing the edges with a little water before sealing can help the dough stick together better.
Can I make these gluten-free?
With the right gluten-free flour blend designed for bread baking, you can give it a try! Keep in mind that texture might differ slightly, and you may need to adjust the liquid amounts, but it’s definitely possible to enjoy cheesy pizza pockets gluten-free.
Final Thoughts
Trying this Cheesy Pizza Pockets Recipe will bring a new favorite to your table quickly, thanks to its comforting flavors and approachable method. It’s the kind of recipe that invites creativity, sharing, and pure happiness around every bite. So grab your ingredients, roll up your sleeves, and get ready to make cheesy magic happen!
Print
Cheesy Pizza Pockets Recipe
- Prep Time: 20 minutes
- Cook Time: 18 minutes
- Total Time: 1 hour 38 minutes
- Yield: 8 pizza pockets
- Category: Main Course
- Method: Baking
- Cuisine: American
- Diet: Vegetarian
Description
Delicious and easy-to-make Cheesy Pizza Pockets featuring a soft homemade dough filled with savory pizza sauce, melted mozzarella cheese, and your choice of pepperoni or vegetables. Perfect as a kid-friendly snack or a fun meal, these pizza pockets are baked to golden perfection and can be customized with various fillings to suit your taste.
Ingredients
Dough Ingredients
- 2 cups all-purpose flour
- 1 packet active dry yeast (about 2 1/4 teaspoons)
- 1 teaspoon sugar
- 3/4 cup warm water
- 1 tablespoon olive oil
- 1/2 teaspoon salt
Filling Ingredients
- 1 cup pizza sauce
- 1 1/2 cups shredded mozzarella cheese
- 1/2 cup mini pepperoni slices or chopped vegetables of choice (e.g., mushrooms, bell peppers, olives)
- 1/2 teaspoon dried oregano
- 1/2 teaspoon garlic powder
Finishing
- 1 egg, beaten (for egg wash)
Instructions
- Activate the Yeast: In a small bowl, combine the warm water, sugar, and active dry yeast. Let it sit for about 5 minutes until it becomes foamy, indicating the yeast is active and ready to use.
- Make the Dough: In a large mixing bowl, add the flour, salt, and olive oil. Pour in the yeast mixture and stir until a dough forms. Transfer the dough onto a floured surface and knead for 5 to 7 minutes until the dough is smooth and elastic.
- Let the Dough Rise: Place the dough in a greased bowl and cover it with a clean towel or plastic wrap. Let it rise in a warm place for about 1 hour or until it has doubled in size.
- Preheat Oven: Preheat your oven to 400°F (200°C) and prepare a baking sheet lined with parchment paper or a silicone mat.
- Shape and Fill the Pockets: Roll out the dough on a floured surface into a rectangular shape about 1/4 inch thick. Cut the dough into rectangles of roughly equal size. Spread a spoonful of pizza sauce on each rectangle, then sprinkle with shredded mozzarella cheese and add your choice of mini pepperoni slices or chopped vegetables. Season with dried oregano and garlic powder.
- Seal the Pockets: Fold each dough rectangle over the filling to form a pocket. Press the edges firmly together, then seal them by pressing with the tines of a fork to ensure no filling escapes during baking.
- Apply Egg Wash and Bake: Place the pockets on the prepared baking sheet and brush the tops with the beaten egg to give them a golden, shiny crust once baked. Bake in the preheated oven for 15 to 18 minutes or until the pockets are golden brown.
- Cool and Serve: Remove from the oven and allow the pizza pockets to cool slightly before serving. Enjoy them warm for the best flavor and texture.
Notes
- You can customize the filling by adding cooked sausage, mushrooms, bell peppers, or olives according to your preference.
- Store any leftovers in the refrigerator and reheat in the oven to maintain the crisp texture.
- If you prefer a vegetarian version, simply omit the pepperoni and use only vegetables.
- Make sure the water is warm but not hot when activating the yeast to avoid killing it.
- For extra crispiness, you can bake a few extra minutes but watch closely to prevent burning.

