
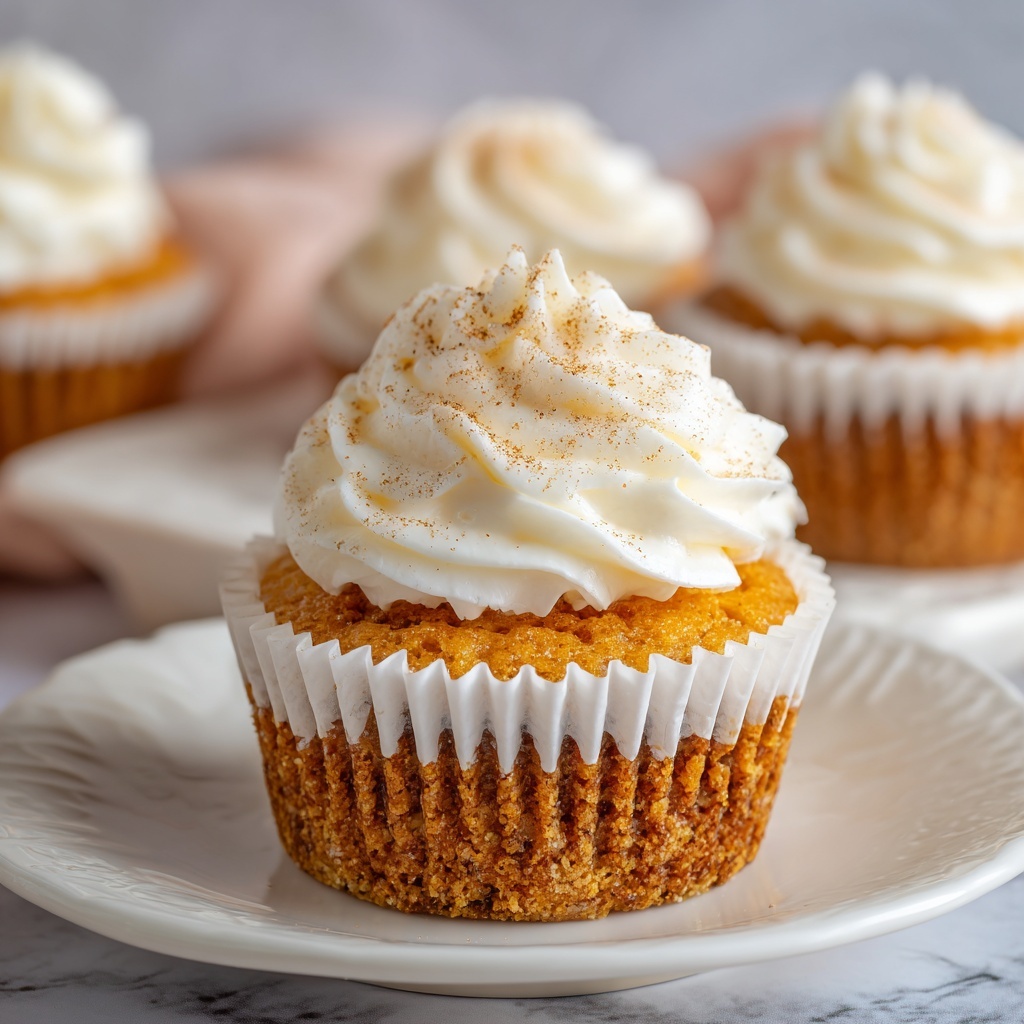
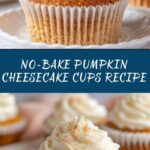
If you love the cozy flavors of fall and crave a dessert that is both indulgent and effortless, this No-Bake Pumpkin Cheesecake Cups Recipe has got you covered. Imagine velvety pumpkin cheesecake layered atop a buttery graham cracker crust, all tucked neatly into charming individual cups. It’s the perfect way to enjoy a festive treat without firing up the oven, making it ideal for busy days or last-minute gatherings. Plus, the blend of warm spices and creamy sweetness feels like a comforting hug in every bite!
Ingredients You’ll Need
These ingredients are wonderfully simple but each plays a vital role in building the flavor and texture of this delightful dessert. From the crisp graham cracker base to the wonderfully spiced pumpkin filling, every element contributes to your perfect cheesecake cups.
- Graham cracker crumbs: The crunchy, slightly sweet foundation that gives the cups their classic texture.
- Unsalted butter, melted: Helps bind the crust ingredients together, adding richness without overpowering flavors.
- Granulated sugar: Sweetens both the crust and the filling to balance the spices and pumpkin.
- Cream cheese, softened: The creamy star of the filling, offering smoothness and tang.
- Canned pumpkin puree: Brings that unmistakable pumpkin flavor and a lovely orange hue.
- Pure vanilla extract: Adds depth and enhances the natural sweetness of the other ingredients.
- Pumpkin pie spice: A warm blend of cinnamon, nutmeg, and cloves that makes this dessert iconic.
- Ground cinnamon: Adds extra warmth and aroma, complementing the pumpkin pie spice.
- Whipped cream or whipped topping: Lightens the filling for a fluffy texture and is perfect for topping off.
- Extra whipped cream: For that irresistible finishing touch on each cup.
- Crushed graham crackers or a sprinkle of cinnamon: Garnish options to add a bit of crunch or spice on top.
How to Make No-Bake Pumpkin Cheesecake Cups Recipe
Step 1: Prepare the Crust
Start by combining the graham cracker crumbs, melted unsalted butter, and sugar in a bowl. This mixture creates the sturdy yet tender base for your cheesecake cups. Spoon about two tablespoons of the crust mixture into each serving cup or jar and press gently to form an even crust. This simple step lays the perfect foundation for the creamy layers ahead.
Step 2: Make the Pumpkin Cheesecake Filling
Next, beat the softened cream cheese in a mixing bowl until it’s perfectly smooth and creamy. Then add the canned pumpkin puree, sugar, vanilla extract, pumpkin pie spice, and cinnamon. Whip these together until the mixture is luscious and combined. To add lightness and fluff, gently fold in the whipped cream, which transforms the dense filling into a silky, airy delight.
Step 3: Assemble the Cups
Spoon the pumpkin cheesecake filling evenly over each crust layer, making sure to smooth the tops for an elegant finish. These layers create an inviting mosaic of flavors and textures in every individual cup, making them as beautiful as they are delicious.
Step 4: Add the Toppings and Chill
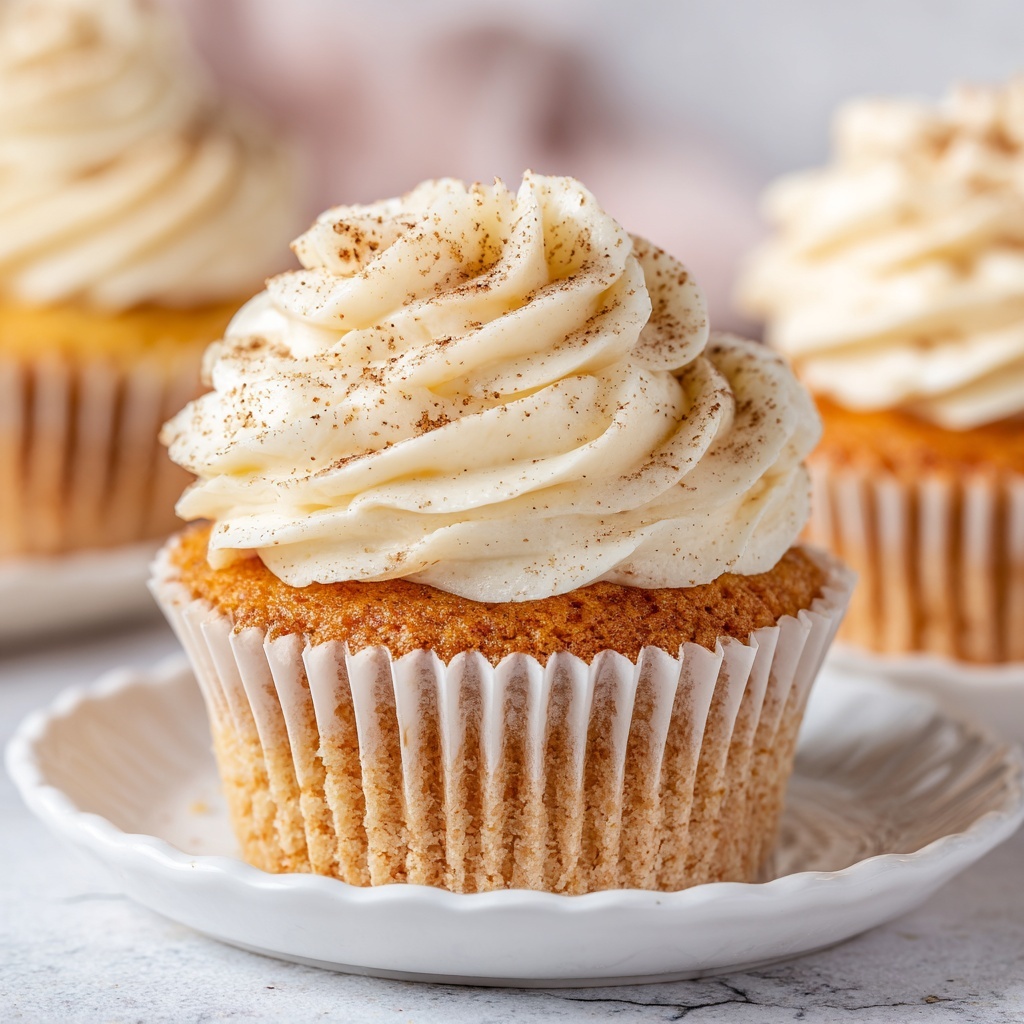
Top each cup with extra whipped cream and sprinkle with crushed graham crackers or a pinch of cinnamon. This not only adds texture and a strike of flavor but also gives a festive, charming look. Refrigerate your cups for at least 2 hours to allow the filling to set and the flavors to meld for that perfect bite.
How to Serve No-Bake Pumpkin Cheesecake Cups Recipe
Garnishes
Adding extra whipped cream on top always elevates the presentation and offers an extra touch of creamy indulgence. A gentle sprinkle of crushed graham crackers adds crunch and visual appeal, while a dash of cinnamon dust perfectly complements the pumpkin spice flavors. Toasted pecans or a drizzle of caramel sauce can also turn these cups into a show-stopping dessert.
Side Dishes
These cups pair wonderfully with a simple cup of hot apple cider or a warm latte, reinforcing that cozy fall vibe. For a light contrast, fresh fruit like sliced pears or apple wedges can bring a crispness that balances the richness of the cheesecake cups. A small bowl of lightly spiced nuts can add a crunchy, salty element to round out your dessert spread.
Creative Ways to Present
For a festive gathering, serve your No-Bake Pumpkin Cheesecake Cups Recipe in clear glass jars or vintage teacups to show off those inviting layers. You can also layer the crust and filling in mini mason jars for a rustic touch. Adding edible gold leaf or cinnamon sticks as accents gives your dessert an elegant flair that’s sure to impress guests.
Make Ahead and Storage
Storing Leftovers
You can store any leftover cheesecake cups in the refrigerator, covered tightly to prevent moisture or odors from affecting their texture and flavor. They stay fresh and delicious for up to 3 days, making them a fantastic dessert you can prepare in advance without worry.
Freezing
If you want to preserve the No-Bake Pumpkin Cheesecake Cups Recipe for longer, freezing works well too. Place them in airtight containers or freezer-safe jars. When properly stored, they freeze beautifully for up to 1 month. Just thaw in the fridge overnight before serving to keep their creamy texture intact.
Reheating
Since these are no-bake, creamy treats best served chilled, reheating isn’t recommended. Instead, simply let frozen cups thaw completely in the refrigerator for the best texture and flavor experience. Enjoy them cold for that smooth and refreshing pumpkin cheesecake bite.
FAQs
Can I use fresh pumpkin instead of canned for this recipe?
Absolutely. If using fresh pumpkin, be sure to roast and puree it until smooth. However, fresh pumpkin tends to be less sweet and more watery, so you might want to adjust sugar levels or strain excess moisture for the best results.
Is there a gluten-free option for the crust?
Yes, you can easily use gluten-free graham cracker crumbs or substitute with ground gluten-free cookies. Just make sure your butter and other ingredients fit your dietary needs to keep this dessert safe and delicious.
Can I make these cups vegan?
Yes! Swap the cream cheese for a vegan alternative and use coconut whipped cream or another plant-based whipped topping. Just ensure all your ingredients, including the crust, are vegan-friendly.
How long do these pumpkin cheesecake cups need to chill?
For best texture and flavor, refrigerate for at least 2 hours. This allows the filling to set properly and flavors to meld. If you have more time, chilling overnight makes them even more delicious.
Can I double the recipe for a larger group?
Definitely! This recipe scales up wonderfully. Just multiply the ingredients and assemble in as many cups as you need. The no-bake nature makes it easy to prep multiple servings at once.
Final Thoughts
There’s something truly magical about whipping up a dessert that tastes like it took hours but comes together in no time, and the No-Bake Pumpkin Cheesecake Cups Recipe is exactly that kind of winner. Whether you’re hosting a holiday party or simply indulging in a seasonal treat, these cups bring all the warmth, spice, and creamy goodness you could wish for. So go ahead, gather your ingredients and make this delightful dessert today—you’ll be so glad you did!
Print
No-Bake Pumpkin Cheesecake Cups Recipe
- Prep Time: 20 minutes
- Cook Time: 0 minutes
- Total Time: 2 hours 20 minutes
- Yield: 6 servings
- Category: Dessert
- Method: No-Cook
- Cuisine: American
- Diet: Vegetarian
Description
These No-Bake Pumpkin Cheesecake Cups are a creamy and festive dessert perfect for fall gatherings. Featuring a buttery graham cracker crust topped with a smooth pumpkin cheesecake filling spiced with pumpkin pie spice and cinnamon, each cup is finished with whipped cream and a dusting of crushed graham crackers or cinnamon. Easy to prepare and requiring no baking, these individual servings are perfect for a quick yet elegant pumpkin dessert.
Ingredients
Crust
- 1 cup graham cracker crumbs (gluten-free if needed)
- 3 tablespoons unsalted butter, melted
- 1 tablespoon granulated sugar
Pumpkin Cheesecake Filling
- 8 ounces cream cheese, softened
- 1/2 cup canned pumpkin puree
- 1/3 cup granulated sugar
- 1 teaspoon pure vanilla extract
- 1 teaspoon pumpkin pie spice
- 1/2 teaspoon ground cinnamon
- 1 cup whipped cream or whipped topping
Toppings
- Extra whipped cream
- Crushed graham crackers or a sprinkle of cinnamon
Instructions
- Prepare the Crust: In a bowl, thoroughly mix the graham cracker crumbs, melted butter, and granulated sugar until the mixture is well combined and holds together when pressed.
- Form the Crust: Spoon about 2 tablespoons of the crumb mixture into individual serving cups or jars, pressing lightly with the back of a spoon or your fingers to evenly form a firm crust layer.
- Make the Pumpkin Cheesecake Filling: In a mixing bowl, beat the softened cream cheese until smooth and creamy, ensuring there are no lumps.
- Add Pumpkin and Spices: Add the canned pumpkin puree, granulated sugar, vanilla extract, pumpkin pie spice, and ground cinnamon to the cream cheese. Beat the mixture until creamy, smooth, and evenly combined.
- Incorporate Whipped Cream: Gently fold in the whipped cream or whipped topping into the pumpkin mixture using a spatula, stirring carefully to maintain a light and fluffy texture.
- Assemble the Cups: Spoon the pumpkin cheesecake filling evenly over each prepared crust, smoothing the tops with the back of a spoon or spatula for an even finish.
- Add the Toppings: Top each cup generously with extra whipped cream and garnish with a sprinkle of crushed graham crackers or a dusting of cinnamon for added texture and flavor.
- Chill and Serve: Place the assembled cups in the refrigerator and chill for at least 2 hours to allow the filling to set properly before serving. Enjoy chilled.
Notes
- You can use gluten-free graham crackers to make this dessert gluten-free.
- For a dairy-free version, substitute cream cheese and whipped cream with vegan alternatives.
- Be sure to soften the cream cheese to room temperature for easier mixing and a smoother filling.
- To make individual servings more festive, garnish with a cinnamon stick or a small piece of pumpkin spice cookie.
- Refrigerate leftovers in an airtight container for up to 3 days.