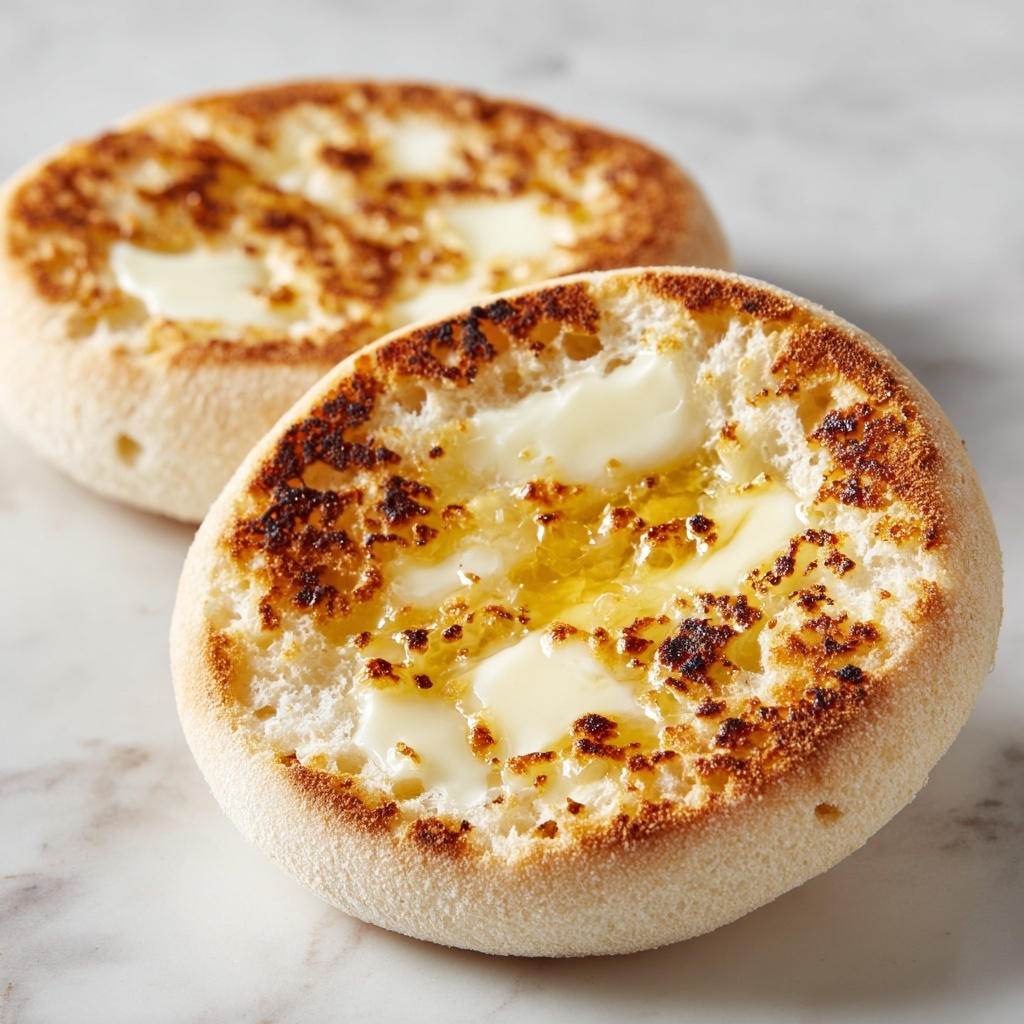
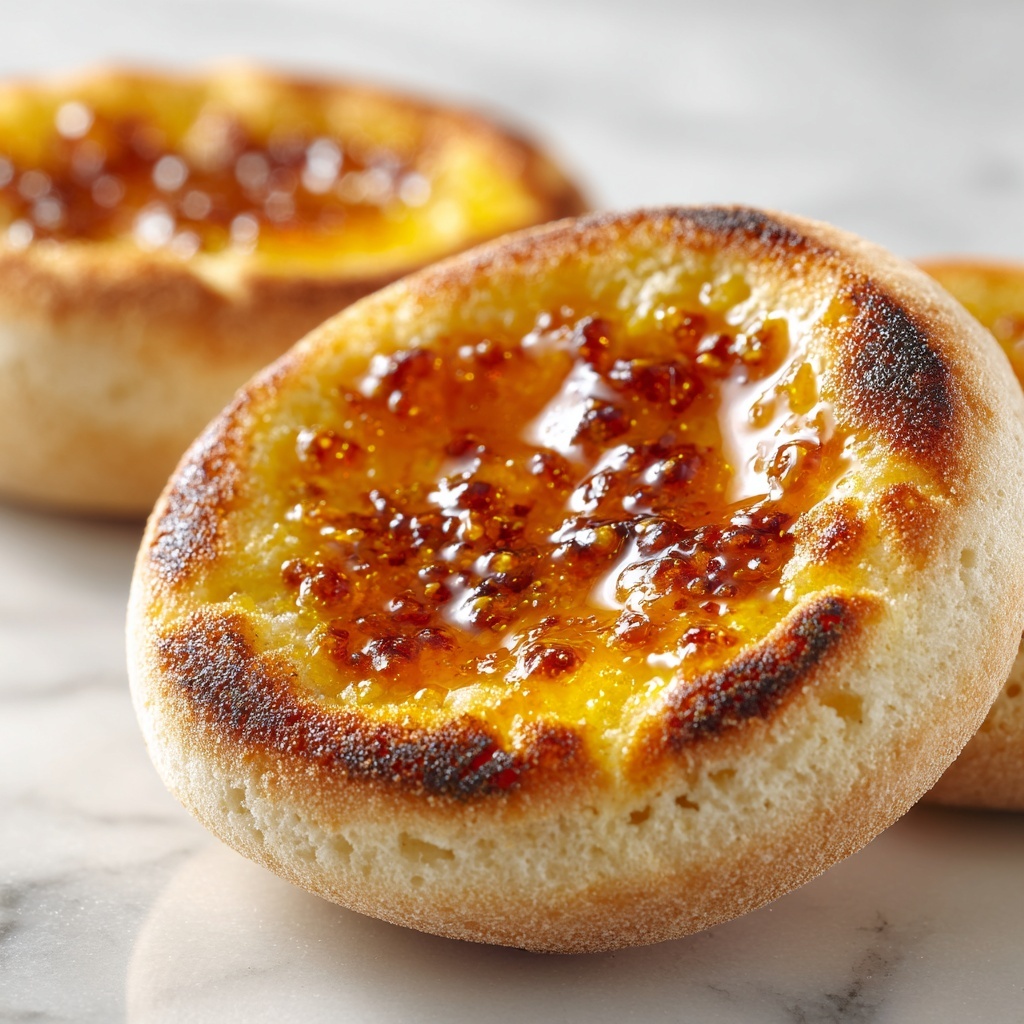
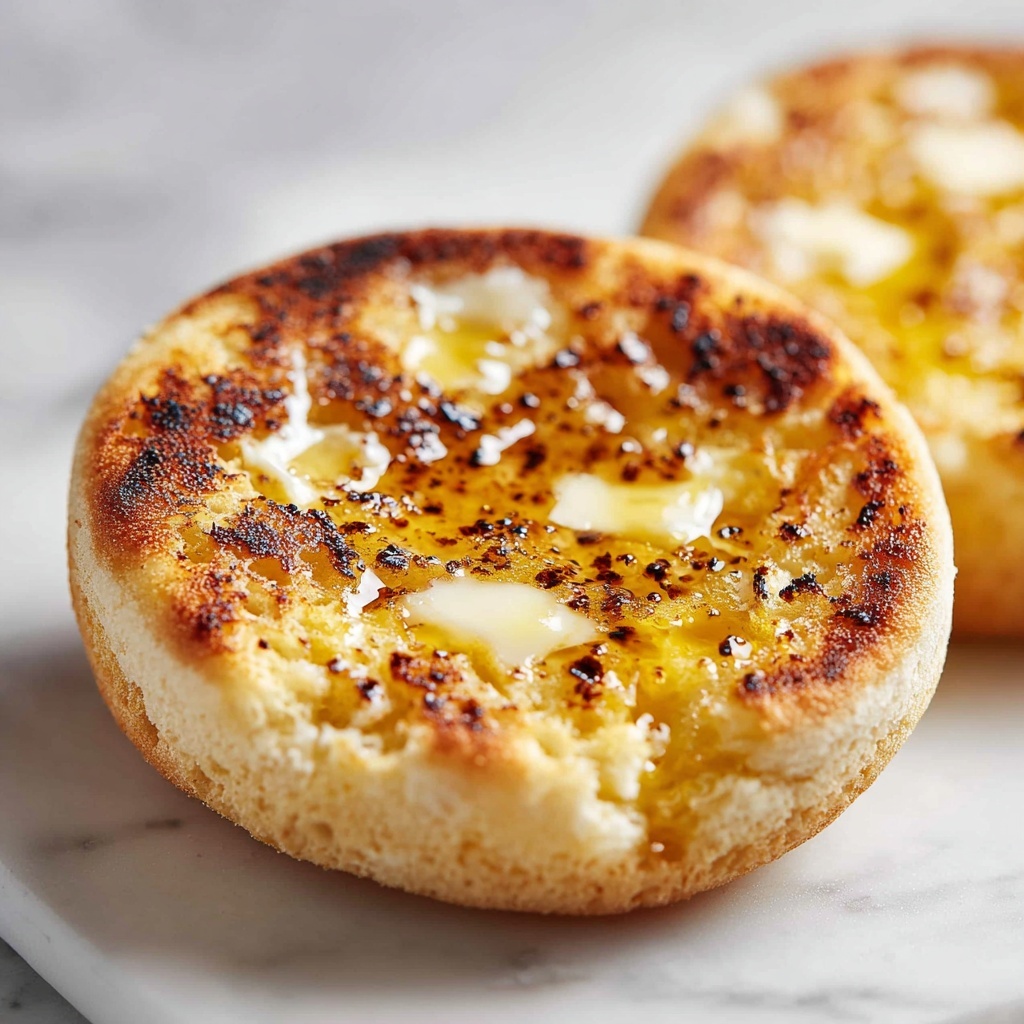
If you’ve ever stopped to marvel at the crispy, nooks-and-crannies texture of an English muffin, you know there’s nothing quite like it fresh from the griddle and oven at home. This Homemade English Muffins Recipe is a wonderful way to bring that magic into your kitchen with simple ingredients and a bit of loving patience. The crumb is perfectly chewy, the exterior delightfully golden, and the flavor subtle yet satisfying, making these muffins a versatile canvas for both sweet and savory toppings. Once you master this recipe, you’ll never want to go back to store-bought English muffins again.
Ingredients You’ll Need
Every ingredient here plays its part to make this Homemade English Muffins Recipe truly shine. From the flour that builds structure to the yeast that gives that beautiful rise and airy texture, each element is simple but essential.
- All-purpose or bread flour: Provides the perfect balance of protein for a soft yet chewy muffin texture.
- Warm water: Activates the yeast and hydrates the flour to form the dough.
- Kosher salt: Enhances flavor and helps control yeast fermentation.
- Granulated sugar: Feeds the yeast and adds a touch of sweetness to the crumb.
- Instant or active dry yeast: The star that makes your dough rise and gives those airy pockets.
- Cornmeal: Dusting the muffins with this adds a rustic crunch and prevents sticking.
- Non-stick cooking spray or oil: Keeps your cooking surface smooth and helps develop a golden crust.
How to Make Homemade English Muffins Recipe
Step 1: Make the Dough
Start by combining your flour, warm water, kosher salt, sugar, and yeast in a large bowl. Stir everything until it forms a sticky, shaggy dough. This is the foundation for those beautiful muffins, and the stickiness here means you’re on the right track for a moist, tender crumb.
Step 2: First Rise
Cover your bowl loosely (a kitchen towel or plastic wrap will do) and set it somewhere warm. Let the dough rise until it doubles in size—about one hour. This resting time lets the yeast work its magic, creating those air pockets we love inside our muffins.
Step 3: Shape the Muffins
Once risen, punch down the dough gently and divide it into 16 equal pieces. Shape each into a flat disc about half to three-quarters of an inch thick. Dust both sides generously with cornmeal; this not only gives texture but prevents sticking during cooking.
Step 4: Second Rise
Place your shaped discs on a tray, cover again, and let them puff up for 20 to 25 minutes. This second rise gives your muffins that final soft expansion before cooking, ensuring the perfect chewiness inside.
Step 5: Cook on the Griddle
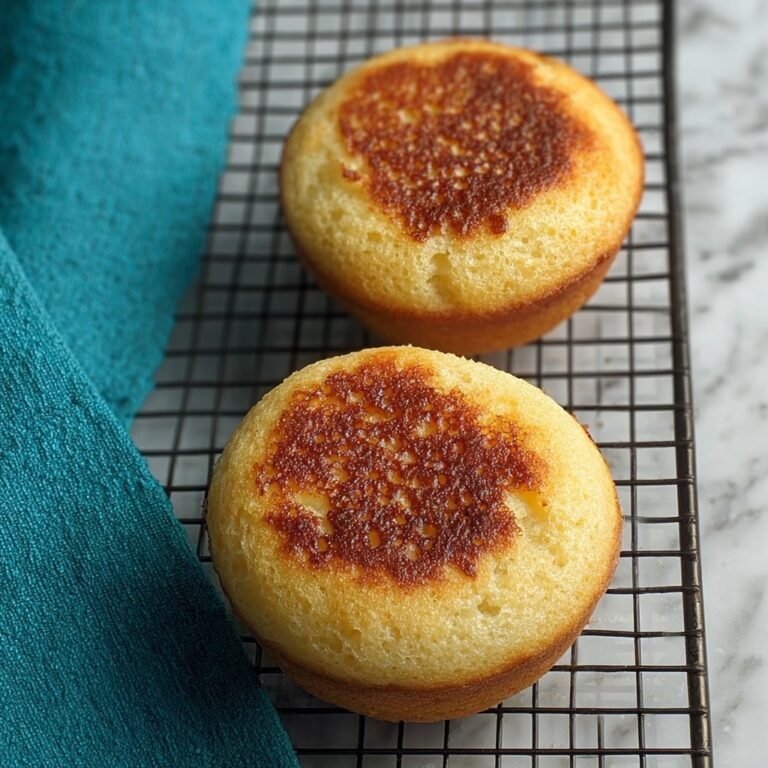
Preheat your griddle or skillet to 325–350°F and lightly grease it. Cook the muffins for 5 to 7 minutes on each side, turning when they’re a beautiful golden brown. This step develops the signature crust and those irresistible toasted bits on the outside.
Step 6: Bake in the Oven
To finish off, pop the muffins into a 375°F oven for 4 to 5 minutes, until they reach an internal temperature of about 200°F. This ensures they’re cooked thoroughly inside without drying out, locking in that tender texture.
Step 7: Cool and Serve
Let the muffins cool completely on a wire rack before splitting them open. This final rest time stabilizes the crumb so you get those wonderful pockets that are perfect for holding butter, jam, or your favorite toppings.
How to Serve Homemade English Muffins Recipe
Garnishes
The beauty of this Homemade English Muffins Recipe is how wonderfully versatile it is when it comes to toppings. A classic smear of melted butter and your favorite jam instantly turns them into breakfast bliss. For a savory twist, try cream cheese and smoked salmon or avocado and a sprinkle of chili flakes. The nooks provide the perfect little holders for any flavor you dream up!
Side Dishes
English muffins are fantastic alongside eggs any style—scrambled, fried, or poached. Serve them with a side of crispy bacon or sautéed mushrooms for a hearty brunch. They also pair beautifully with soups and stews, where their sturdy texture holds up well to dipping and soaking up delicious broth.
Creative Ways to Present
Why stop at traditional toppings? Cut your muffins in half and use them as mini sandwich buns, loading them with breakfast sausage and egg or grilled vegetables and cheese. Toasted muffins topped with melted cheddar and a fried egg make a fun take on a breakfast slider. The possibilities with this Homemade English Muffins Recipe are endless!
Make Ahead and Storage
Storing Leftovers
If you have leftovers, wrap them tightly in plastic wrap or place in an airtight container. Stored at room temperature, they stay fresh for up to two days. Keeping the muffins wrapped helps retain moisture so they don’t become dry and crumbly.
Freezing
For longer storage, freeze your muffins individually wrapped in plastic and then placed in a freezer bag. Frozen homemade English muffins maintain their great texture for up to three months. When you’re ready for a snack, just thaw them at room temperature.
Reheating
The best way to reheat your homemade muffins and bring back that fresh-from-the-oven taste is to toast them. Slice them open and pop them into a toaster or under a broiler for a few minutes until warm and crispy. This revives their signature crunch while keeping the inside soft and tender.
FAQs
Can I use whole wheat flour instead of all-purpose?
Absolutely! You can substitute part or all of the flour with whole wheat for a nuttier flavor and added fiber. Just be aware the muffins might be a little denser and require a touch more water to get the dough’s right consistency.
Do I need a griddle to cook English muffins?
No griddle necessary! A heavy-bottomed skillet or cast iron pan works just as well. The key is steady, moderate heat to develop that golden crust without burning the muffins.
Why do the muffins need to bake after cooking on the griddle?
The baking step ensures the muffins are cooked through without over-browning or drying out on the griddle. It finishes them perfectly so the interior crumb sets and has the signature chewy texture.
Can I make the dough ahead of time?
You can prepare the dough the night before and let it rise slowly in the fridge. Just bring it back to room temperature before shaping and continuing with second rise and cooking. This can actually improve flavor by allowing more fermentation time.
How do I get the nooks and crannies inside the muffins?
Those wonderful holes come from proper yeast fermentation and gentle handling of the dough. Avoid overworking after the first rise, shape gently, and don’t skip the two rises—this builds up the irregular air pockets that make English muffins so special.
Final Thoughts
Trust me, once you try this Homemade English Muffins Recipe, you’ll wonder why you ever bought those supermarket packages. They’re simple to make, delightfully tasty, and so rewarding to enjoy fresh from your own kitchen. Whether for a lazy weekend brunch or a quick weekday breakfast, these muffins elevate any meal and bring that cozy, homemade touch you’ll fall in love with.
Print
Homemade English Muffins Recipe
- Prep Time: 10 minutes
- Cook Time: 40 minutes
- Total Time: 50 minutes
- Yield: 16 English muffins
- Category: Breakfast
- Method: Griddle Cooking with Oven Baking
- Cuisine: American
Description
Homemade English Muffins are a delightful breakfast staple with a crisp, golden crust and soft, chewy interior. Made from simple ingredients and cooked on a griddle before finishing in the oven, they offer the perfect texture for splitting and toasting. This recipe yields 16 fluffy muffins in about 50 minutes total.
Ingredients
Dry Ingredients
- 5 ¾ cups all-purpose or bread flour
- 1 tbsp kosher salt
- 4 ½ tsp granulated sugar
- 4 ¼ tsp instant or active dry yeast
- Cornmeal, for dusting
Wet Ingredients
- 2 ¾ cups warm water
Other
- Non-stick cooking spray or oil, for greasing
Instructions
- Make the Dough: In a large bowl, combine the flour, warm water, kosher salt, granulated sugar, and instant or active dry yeast. Mix until the dough is sticky and shaggy, ensuring all ingredients are well incorporated.
- First Rise: Cover the dough loosely with a clean towel or plastic wrap, and allow it to rise in a warm place until it doubles in size, about 1 hour. This fermentation step develops flavor and texture.
- Shape the Muffins: Once risen, divide the dough into 16 even pieces. Shape each piece into a round disc and flatten to about ½ to ¾ inch thickness. Lightly sprinkle both sides of each disc with cornmeal to prevent sticking and add texture.
- Second Rise: Arrange the shaped discs on a greased or lined surface. Cover again and let them rise for 20–25 minutes until puffy but not fully doubled.
- Cook on Griddle: Preheat a griddle or heavy skillet over medium-low heat to 325–350°F (163–177°C). Lightly grease the surface. Cook the muffins for 5–7 minutes on each side, until they achieve a golden brown crust and are cooked through.
- Bake in Oven: Transfer the cooked muffins to a 375°F (190°C) oven and bake for an additional 4–5 minutes. This step finishes cooking the inside and ensures a crisp exterior. The internal temperature should reach 200°F (93°C) when done.
- Cool & Serve: Remove the muffins from the oven and let them cool completely on a wire rack. Once cooled, split them with a fork or knife and toast as desired before serving.
Notes
- Using bread flour will produce chewier muffins due to higher protein content, but all-purpose flour works well too.
- Make sure the water is warm, not hot, to properly activate the yeast without killing it.
- You can substitute instant yeast for active dry yeast but adjust rising times slightly.
- Sprinkling cornmeal on the muffins helps create the traditional texture and prevents sticking during cooking.
- Allowing the muffins to cool completely before splitting prevents tearing and makes the classic nooks and crannies.
- Store leftover muffins in an airtight container for up to 3 days or freeze for longer storage.


