
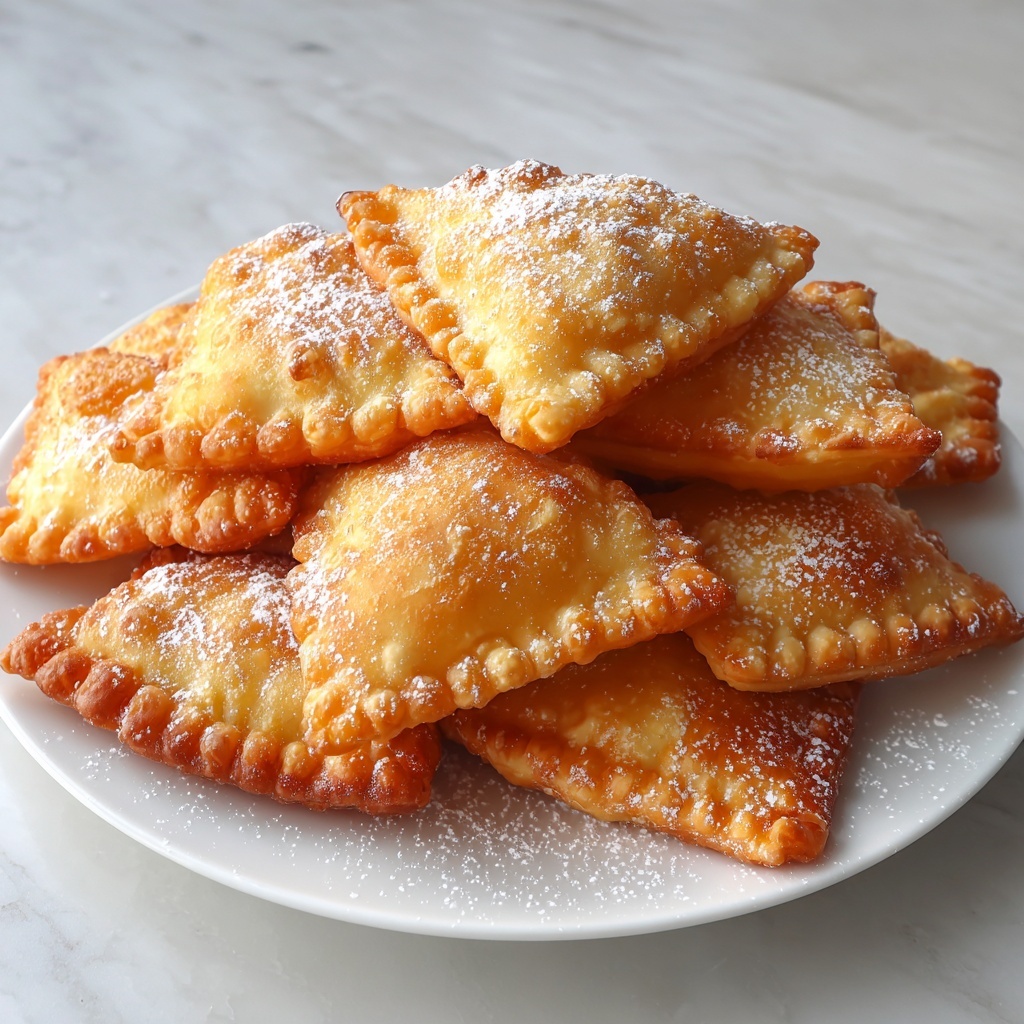
If you’ve ever dreamed of biting into a golden, fluffy, and irresistibly crispy treat, you’re about to fall in love with this Sopaipillas Recipe. These light, airy fried pastries are a beloved Mexican dessert that beautifully marry simplicity and comfort. With just a handful of straightforward ingredients transforming into delightful pockets of puffed perfection, this recipe offers a taste experience that’s as warm and welcoming as sharing a homemade dish with a dear friend.
Ingredients You’ll Need
Preparing sopaipillas is remarkably simple, and the magic lies in the quality and balance of a few essential ingredients. Each one plays a crucial role: from the flour that forms a tender base, to the shortening that adds crumbly richness, and the warm water which brings everything together into a soft dough ready to fry into pillowy goodness.
- 2 cups all-purpose flour: The foundation that provides structure and chew.
- 2 teaspoons baking powder: This leavens the dough, helping the sopaipillas puff up beautifully.
- 1/2 teaspoon salt: Enhances flavor and balances the sweetness of toppings.
- 2 tablespoons shortening or unsalted butter: Adds tender, flaky texture and richness.
- 3/4 cup warm water: Brings the dough together with just the right softness for easy rolling.
- Vegetable oil for frying: Choosing a neutral oil allows the flavors to shine without overpowering.
- Honey or powdered sugar for serving: Sweet finishing touches that elevate every bite.
How to Make Sopaipillas Recipe
Step 1: Mix Dry Ingredients
Begin by whisking the flour, baking powder, and salt together in a large bowl. This ensures the leavening agent and seasoning are evenly distributed, resulting in consistent puffiness and perfect flavor in every sopaipilla.
Step 2: Cut in the Fat
Add the shortening or butter to the dry ingredients. Use a pastry cutter or your fingers to work the fat into the flour until the mixture resembles coarse crumbs. This step is crucial because the fat creates flakes and tenderness as the dough cooks.
Step 3: Form the Dough
Gradually pour in the warm water, stirring gently until a soft dough forms. Transfer it to a floured surface and knead just enough—about 2 to 3 minutes—to achieve a smooth, elastic texture. Avoid overworking, which can make the sopaipillas tough.
Step 4: Rest the Dough
Cover your dough with a clean towel or plastic wrap and let it rest for 20 minutes. This rest period relaxes the gluten strands, making rolling out the dough easier and helping the sopaipillas puff up better during frying.
Step 5: Roll and Cut
Roll out the dough to about 1/4-inch thickness. Using a knife or a pizza cutter, slice it into squares or triangles—both shapes work wonderfully. The pieces should be uniform to cook evenly and achieve consistent puffing.
Step 6: Heat the Oil and Fry
In a deep skillet or heavy pot, heat about 2 inches of vegetable oil to 375°F. Fry the sopaipillas in batches, for 1 to 2 minutes on each side, until they puff up gracefully and turn a gorgeous golden brown. Keep the oil temperature steady—too hot and they’ll burn, too cool and they’ll absorb excess oil.
Step 7: Drain and Serve Warm
Remove fried sopaipillas to a paper towel-lined plate to soak up any extra oil. Serve immediately while they’re warm and tender, ready for your favorite sweet or savory accompaniments.
How to Serve Sopaipillas Recipe
Garnishes
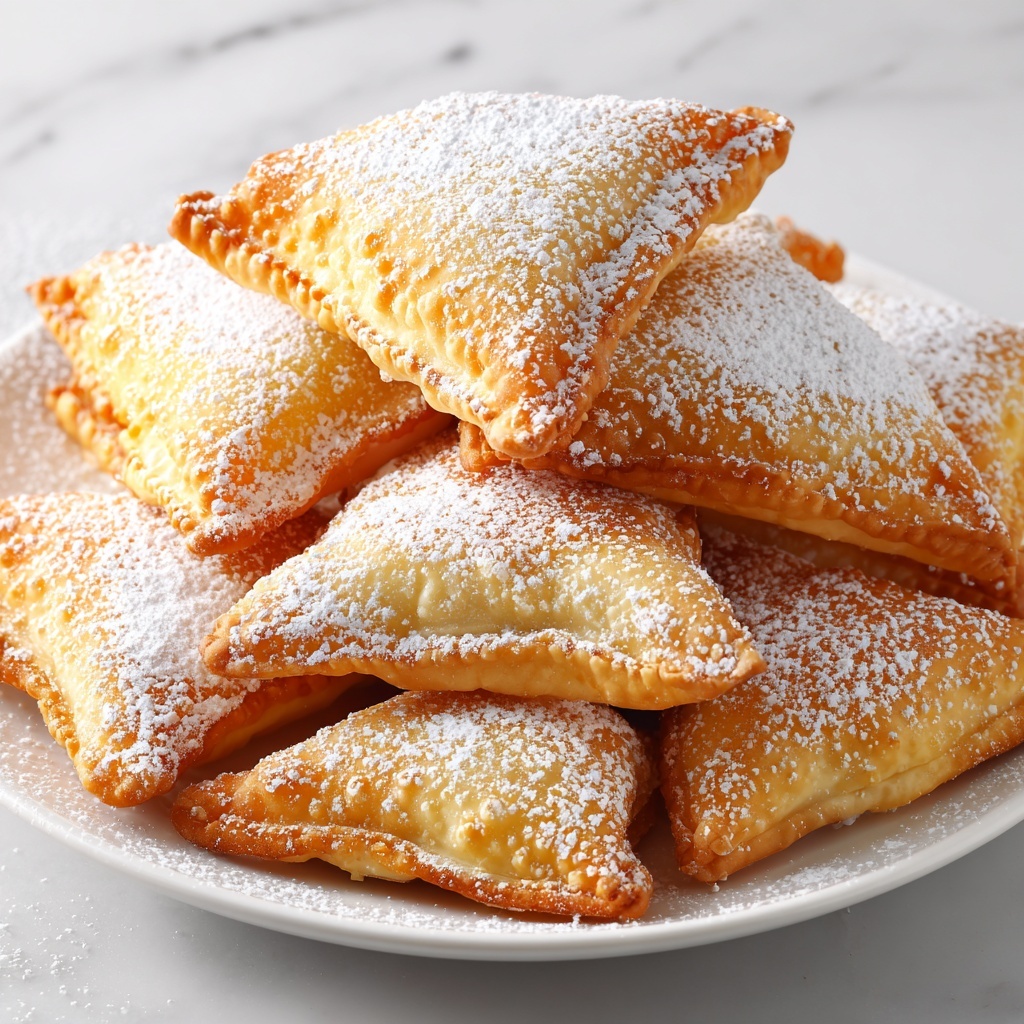
Nothing beats the classic drizzle of honey over warm sopaipillas, letting the sticky sweetness mingle with the crispy pastry. Alternatively, a light dusting of powdered sugar provides a delicate, snowy finish. For a savory twist, sprinkle with a bit of cinnamon or even a pinch of chili powder.
Side Dishes
Sopaipillas shine not only as a dessert but also as a fantastic side to hearty meals. Serve alongside spicy chili, rich soups, or stews where their airy texture contrasts beautifully with deep, robust flavors. They’re also delightful with refried beans or guacamole for a snack with a Tex-Mex flair.
Creative Ways to Present
Elevate your sopaipillas platter by stacking them with layers of sweetened cream cheese or fresh fruit preserves in between. For a playful take, create mini sopaipilla sandwiches filled with ice cream or mascarpone and top with chocolate sauce. The possibilities for this versatile recipe are endless and always exciting.
Make Ahead and Storage
Storing Leftovers
If you find yourself with extra sopaipillas, store them in an airtight container at room temperature for up to two days. This helps maintain their softness without turning stale too quickly. Avoid refrigerating as it can dry them out prematurely.
Freezing
To keep sopaipillas longer, place cooled pieces in a single layer on a baking sheet and freeze until firm. Then transfer them to a freezer bag or container. Frozen sopaipillas stay good for up to one month and are perfect for quick fried dough fixes anytime you crave.
Reheating
Reheat leftover or thawed sopaipillas in a preheated oven at 350°F for about 5 to 10 minutes to restore crispiness. Avoid microwaving as it can make the dough tough or soggy. For extra crisp edges, a quick toss in hot oil also works wonders.
FAQs
What makes sopaipillas puff up?
The combination of baking powder as a leavening agent and high-heat frying causes steam to form inside the dough. This steam inflates the pasta pocket, creating the characteristic puffed shape that makes sopaipillas so delightful.
Can I use butter instead of shortening?
Absolutely! Butter adds a richer, more flavorful note, though it can be less stable at higher frying temperatures than shortening. Either choice will produce delicious sopaipillas, so pick based on your preference for flavor or texture.
Are sopaipillas gluten-free?
Traditional sopaipillas use all-purpose flour containing gluten. However, you can experiment with gluten-free flour blends, keeping in mind the texture may vary. Adjustments in hydration and resting times may be necessary for best results.
How do I know when the oil is at the right temperature?
The ideal frying temperature is 375°F. If you don’t have a thermometer, test the oil by dropping a small piece of dough into it; if it sizzles and rises quickly to the surface without burning, the oil is hot enough.
Can sopaipillas be savory instead of sweet?
Definitely! While many enjoy sopaipillas with honey or powdered sugar, they can be savored with dips like salsa, guacamole, or even served alongside chili. Their neutral dough makes them incredibly versatile for any flavor profile.
Final Thoughts
Making this Sopaipillas Recipe is like inviting a celebration of warmth and flavor right into your kitchen. It’s a simple pleasure with humble ingredients that transforms into a dish everyone will adore. Whether you serve them sweet or savory, these puffed pastries bring people together, one golden bite at a time. So go ahead, give this recipe a try and watch your kitchen fill with the irresistible aroma of freshly fried sopaipillas!
Print
Sopaipillas Recipe
- Prep Time: 15 minutes
- Cook Time: 15 minutes
- Total Time: 30 minutes
- Yield: 12 sopaipillas
- Category: Dessert
- Method: Frying
- Cuisine: Mexican
- Diet: Vegetarian
Description
Sopaipillas are delightful Mexican fried pastries made from a simple dough of flour, baking powder, and shortening, fried until puffed and golden brown. They can be enjoyed sweet with honey or powdered sugar, or savory alongside chili or soups. Crispy on the outside and airy inside, sopaipillas are a quick and delicious treat perfect for dessert or snack time.
Ingredients
Dry Ingredients
- 2 cups all-purpose flour
- 2 teaspoons baking powder
- 1/2 teaspoon salt
Wet Ingredients
- 2 tablespoons shortening or unsalted butter
- 3/4 cup warm water
For Frying & Serving
- Vegetable oil for frying
- Honey or powdered sugar for serving, optional
Instructions
- Mix Dry Ingredients: In a large mixing bowl, whisk together the all-purpose flour, baking powder, and salt to evenly distribute the leavening and seasoning.
- Add Fat: Cut in the shortening or unsalted butter using a pastry cutter or fingers until the mixture looks like coarse crumbs, which helps create a flaky texture.
- Form Dough: Gradually stir in the warm water until the dough comes together into a soft, manageable ball.
- Knead Dough: Turn the dough onto a lightly floured surface and knead gently for 2 to 3 minutes until smooth and elastic, which develops the gluten for structure.
- Rest Dough: Cover the dough with a clean cloth and let it rest for 20 minutes to relax the gluten and make rolling easier.
- Shape Sopaipillas: Roll the dough out to about 1/4-inch thickness, then cut into squares or triangles according to your preference.
- Heat Oil: Pour vegetable oil into a deep skillet or heavy pot to a depth of about 2 inches and heat to 375°F, ensuring it’s hot enough for quick frying without absorbing excess oil.
- Fry Dough: Fry the sopaipillas in batches, turning after 1 to 2 minutes until they puff up and turn golden brown on both sides.
- Drain Excess Oil: Remove fried sopaipillas and set them on a paper towel-lined plate to absorb any excess oil.
- Serve: Serve the sopaipillas warm with honey, powdered sugar, or your favorite dipping sauce. Alternatively, serve them savory alongside chili or soups.
Notes
- For savory variations, pair sopaipillas with chili, beans, or soups instead of sweet toppings.
- Maintain a steady oil temperature of 375°F for even puffing and browning. Too low will result in greasy dough, too high will burn the exterior.
- Leftover sopaipillas can be reheated in the oven at 350°F for 5 minutes to regain crispiness.
- If shortening is unavailable, you can substitute with unsalted butter but note the flavor difference.


