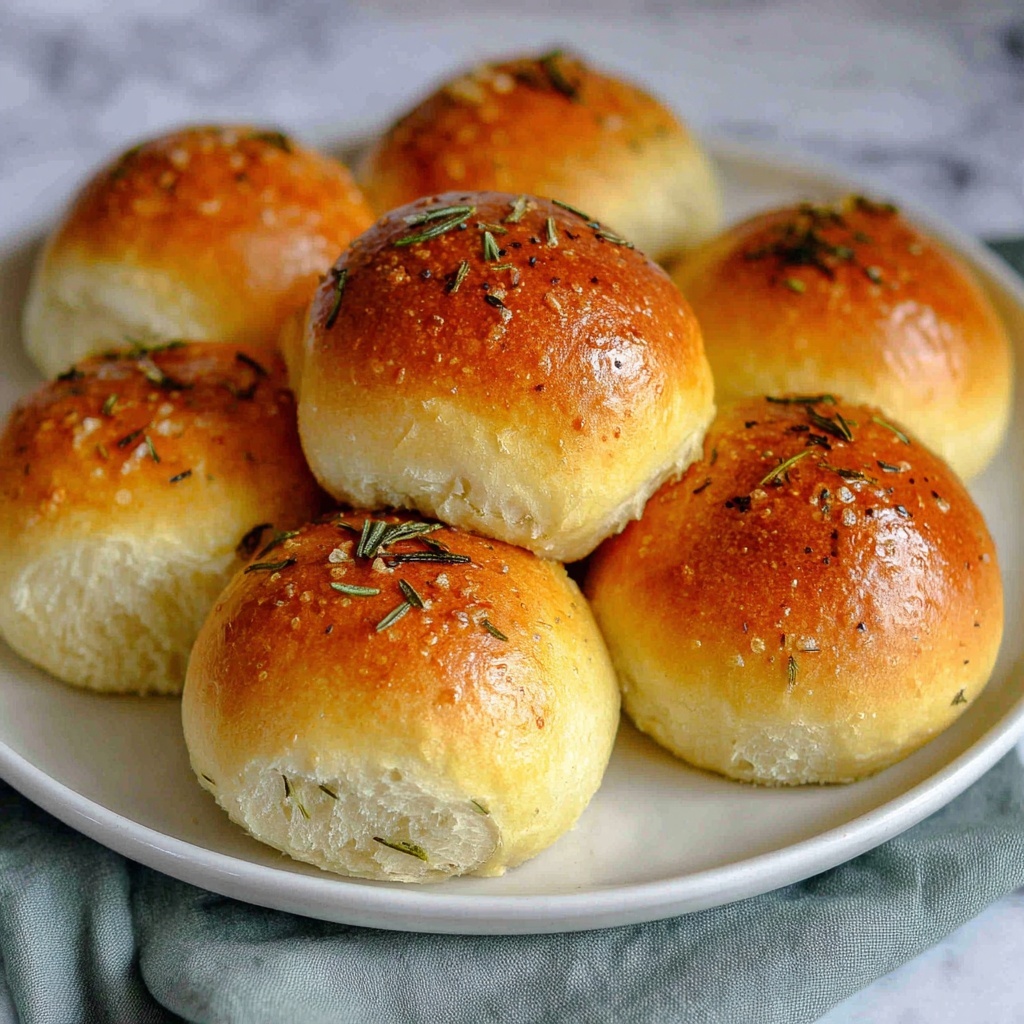
If you’re on the hunt for a comforting bread recipe that fills your kitchen with warm, herbal aromas, look no further than Grandma’s Rosemary Dinner Rolls Recipe. These tender, golden rolls, infused with fresh rosemary and kissed with a delicate olive oil flavor, are the perfect companion to any meal—whether a casual weeknight dinner or a festive holiday spread. The recipe is a treasured family secret, ensuring every bite brings that nostalgic feeling of homemade love and simple goodness.
Ingredients You’ll Need
The ingredients for Grandma’s Rosemary Dinner Rolls Recipe are refreshingly straightforward, yet each one is essential for creating the perfect texture, flavor, and color. From the yeast that makes the dough rise to the fresh rosemary that lends its unmistakable fragrance, this list is your key to bakery-worthy rolls in your own kitchen.
- 4 cups all-purpose flour: Provides structure and a tender crumb to the rolls.
- 2 tablespoons sugar: Feeds the yeast and adds a touch of subtle sweetness that balances the savory notes.
- 1 tablespoon salt: Enhances all the flavors and controls yeast fermentation.
- 1 packet active dry yeast: The magic ingredient that makes the dough rise and yields those soft, fluffy rolls.
- 2 tablespoons fresh rosemary, chopped: Bright, fragrant herb that gives the rolls their signature flavor.
- 1 3/4 cups warm water: Activates the yeast and brings the dough together.
- 1/4 cup olive oil: Adds moisture and a slight fruity richness for a tender crumb.
- 1 egg (for egg wash): Creates a beautiful golden, shiny crust once baked.
How to Make Grandma’s Rosemary Dinner Rolls Recipe
Step 1: Activate the Yeast
Start by warming your water to just the right temperature – warm to the touch but not hot – and stir in the active dry yeast. Let this sit for about five minutes until it becomes frothy; this bubble-up moment tells you your yeast is alive and ready to work its magic.
Step 2: Mix in the Flavor Builders
Next, add the sugar, salt, olive oil, and freshly chopped rosemary to your yeast mixture. The sugar gives energy to the yeast, the salt balances flavor and regulates fermentation, olive oil tenderizes, and rosemary infuses the dough with an aromatic flair that sets these rolls apart.
Step 3: Form the Dough
Gradually introduce the flour, stirring continuously until the mixture begins to gather into a dough. This gradual blending is key to preventing a tough dough and helps maintain a light, airy texture in the final rolls.
Step 4: Knead with Love
Turn your dough out onto a floured surface and knead for about 10 minutes. This is where patience pays off as gluten develops, giving your rolls the perfect chewiness without heaviness. Don’t rush this step—you’ll feel the dough transform from sticky to smooth and elastic.
Step 5: Let It Rise
Place your kneaded dough into a greased bowl, cover it gently with a clean kitchen towel or plastic wrap, and allow it to rise in a warm spot. Waiting about an hour until it doubles in size lets the yeast create those lovely airy pockets that make dinner rolls so irresistible.
Step 6: Prepare for Baking
Preheat your oven to 375°F (190°C). Punch down the risen dough to release gas and shape it into rolls—whether round little buns or your preferred shape, they should be evenly sized for consistent baking.
Step 7: Second Rise
Arrange the shaped rolls on a baking sheet, cover again, and let them rise for another 30 minutes. This final proofing lifts the rolls further, ensuring a delicate crumb and fluffy texture once baked.
Step 8: Brush and Bake
Before sliding them into the oven, brush each roll gently with beaten egg wash—this step gives the rolls their signature shiny, beautifully golden crust. Bake for 20–25 minutes until you see that perfect hue and the smell of fresh rosemary fills your kitchen.
How to Serve Grandma’s Rosemary Dinner Rolls Recipe

Garnishes
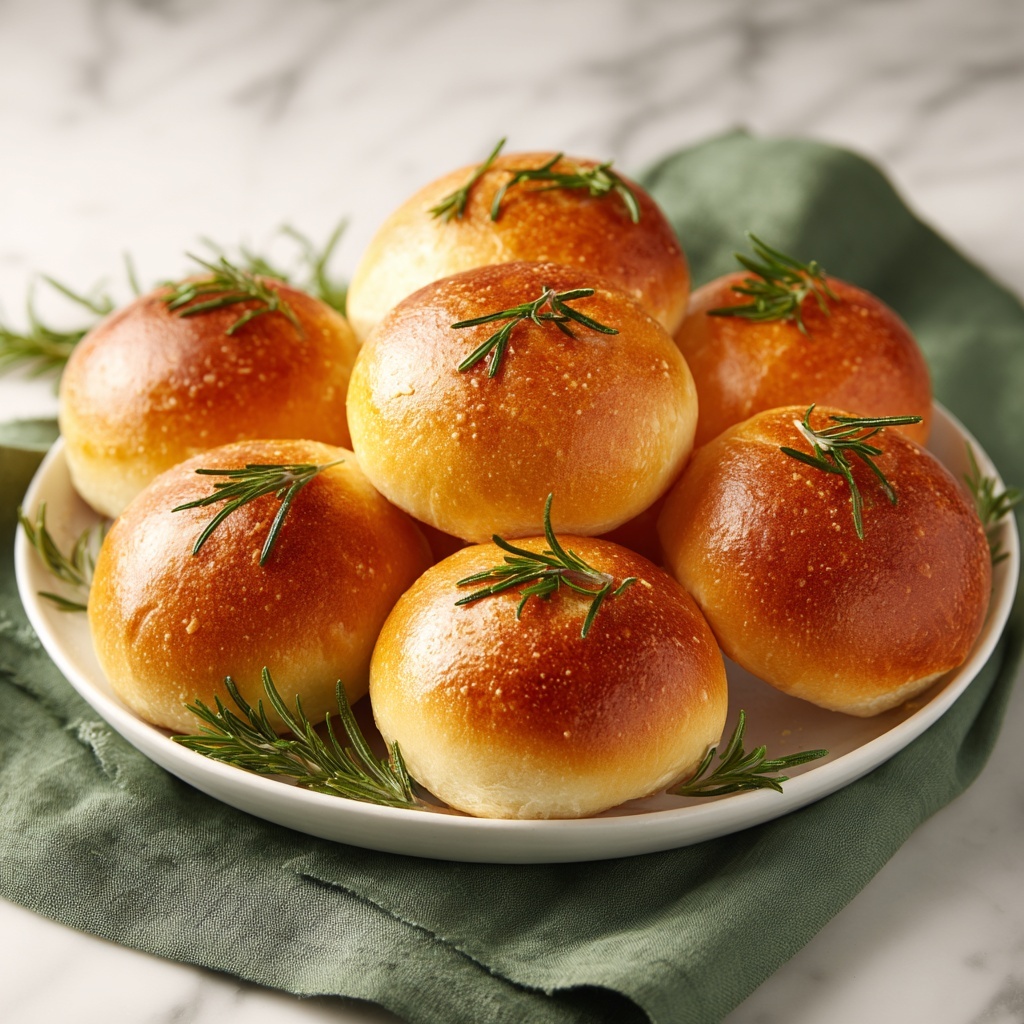
While delicious on their own, adding a sprinkle of flaky sea salt or a touch of melted herb butter just before serving can elevate these rolls even further. If you want a little extra pop, some fresh chopped rosemary on top right after baking creates a rustic, inviting look.
Side Dishes
Rosemary dinner rolls pair wonderfully with hearty soups like tomato basil, creamy butternut squash, or classic chicken noodle. They are also a dream alongside roasted meats, savory stews, or a fresh garden salad—perfect for soaking up all those flavorful juices and sauces.
Creative Ways to Present
For a crowd-pleasing presentation, consider arranging the rolls in a circular pattern on a rustic wooden board or serving tray lined with a linen napkin. You can also slice them in half and use as mini sandwich buns with turkey, cheese, and a smear of Dijon mustard for an elegant appetizer twist.
Make Ahead and Storage
Storing Leftovers
If you have any leftover rolls, store them in an airtight container at room temperature for up to two days to maintain softness. Placing a slice of bread inside the container can help keep moisture in and prevent the rolls from drying out.
Freezing
Grandma’s Rosemary Dinner Rolls Recipe freezes beautifully. After baking and cooling completely, place the rolls in a freezer-safe bag or container for up to three months. When you’re ready to enjoy, thaw them at room temperature or pop them in the oven to warm back up.
Reheating
To bring your rolls back to life, reheat them in the oven at 350°F (175°C) for 5 to 10 minutes. This helps restore the crust’s crispness while keeping the inside soft and fragrant—a perfect way to enjoy them fresh all over again.
FAQs
Can I use dried rosemary instead of fresh?
Yes, you can substitute dried rosemary, but use about a third of the amount because dried herbs are more concentrated. Fresh rosemary offers a brighter flavor and aroma, so it’s recommended if you have it on hand.
What if I don’t have olive oil? Can I use another type?
While olive oil imparts a unique fruity richness, you can substitute with vegetable or canola oil if needed. Just avoid flavors that are too strong, like sesame or coconut, as they can overpower the delicate rosemary.
Why do I need to let the dough rise twice?
The first rise allows the yeast to ferment, producing gas bubbles that make the dough light and airy. The second rise after shaping gives the rolls their final puff and tenderness once baked, resulting in the perfect fluffy texture.
Can I make these rolls gluten-free?
This particular recipe relies on all-purpose flour for gluten, which gives structure and chew. For gluten-free versions, you’d need specific blends designed for baking, plus additional binding agents—though the results may vary from the classic texture of Grandma’s Rosemary Dinner Rolls Recipe.
How can I make the rolls fluffier?
To achieve an even fluffier roll, ensure you knead the dough well to develop gluten, and provide a warm, draft-free environment for rising. Using bread flour instead of all-purpose can also enhance softness because of its higher protein content.
Final Thoughts
There is something truly special about baking Grandma’s Rosemary Dinner Rolls Recipe from scratch. The way the bread smells as it bakes, the golden crust, and that soft, flavorful interior all come together to create a memorable eating experience. Whether for a family gathering or a quiet night in, these rolls bring warmth and delight to the table. I wholeheartedly encourage you to try this recipe and make it your own treasured tradition—you won’t regret that first soft, rosemary-scented bite!
Print
Grandma’s Rosemary Dinner Rolls Recipe
- Prep Time: 20 minutes
- Cook Time: 25 minutes
- Total Time: 1 hour 45 minutes
- Yield: 12 rolls
- Category: Bread
- Method: Baking
- Cuisine: American
Description
Grandma’s Rosemary Dinner Rolls are soft, fluffy, and fragrant with fresh rosemary, perfect for any dinner table. These homemade rolls feature a slightly crispy golden crust thanks to an egg wash, while the interior remains tender and flavorful. Ideal as a side for soups, stews, or holiday meals, this recipe combines traditional bread-making techniques with aromatic herbs for an irresistible result.
Ingredients
Dry Ingredients
- 4 cups all-purpose flour
- 2 tablespoons sugar
- 1 tablespoon salt
- 1 packet active dry yeast (about 2 1/4 teaspoons)
Wet Ingredients
- 1 3/4 cups warm water (about 110°F/43°C)
- 1/4 cup olive oil
- 2 tablespoons fresh rosemary, chopped
- 1 egg (for egg wash)
Instructions
- Activate the yeast: In a mixing bowl, combine the warm water and active dry yeast. Let it sit for about 5 minutes until it becomes frothy, confirming the yeast is active.
- Mix wet ingredients and herbs: Add sugar, salt, olive oil, and chopped rosemary to the yeast mixture. Stir gently to combine all ingredients evenly.
- Add flour and form dough: Gradually add the all-purpose flour to the wet mixture, stirring after each addition until a cohesive dough forms.
- Knead the dough: Turn the dough onto a floured surface and knead it for approximately 10 minutes until smooth, elastic, and slightly tacky.
- First rise: Place the dough in a greased bowl and cover it with a clean kitchen towel or plastic wrap. Let it rise at room temperature until the dough doubles in size, about 1 hour.
- Preheat oven: While the dough is rising, preheat your oven to 375°F (190°C) to ensure it’s ready for baking.
- Shape the rolls: Once risen, punch down the dough to release air bubbles and divide it into equal portions. Shape each portion into a round roll.
- Second rise: Arrange the rolls on a baking sheet lined with parchment paper or lightly greased. Cover them and let the rolls rise for another 30 minutes until puffed up.
- Apply egg wash and bake: Beat the egg and brush it over the tops of the rolls to create a glossy, golden crust. Bake the rolls in the preheated oven for 20-25 minutes, or until they turn golden brown and sound hollow when tapped.
Notes
- Make sure the water is warm, not hot, to avoid killing the yeast.
- Kneading dough adequately develops gluten, giving the rolls their structure and chew.
- Use fresh rosemary for the best flavor; dried rosemary may make the texture tougher.
- Brush with egg wash right before baking to ensure a shiny, golden crust.
- Allow rolls to cool slightly on a wire rack to retain their texture.


