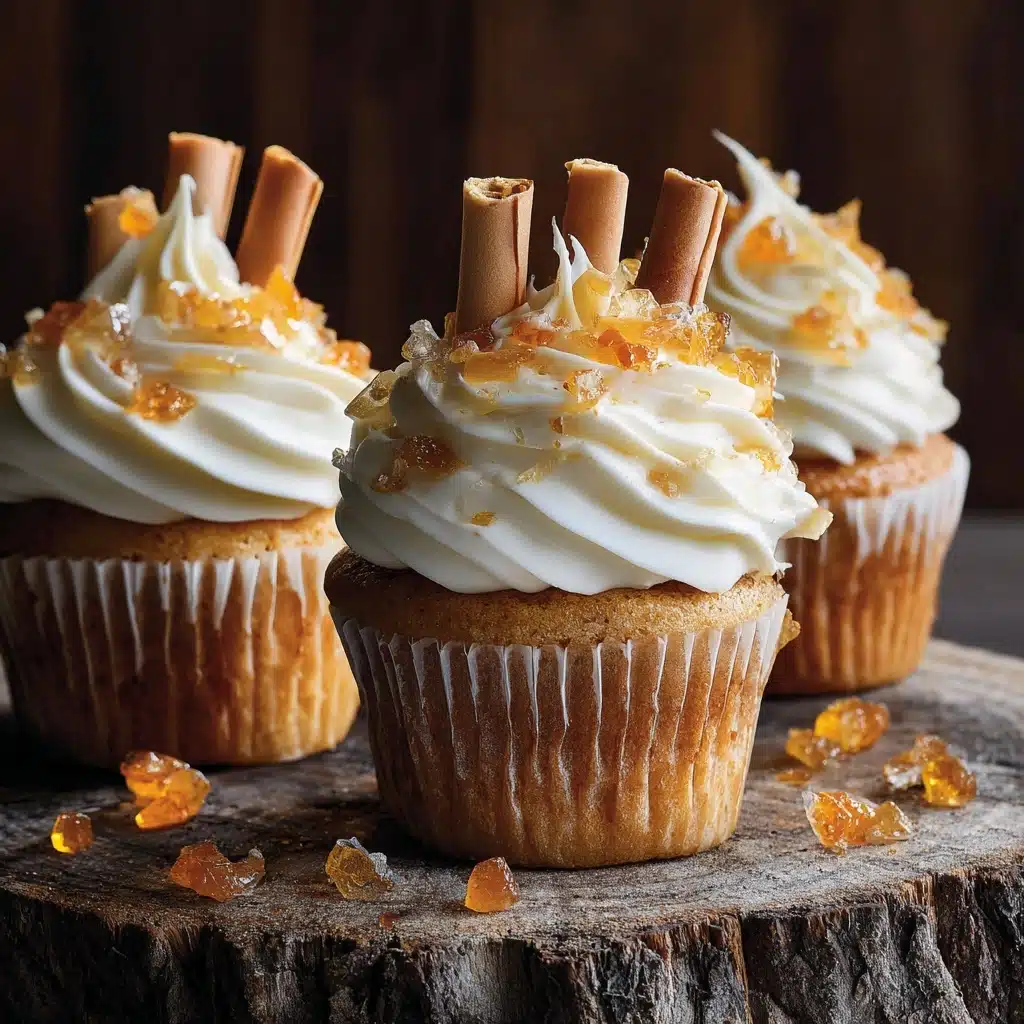
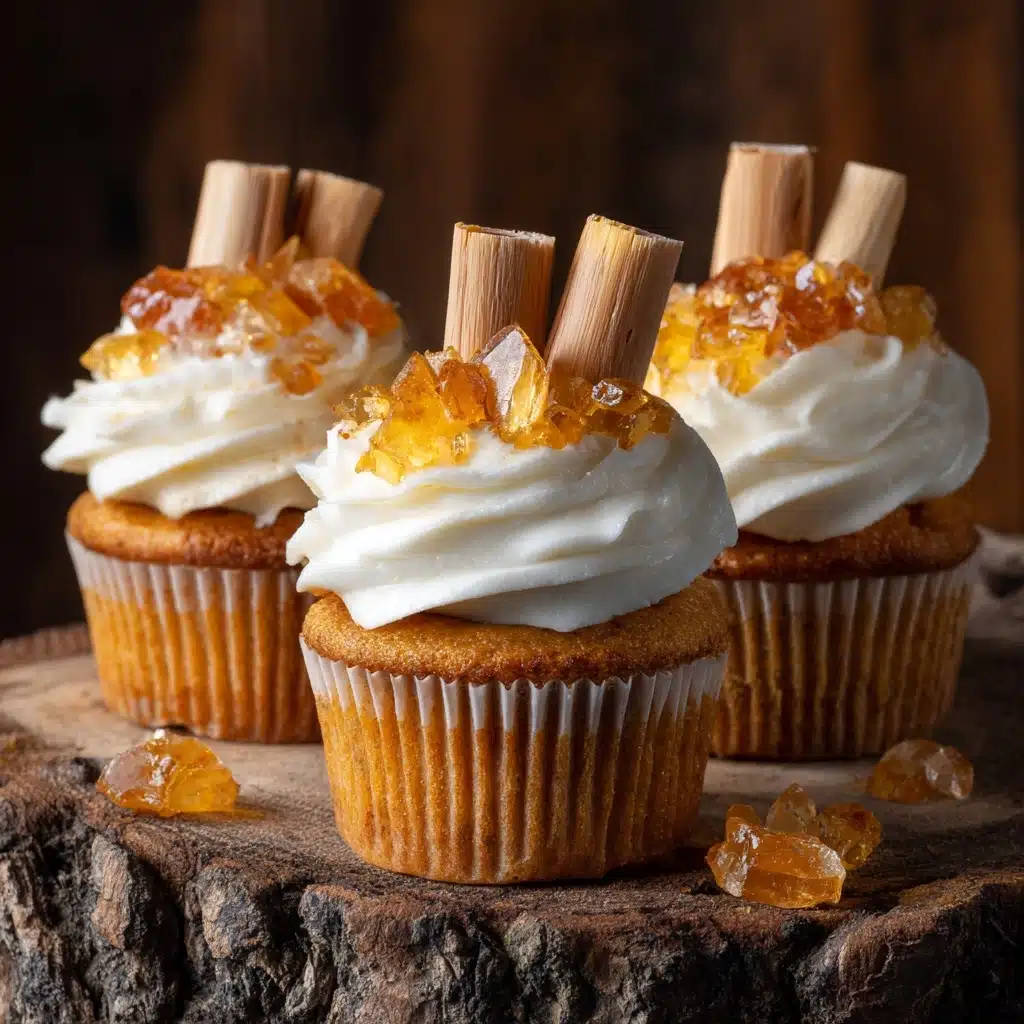
Get ready to bring the magic of the outdoors inside with Camp Fire Cupcakes! Imagine all the cozy charm of a crackling campfire, deliciously transformed into a whimsical dessert that’s as fun to make as it is to eat. These cupcakes take rich chocolate cake, playful marshmallows, crunchy “dirt,” and fiery frosting, then top it all off with pretzel “logs” for an irresistibly cute treat. Whether you’re celebrating a camping birthday, planning a summer party, or just want to sprinkle some adventure onto your weeknight, Camp Fire Cupcakes are guaranteed to spark smiles and sweet memories.
Ingredients You’ll Need
The best part about Camp Fire Cupcakes is how simple the ingredients are, yet each one plays a starring role in creating that signature campfire look and taste. Every component adds a unique flavor, texture, or pop of color, turning ordinary cupcakes into a show-stopping experience.
- Chocolate cake mix: The rich, moist base that anchors all the fun toppings. Use your favorite brand for a reliable result.
- Eggs, oil, and water: Essential for preparing the cake mix and giving your cupcakes the perfect crumb.
- Mini marshmallows: These add a playful, gooey touch, echoing the must-have campfire treat.
- Chocolate wafer cookies, crushed: They mimic rich “dirt,” giving each bite an extra layer of chocolatey crunch.
- Graham cracker crumbs: Sprinkle these on for that unmistakable s’mores flavor and sandy look.
- Chocolate frosting: Acts as the “glue” and provides a luscious base for the toppings.
- Orange frosting: Adds vibrant “flames” that make your campfire come to life.
- Yellow frosting: Piped with the orange for a realistic, glowing fire effect.
- Pretzel sticks: The ultimate edible “logs” for your cupcake campfire.
- Cupcake liners: Keep things tidy and make the cupcakes easy to serve and eat.
How to Make Camp Fire Cupcakes
Step 1: Prep Your Cupcake Liners and Oven
Start by preheating your oven to 350°F. Line a muffin tin with cupcake liners so your Camp Fire Cupcakes will be easy to remove and have a festive base. This step ensures the cupcakes bake evenly and look great from the start.
Step 2: Mix and Bake the Cupcakes
Prepare the chocolate cake mix according to the directions on the box, using the eggs, oil, and water specified. Divide the batter evenly among the cupcake liners, filling each about two-thirds full. Slide the tray into your preheated oven and bake for 18 to 20 minutes, or until a toothpick inserted in the center comes out clean. Let the cupcakes cool completely on a wire rack before moving on to the next step—this prevents the frosting from melting!
Step 3: Frost with Chocolate
Once the cupcakes are cool, spread a thin layer of chocolate frosting over each one. This not only adds a decadent chocolate layer but also helps all the “dirt” and “sand” stick perfectly. You don’t need to be a perfectionist here—rustic is totally in style for Camp Fire Cupcakes!
Step 4: Create the Campfire Base
Sprinkle the crushed chocolate wafer cookies and graham cracker crumbs over the frosted cupcakes. This duo creates a realistic “earthy” base, reminiscent of the forest floor around a real campfire. Don’t be shy with these toppings—the more texture, the better.
Step 5: Build Your Pretzel Log Pile
Place three to four pretzel sticks in the center of each cupcake, arranging them like a miniature campfire log pile. The salty crunch of pretzels is a delightful contrast to the sweetness of the cupcakes, and they truly make the campfire scene pop.
Step 6: Add Flaming Frosting
With orange and yellow frosting, pipe little flames between the pretzel sticks. Alternate the two colors and let some of the “fire” flicker up the logs for a realistic effect. This is where Camp Fire Cupcakes really come to life, so have fun with your artistic side!
Step 7: Finish with Marshmallows
Scatter a few mini marshmallows around the “fire.” They look just like marshmallows ready for toasting and add an extra camp-inspired touch. You can even gently toast the marshmallows with a kitchen torch if you want added authenticity.
How to Serve Camp Fire Cupcakes
Garnishes
For an extra wow factor, garnish your Camp Fire Cupcakes with a dusting of edible glitter to mimic campfire sparks, or add a drizzle of caramel sauce for gooey “melted marshmallow” vibes. A few extra crushed graham crackers or wafer crumbs around the cupcake base on your serving platter can help set the scene.
Side Dishes
Pair these cupcakes with classic camping treats for a full themed spread. Think bowls of popcorn, s’mores dip, or even a big pitcher of homemade lemonade. These sides are fun, shareable, and keep the campfire spirit alive at your table.
Creative Ways to Present
Take your presentation up a notch by serving Camp Fire Cupcakes on a wooden platter or a picnic blanket. For parties, try arranging the cupcakes in a circle to mimic a real campfire, or pop them into mini “fire pits” made from foil for individual servings. Cupcake toppers shaped like tiny tents or campers add even more personality.
Make Ahead and Storage
Storing Leftovers
If you find yourself with leftover Camp Fire Cupcakes (a rare phenomenon!), simply store them in an airtight container at room temperature for up to two days. The toppings hold up well, and the cupcakes stay moist and delicious.
Freezing
For longer storage, you can freeze unfrosted cupcakes for up to three months. Wrap each cupcake tightly in plastic wrap, then place them in a freezer-safe bag or container. When ready to decorate, thaw at room temperature and proceed with frosting and toppings.
Reheating
While you don’t need to reheat these cupcakes, if you love a warm, gooey marshmallow touch, pop a cupcake in the microwave for just 5 to 10 seconds before serving. This gives the marshmallows a just-toasted feel without melting the rest of your beautiful decorations.
FAQs
Can I use homemade cake mix instead of a box?
Absolutely! If you have a favorite from-scratch chocolate cupcake recipe, feel free to use it as the base for your Camp Fire Cupcakes. Just be sure to make enough batter for 12 cupcakes.
How do I get the frosting flames to look realistic?
Use a small round or star piping tip and alternate orange and yellow frosting for a layered effect. Let the flames “lick” up the sides of the pretzel sticks, and don’t worry about perfection—real flames are always a little wild!
What if I don’t have chocolate wafer cookies?
No problem! You can substitute with chocolate graham crackers, chocolate teddy grahams, or even finely chopped chocolate sandwich cookies. The key is to get that dark, crumbly “dirt” look and texture.
Can I make Camp Fire Cupcakes ahead of time?
Definitely! You can bake and frost the cupcakes a day or two in advance, then add the pretzel sticks, flame frosting, and marshmallows just before serving for the freshest look and texture.
Are these cupcakes safe for kids to decorate?
Yes, decorating Camp Fire Cupcakes is a fantastic hands-on activity for kids! Set out bowls of toppings and let everyone build their own edible campfire—just supervise the piping bags for the flames if younger kids are involved.
Final Thoughts
Camp Fire Cupcakes are a joyful way to capture the spirit of storytelling, laughter, and togetherness around a fire—no tent required! I hope you’ll gather your favorite people and give these cupcakes a try. They’re not just a dessert, they’re a little adventure in every bite.