
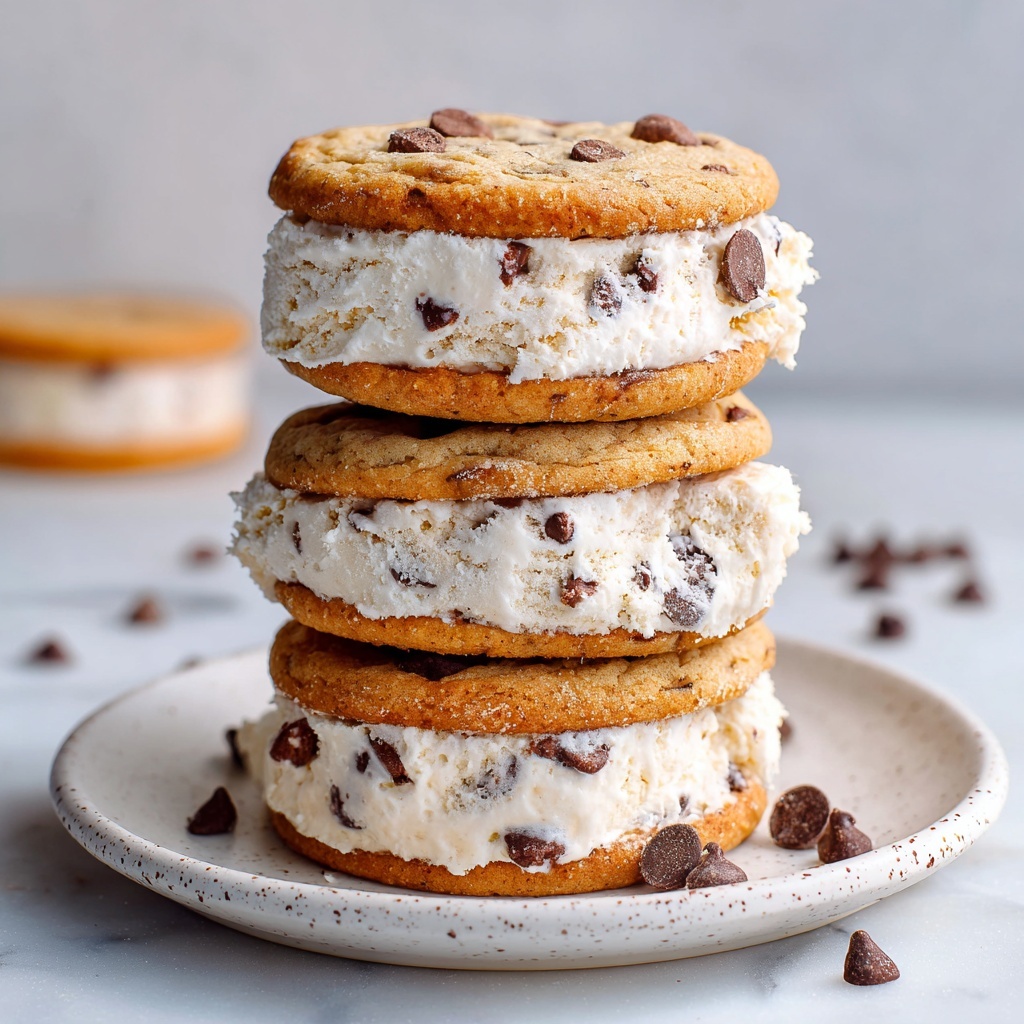
If you’ve ever dreamed of biting into the perfect frozen treat that combines rich, homemade cookies with creamy vanilla ice cream, then you’re in for a real delight with this Cookie Ice Cream Sandwiches (Homemade Chipwich) Recipe. It’s a fun and nostalgic dessert that’s incredibly satisfying, boasting soft, chewy chocolate chip cookies paired with luscious ice cream, all rolled in extra mini chocolate chips for a little added indulgence. These sandwiches bring a smile with every bite and are just the thing for cooling down on a warm day or impressing friends at your next gathering.

Ingredients You’ll Need
This Cookie Ice Cream Sandwiches (Homemade Chipwich) Recipe relies on simple, pantry-friendly ingredients that work together beautifully to create spectacular flavor and irresistible texture. Each element plays a crucial part: from the creamy butter that gives the cookies their tenderness, to the mini chocolate chips that add bursts of chocolatey goodness throughout.
- 1 cup unsalted butter (room temperature): Provides a rich, creamy base for the cookie dough, helping with texture and flavor.
- 1 cup light brown sugar: Adds moisture and a hint of caramel sweetness for depth.
- 1/2 cup granulated sugar: Balances sweetness and contributes to cookie crispness.
- 1 large egg: Binds the ingredients together and adds richness.
- 2 teaspoons vanilla extract: Infuses the cookies with warm, aromatic flavor.
- 2 1/4 cups all-purpose flour: The foundation providing structure to the cookies.
- 1 teaspoon baking soda: Helps the cookies rise and spread just right.
- 1/2 teaspoon salt: Enhances sweetness and balances flavors.
- 1 cup mini chocolate chips (plus more for rolling): Melts into pockets of chocolate bliss inside each cookie and decorates the edges of the sandwich.
- Vanilla ice cream (homemade or store-bought): The cool, creamy center that makes every bite heavenly.
How to Make Cookie Ice Cream Sandwiches (Homemade Chipwich) Recipe
Step 1: Preheat and Prepare Your Oven
Start by preheating your oven to 350 degrees Fahrenheit (175 degrees Celsius). This ensures it’s perfectly hot and ready to give your cookies that golden, chewy edge we all crave.
Step 2: Cream the Butters and Sugars
In a large mixing bowl, beat together the softened butter, light brown sugar, and granulated sugar until the mixture becomes light and fluffy. This step is essential for creating tender cookies. Then add the egg and vanilla extract, mixing until everything is fully combined.
Step 3: Combine Dry Ingredients
In a separate bowl, whisk together the flour, baking soda, and salt. Gradually add this dry mixture to the wet ingredients, mixing just until fully incorporated—overmixing can toughen cookies, so keep it gentle!
Step 4: Add the Chocolate Chips
Now fold in 1 cup of mini chocolate chips. These little bursts of chocolate throughout the dough will make every bite dreamy and rich, so don’t skimp here.
Step 5: Shape Your Cookie Dough
Roll the dough into balls and place them on a baking sheet, leaving room between each for spreading. Give each ball a gentle press to flatten it slightly into a disc—the perfect shape for sandwiching ice cream later.
Step 6: Bake and Cool
Bake for 10 to 12 minutes, or until your cookies turn golden brown around the edges. This timing ensures soft centers and crisp edges—a cookie lover’s dream. Once baked, let them cool completely before moving on to the next step.
Step 7: Chill the Cookies
Pop those cooled cookies into the freezer for 20 to 30 minutes. This chill time firms them up so that when you add the ice cream, the cookies won’t crumble or melt the ice cream too quickly.
Step 8: Assemble Your Homemade Chipwich
Here’s where the magic happens: place a scoop of vanilla ice cream on one chilled cookie, then top it off with another cookie. Press gently to form a sandwich that holds together perfectly.
Step 9: Roll in Mini Chocolate Chips and Serve
Roll the edges of your ice cream sandwich in mini chocolate chips for extra chocolatey goodness and a fun texture. Serve right away or store them in the freezer for later enjoyment.
How to Serve Cookie Ice Cream Sandwiches (Homemade Chipwich) Recipe
Garnishes
Sprinkle a little flaky sea salt or drizzle some warm caramel sauce over your Cookie Ice Cream Sandwiches (Homemade Chipwich) Recipe for a gourmet touch. Fresh mint leaves also add a lovely pop of color and freshness that brightens each bite.
Side Dishes
Serve alongside a scoop of fresh fruit sorbet or a bowl of mixed berries to balance the sweetness with tartness. A cold glass of milk or a creamy coffee drink pairs beautifully as well, turning a simple dessert into a full experience.
Creative Ways to Present
Transform this classic treat by wrapping each sandwich in parchment paper and tying with a ribbon for an adorable gift or party favor. Or stack several on a dessert platter for a crowd-pleasing centerpiece that invites everyone to dig in.
Make Ahead and Storage
Storing Leftovers
Place your assembled Cookie Ice Cream Sandwiches in an airtight container in the freezer. This keeps them fresh and prevents ice crystals from forming, so every bite tastes just as delightful as when first made.
Freezing
You can freeze both leftover cookies and assembled sandwiches. Individually wrap cookies before freezing for longer storage, and freeze sandwiches on a tray before transferring to a sealed container to keep them perfectly intact.
Reheating
Since these are ice cream sandwiches, reheating isn’t recommended—but if you want softer cookies, warm a cookie for about 10 seconds in the microwave before assembling your sandwich, then add ice cream immediately.
FAQs
Can I use other ice cream flavors?
Absolutely! While vanilla is classic, feel free to mix it up with chocolate, strawberry, mint chip, or any flavor you love. Just be sure the ice cream is firm enough to hold its shape.
How long do these sandwiches last in the freezer?
Properly stored, your Cookie Ice Cream Sandwiches can last up to 2 weeks without losing flavor or texture. Beyond that, the ice cream may develop freezer burn.
Can I make the cookie dough ahead of time?
Yes! You can prepare the cookie dough a day in advance and refrigerate it overnight. This can actually improve the flavor and texture as the dough has time to rest.
Are there any alternatives for mini chocolate chips?
If you don’t have mini chips, regular chocolate chips chopped into smaller pieces work well. You can also experiment with white chocolate or butterscotch chips for a different twist.
What’s the best way to scoop the ice cream for assembling?
A sturdy ice cream scoop works wonders, helping you get perfectly round, uniform scoops that fit nicely between your cookies for that perfect sandwich shape.
Final Thoughts
Making these Cookie Ice Cream Sandwiches (Homemade Chipwich) Recipe at home is such a joyful experience, both in the process and in every delicious bite. Whether it’s a hot summer day or a festive treat for friends and family, this recipe is a guaranteed hit. Don’t be surprised if these become one of your favorite homemade desserts to indulge in again and again!
Print
Cookie Ice Cream Sandwiches (Homemade Chipwich) Recipe
- Prep Time: 15 minutes
- Cook Time: 12 minutes
- Total Time: 1 hour
- Yield: 12 sandwiches
- Category: Dessert
- Method: Baking
- Cuisine: American
Description
These homemade Cookie Ice Cream Sandwiches are a delightful treat combining freshly baked chocolate chip cookies with creamy vanilla ice cream. Perfect for a refreshing dessert, they are easy to make and customizable with your favorite ice cream flavors.
Ingredients
Cookie Dough
- 1 cup unsalted butter (room temperature)
- 1 cup light brown sugar
- 1/2 cup granulated sugar
- 1 large egg
- 2 teaspoons vanilla extract
- 2 1/4 cups all-purpose flour
- 1 teaspoon baking soda
- 1/2 teaspoon salt
- 1 cup mini chocolate chips (plus more for rolling)
Assembly
- Vanilla ice cream (homemade or store-bought)
Instructions
- Preheat the oven: Set your oven to 350°F (175°C) to prepare for baking the cookies.
- Mix wet ingredients: In a large mixing bowl, beat the room-temperature butter, light brown sugar, and granulated sugar together until the mixture is light and fluffy. Then, add the egg and vanilla extract, mixing well until combined.
- Combine dry ingredients: In a separate bowl, whisk together the all-purpose flour, baking soda, and salt. Gradually incorporate these dry ingredients into the wet mixture, stirring just until combined to avoid overmixing.
- Add chocolate chips: Fold in 1 cup of mini chocolate chips evenly throughout the cookie dough.
- Shape the cookies: Roll the dough into balls and place them on a baking sheet lined with parchment paper. Slightly press each ball down to flatten into a disc shape.
- Bake the cookies: Place the baking sheet in the preheated oven and bake for 10 to 12 minutes, until the cookies are golden brown around the edges. Remove and allow them to cool completely on a wire rack.
- Chill the cookies: Once cooled, place the cookies in the freezer for 20 to 30 minutes. This helps firm them up for assembling the sandwiches.
- Assemble sandwiches: Take one chilled cookie and place a scoop of vanilla ice cream on top. Cover with another cookie and gently press down to form a sandwich.
- Finish and serve: Roll the edges of the ice cream sandwich in mini chocolate chips for an extra chocolatey touch. Serve immediately or keep frozen until ready to enjoy.
Notes
- Use room-temperature butter to ensure creamy, well-mixed dough.
- For best results, freeze the assembled sandwiches before serving.
- Feel free to substitute vanilla ice cream with other favorite flavors.
- Mini chocolate chips on the edges add extra texture and visual appeal.
- Store leftover sandwiches in an airtight container in the freezer.


