If you’re searching for an irresistible weeknight dinner that’s as impressive as it is easy, look no further than Crispy Caesar Chicken Breasts. Juicy chicken gets a tangy, creamy Caesar hug before being blanketed in a golden, cheesy panko crust that bakes up shatteringly crisp. Every bite is loaded with savory flavor, a little crunch, and a beautifully moist center — it’s a dish that’ll have everyone at the table asking for seconds, and it’s quickly become a favorite in my own kitchen!
Ingredients You’ll Need
The beauty of Crispy Caesar Chicken Breasts lies in its handful of simple, everyday ingredients, each playing a starring role in the final flavor and texture. Here’s what you’ll need to create that irresistible crunch and creamy Caesar zing.
- Chicken Breasts: Boneless, skinless chicken breasts are the perfect canvas for all the bold flavors and the crispy coating.
- Caesar Dressing: Creamy Caesar dressing not only brings classic tangy, garlicky notes, it also helps the crumbs stick beautifully.
- Parmesan Cheese: Grated Parmesan melts into the crust, delivering salty, nutty depth and a gorgeous golden hue.
- Panko Breadcrumbs: These light, airy breadcrumbs guarantee the crispiest possible exterior — so much crunch in every bite!
- Garlic Powder: Adds a subtle warmth and boosts the Caesar vibes without overpowering the dish.
- Black Pepper: Freshly ground for a little bite and balance, bringing out all the other flavors.
- Salt: Essential for seasoning both the chicken and the coating — don’t skip it!
- Olive Oil or Melted Butter: A drizzle ensures the crust gets perfectly golden (and helps the cheese melt just right).
- Chopped Parsley (optional): A fresh sprinkle of green for finishing flair and a pop of color.
How to Make Crispy Caesar Chicken Breasts
Step 1: Prep the Oven and Pan
Start by preheating your oven to 400°F (200°C). While it heats up, lightly grease a baking dish or line a sheet pan with parchment paper. If you’re after ultimate crunch, set a wire rack over your baking sheet so hot air can circulate and crisp up every inch of those chicken breasts.
Step 2: Mix the Crunchy Coating
In a shallow bowl, combine your panko breadcrumbs, grated Parmesan, garlic powder, salt, and black pepper. Drizzle in the olive oil or melted butter, then use a fork to toss until every crumb is evenly coated. This step is key — it’s what makes the outside of your Crispy Caesar Chicken Breasts so beautifully golden and flavorful.
Step 3: Coat the Chicken with Caesar Dressing
Pat the chicken breasts dry with paper towels (this helps the coating stick and keeps the crust from getting soggy). Brush both sides of each chicken breast generously with creamy Caesar dressing. Don’t be shy here — the more, the better!
Step 4: Dredge in the Crumb Mixture
Press each Caesar-coated chicken breast into the breadcrumb mixture, ensuring both sides are covered thoroughly. Really press down so the coating sticks and you get that thick, crunchy layer that makes Crispy Caesar Chicken Breasts so special.
Step 5: Bake to Crispy Perfection
Arrange the coated chicken breasts in your prepared baking dish or on your wire rack. Slide into the oven and bake for 25 to 30 minutes, or until the chicken is cooked through and the coating is golden and crispy. The internal temperature should reach 165°F (74°C). Let the chicken rest for about 5 minutes before slicing — this keeps every piece juicy!
How to Serve Crispy Caesar Chicken Breasts
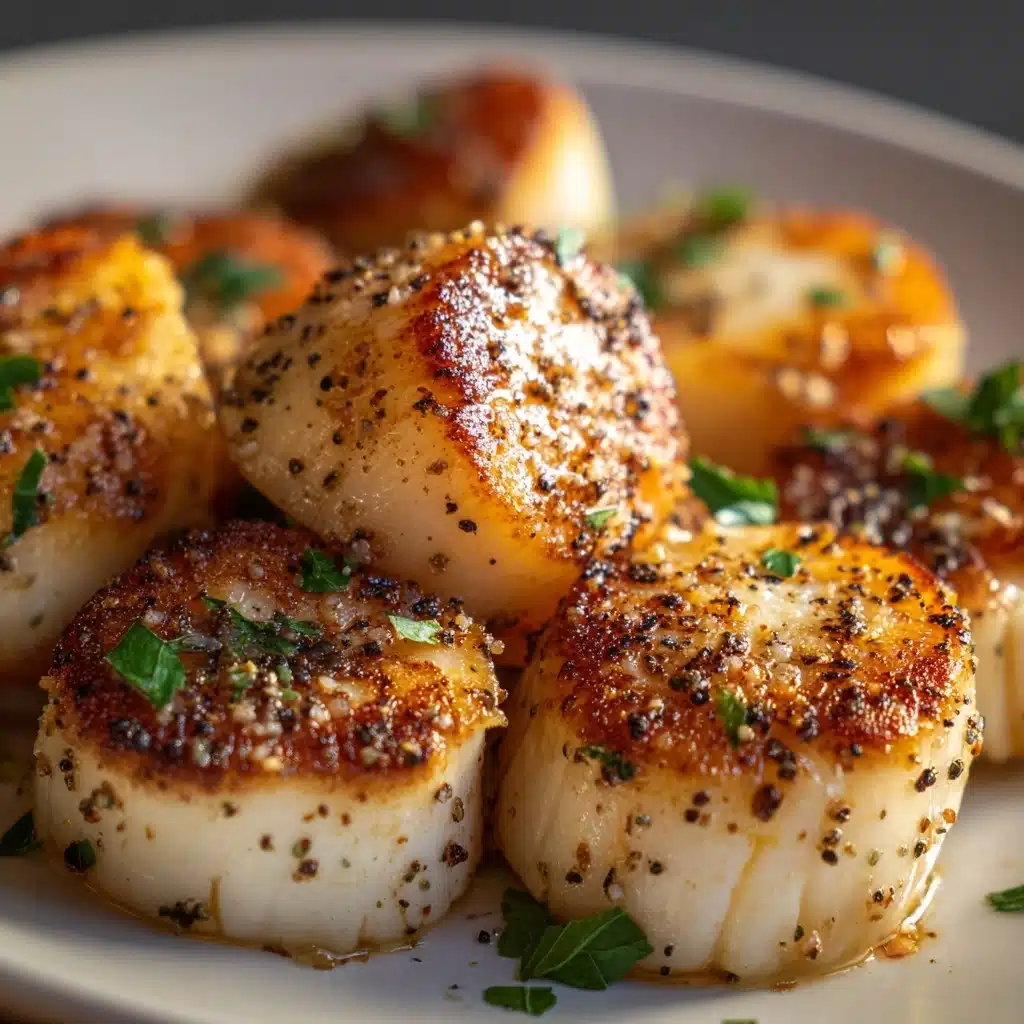
Garnishes
A final flourish of freshly chopped parsley over your Crispy Caesar Chicken Breasts brightens the plate and adds a touch of freshness. If you want to take it up a notch, shower with a little extra Parmesan or even a squeeze of lemon for zing.
Side Dishes
These chicken breasts beg to be paired with simple sides that let their bold flavors shine. Think roasted broccoli, garlicky green beans, or classic Caesar salad. For something heartier, creamy mashed potatoes or a fluffy rice pilaf work wonderfully too.
Creative Ways to Present
Slice Crispy Caesar Chicken Breasts and fan over a bed of romaine for an epic salad, or tuck thick slices into crusty rolls with a smear of Caesar dressing for the world’s best chicken sandwich. They’re just as delicious served family-style on a big platter, letting everyone dig in.
Make Ahead and Storage
Storing Leftovers
Leftover Crispy Caesar Chicken Breasts keep well in an airtight container in the refrigerator for up to 3 days. To keep that beautiful crust as crisp as possible, let chicken cool completely before storing.
Freezing
Want to stash a batch for later? Freeze fully cooked and cooled chicken breasts individually wrapped, then place them in a freezer-safe bag. They’ll keep for up to 2 months, and you can reheat straight from frozen!
Reheating
For the crispiest results, reheat your chicken in a 375°F (190°C) oven for 10–15 minutes, or until heated through and crunchy. Avoid the microwave if possible — it softens the coating — but if you’re in a rush, a quick zap will still taste great.
FAQs
Can I make Crispy Caesar Chicken Breasts with chicken thighs instead?
Absolutely! Boneless, skinless chicken thighs work beautifully here; just adjust the baking time as needed since thighs are often a bit smaller and cook through a bit quicker.
Is there a gluten-free option for this recipe?
Yes, you can easily substitute gluten-free panko or breadcrumbs to make gluten-free Crispy Caesar Chicken Breasts. Double-check your Caesar dressing too, as some brands may contain gluten.
What’s the best way to make the coating extra crispy?
Using panko breadcrumbs is key, and baking the chicken on a wire rack helps hot air circulate for maximum crunch. Don’t skip the drizzle of olive oil or butter in the crumb mixture — it’s the secret to that golden, shatteringly crisp crust!
Can I prep these ahead for a party?
Definitely! You can bread the chicken breasts a few hours in advance and refrigerate them (unbaked), then pop them in the oven when guests arrive. They’ll bake up perfectly fresh and crunchy.
What’s the difference between using olive oil and butter in the coating?
Both add richness, but olive oil lends a savory, slightly peppery note while butter gives a more classic, indulgent flavor. Either will help your Crispy Caesar Chicken Breasts achieve the perfect golden crust — just use your favorite!
Final Thoughts
If you’re ready to shake up your dinner routine with something easy and downright delicious, give these Crispy Caesar Chicken Breasts a try. They’re crunchy, juicy, and bursting with flavor — everything you want in a crowd-pleasing main. Happy cooking!
Print
Crispy Caesar Chicken Breasts Recipe
- Total Time: 40 minutes
- Yield: 4 servings 1x
- Diet: Non-Vegetarian
Description
Enjoy a delicious and easy-to-make Crispy Caesar Chicken Breasts recipe that features tender chicken coated in creamy Caesar dressing and a crunchy Parmesan-panko crust, baked to golden perfection. This flavorful main course is perfect for a satisfying dinner and pairs beautifully with roasted vegetables or a fresh Caesar salad.
Ingredients
Chicken
- 4 boneless, skinless chicken breasts
Coating
- ½ cup Caesar dressing (creamy-style)
- ½ cup grated Parmesan cheese
- 1 cup panko breadcrumbs
- 1 teaspoon garlic powder
- ½ teaspoon black pepper
- ½ teaspoon salt
- 2 tablespoons olive oil or melted butter
Garnish
- Chopped parsley (optional)
Instructions
- Preheat oven. Preheat your oven to 400°F (200°C) and lightly grease a baking dish or line a sheet pan with parchment paper to prevent sticking.
- Prepare the breadcrumb mixture. In a shallow bowl, combine panko breadcrumbs, grated Parmesan cheese, garlic powder, salt, and black pepper. Drizzle olive oil or melted butter over the mixture and stir well to coat the crumbs evenly, creating a flavorful crust base.
- Prepare the chicken. Pat the chicken breasts dry with paper towels to ensure the coating sticks well. Brush both sides of each chicken breast generously with creamy Caesar dressing, providing moisture and flavor.
- Coat the chicken. Press each dressed chicken breast into the breadcrumb mixture, making sure to coat both sides thoroughly with the Parmesan-panko mixture for a crispy crust.
- Bake the chicken. Place the coated chicken breasts in the prepared baking dish. Bake in the preheated oven for 25 to 30 minutes until the chicken is cooked through, the coating is golden and crispy, and the internal temperature reaches 165°F (74°C) to ensure safety.
- Rest and garnish. Remove the chicken from the oven and let it rest for 5 minutes to retain juices. Garnish with chopped parsley if desired before serving.
Notes
- For extra crispiness, place the chicken on a wire rack over the baking sheet to allow air circulation around the chicken.
- You can substitute regular breadcrumbs if panko is unavailable, though panko provides a crunchier texture.
- This recipe pairs perfectly with roasted vegetables or a fresh Caesar salad for a complete meal.
- Prep Time: 10 minutes
- Cook Time: 30 minutes
- Category: Main Course
- Method: Baking
- Cuisine: American
Nutrition
- Serving Size: 1 chicken breast
- Calories: 410
- Sugar: 1g
- Sodium: 630mg
- Fat: 23g
- Saturated Fat: 6g
- Unsaturated Fat: 15g
- Trans Fat: 0g
- Carbohydrates: 13g
- Fiber: 1g
- Protein: 39g
- Cholesterol: 110mg
