
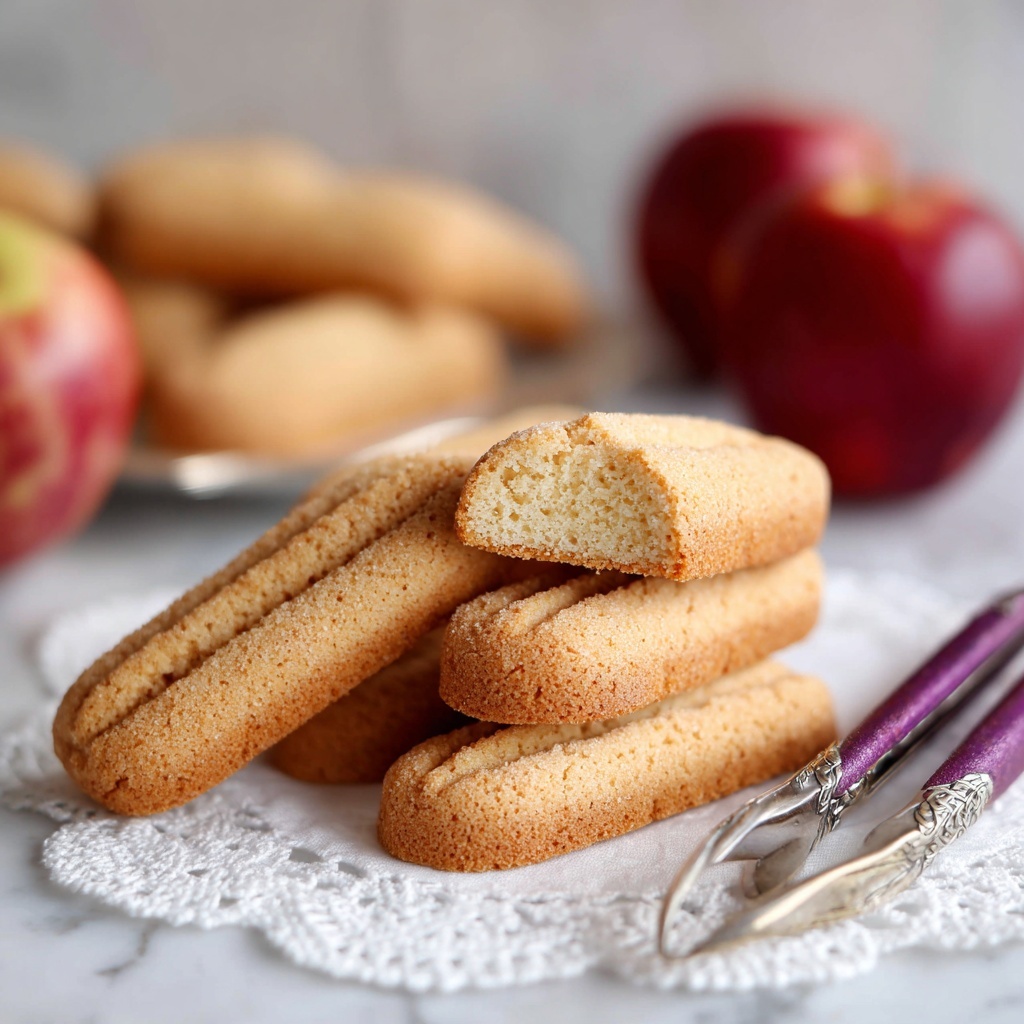
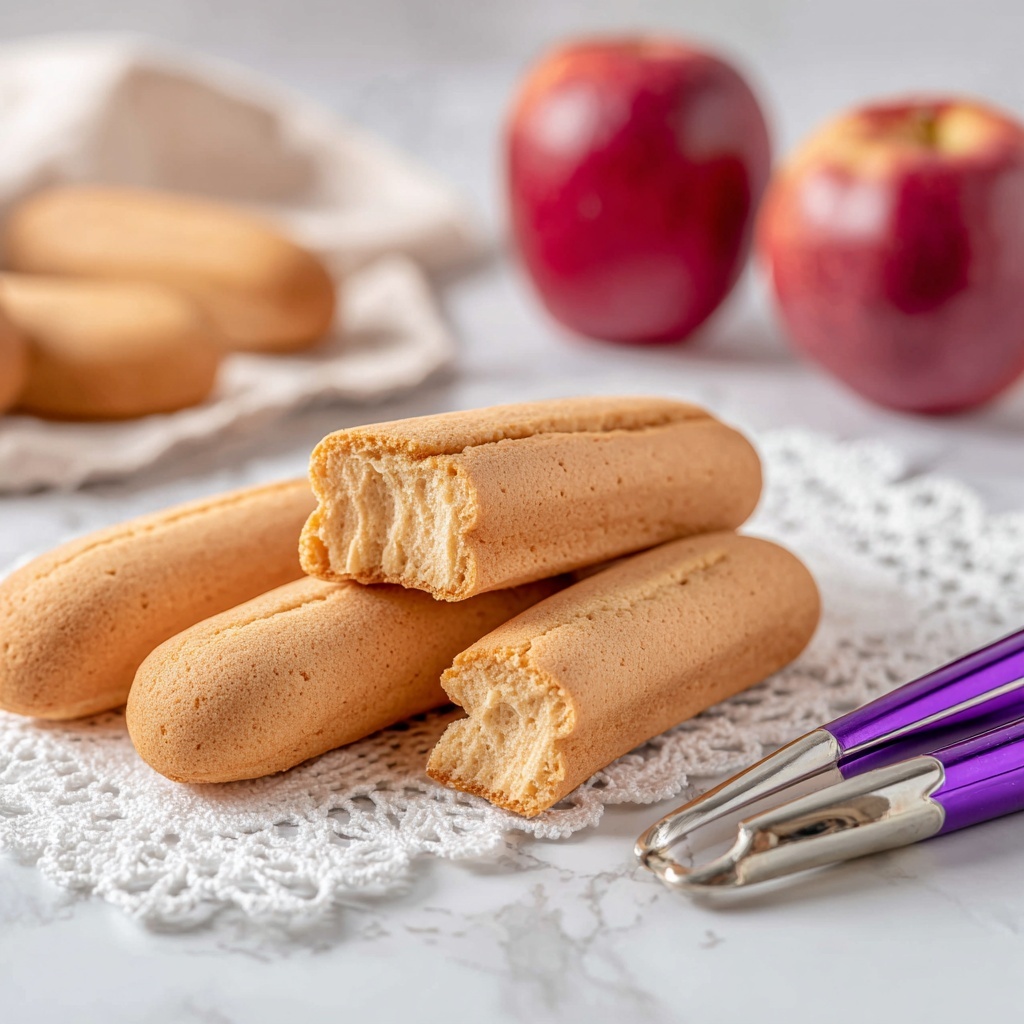
If you’re craving a light, airy cookie with a delightful crunch, you’ve got to try this Deliciously Crispy Ladyfinger Cookies Recipe. These classic cookies are not only perfect for enjoying solo with a cup of coffee or tea, but they’re also essential for layered desserts like tiramisu. Their crisp exterior and melt-in-your-mouth interior make them irresistibly addictive, turning simple ingredients into a treat you’ll want to bake again and again.
Ingredients You’ll Need
These ingredients might be straightforward, but each plays a vital role in creating the perfect texture and flavor in your Deliciously Crispy Ladyfinger Cookies Recipe. From the freshness of the eggs to the lightness brought by the sifted flour and the crispiness from cornstarch, every component matters.
- 3 large eggs, free range: Using fresh, free-range eggs ensures a light and fluffy texture.
- 2/3 cup granulated sugar: This sweetens your cookies perfectly without overpowering them.
- 1 pinch salt: Helps to brighten and enhance all the other flavors.
- 1/4 tbsp vanilla extract: Introduces a warm, aromatic depth that complements the sweetness.
- 1 cup all-purpose flour, sifted: Sifting makes sure your cookies come out airy and soft inside.
- 2 tbsp cornstarch: The secret to achieving that signature crispness everyone loves.
- 1 tsp lemon zest (optional): A subtle citrus note that lifts the flavor.
- Powdered sugar for dusting: Adds a lovely sweet contrast and a pretty finish.
How to Make Deliciously Crispy Ladyfinger Cookies Recipe
Step 1: Preparation
Begin by preheating your oven to 350°F and lining two cookie sheets with baking paper. This simple prep ensures that your cookies bake evenly and don’t stick, making cleanup a breeze.
Step 2: Prepare Your Piping Bag
Fit a large piping bag with a 1/2-inch round tip and place it upright in a tall glass. This setup helps make piping the ladyfinger shapes neat and easy, giving you perfect cookie shapes every time.
Step 3: Separate the Eggs
Carefully separate the eggs, placing the yolks in one bowl and the whites in the bowl of your mixer. This step is crucial because each part will be used differently to create that distinctive ladyfinger texture.
Step 4: Whip Egg Yolks and Sugar
Whip the egg yolks with half of the sugar until pale and fluffy. Then add the vanilla extract to infuse the mixture with a lovely aromatic note, setting the flavor foundation for your cookies.
Step 5: Add Lemon Zest (Optional)
If you want a fresh citrus twist, gently fold in the lemon zest now. It’s optional but highly recommended if you enjoy a slightly bright flavor combined with sweetness.
Step 6: Whip Egg Whites
Beat the egg whites until fluffy, gradually adding the remaining sugar, until stiff peaks form. This creates the light, airy base for your ladyfingers, giving them that signature melt-in-your-mouth feel.
Step 7: Combine Mixtures
Gently fold the whipped egg whites into the yolk mixture. Taking your time here ensures you maintain the airiness vital to the final crispness of the cookies.
Step 8: Mix Dry Ingredients
In a small bowl, combine the sifted flour, cornstarch, and a pinch of salt. These dry components are what will give the cookies their delicate structure and irresistible crunch.
Step 9: Fold Dry Ingredients into Wet
Carefully fold the flour mixture into the egg mixture. This blending without overmixing is key to keeping the batter light and airy.
Step 10: Pipe the Cookies
Pipe finger-shaped pieces of batter onto the prepared baking sheets, leaving space between each. The classic shape is part of what makes these cookies so charming and perfect for dipping.
Step 11: Dust with Powdered Sugar & Bake
Dust your piped cookies lightly with powdered sugar before placing them in the oven. Bake for about 12-15 minutes until they turn slightly golden, locking in that crisp texture.
Step 12: Cool and Store
Allow the cookies to cool completely on the trays. Once cooled, you can store them in an airtight container to keep them fresh and crunchy, ready whenever your sweet tooth calls.
How to Serve Deliciously Crispy Ladyfinger Cookies Recipe
Garnishes
A light dusting of extra powdered sugar or a sprinkle of cocoa powder can elevate your ladyfinger cookies beautifully. You can even dip one end in melted chocolate for a decadent touch that will impress your guests.
Side Dishes
These cookies pair brilliantly with a scoop of fresh vanilla ice cream or alongside a fruit compote. They also make a fantastic companion to your favorite hot beverage, like coffee or tea, for a cozy afternoon treat.
Creative Ways to Present
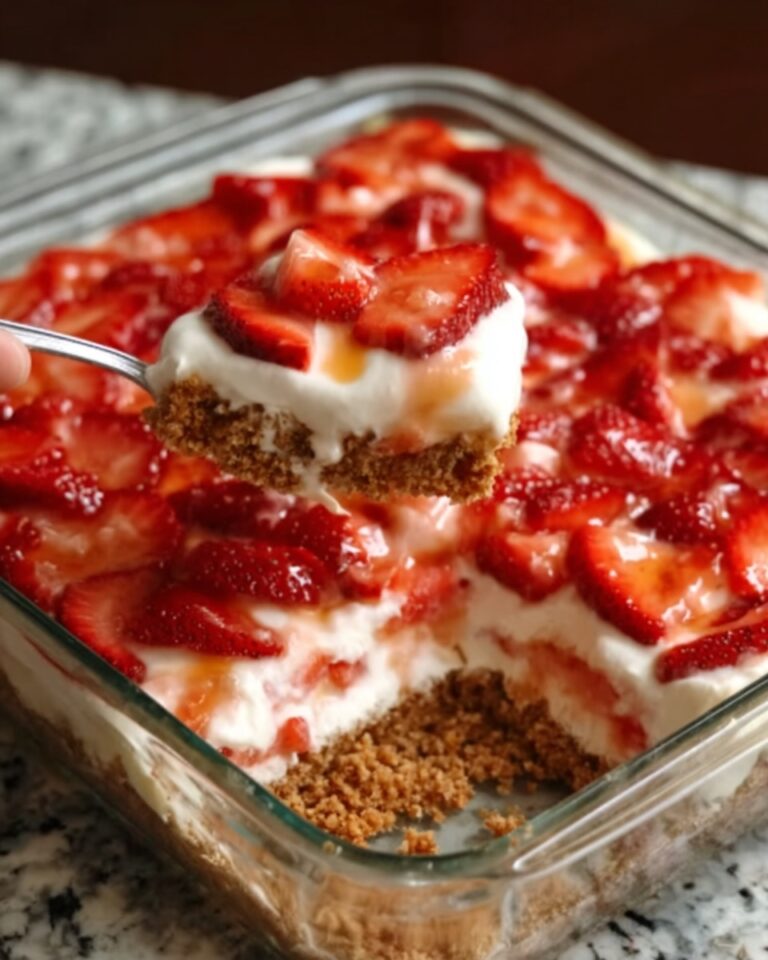
Why not layer these cookies with whipped cream and berries for an instant dessert? Or use them to build a classic tiramisu, adding your personal twist. Arranged elegantly on a dessert platter, they become an eye-catching centerpiece.
Make Ahead and Storage
Storing Leftovers
Store any leftover ladyfinger cookies in an airtight container at room temperature. This will keep them deliciously crispy for up to a week, perfect for nibbling throughout the week.
Freezing
If you want to save these treats for longer, they freeze beautifully. Just place them in a freezer-safe container or bag, separated by parchment paper, for up to 2 months. Thaw at room temperature when ready to enjoy.
Reheating
Reheat gently in a warm oven for a few minutes if you want to revive that fresh-baked crispness. Avoid microwaving, as it can make the cookies chewy rather than crispy.
FAQs
Can I use a different type of flour for this recipe?
While all-purpose flour works best for the right texture, you can try cake flour for an even lighter result. Just remember the texture may vary slightly.
Is it necessary to use free-range eggs?
Using free-range eggs enhances the flavor and texture thanks to their freshness, but regular eggs will still yield tasty results.
What if I don’t have cornstarch?
Cornstarch is important for crispiness, but you might substitute with potato starch or arrowroot powder, keeping in mind the texture may differ.
Can I make these cookies gluten-free?
Yes, you can swap all-purpose flour for a gluten-free blend suitable for baking, though you may need to adjust the quantity for best results.
How long should the egg whites be whipped?
Beat the egg whites until stiff peaks form, meaning they hold their shape firmly without falling. This usually takes 3-5 minutes with an electric mixer.
Final Thoughts
Trust me, once you try this Deliciously Crispy Ladyfinger Cookies Recipe, it will become one of your favorite bakes. The balance of airy softness and crunchy delight is simply unbeatable. Whether shared with friends or enjoyed during a quiet moment, these cookies bring a little magic to any occasion. So, grab your ingredients, and let’s get baking!
Print
Deliciously Crispy Ladyfinger Cookies Recipe
- Prep Time: 15 minutes
- Cook Time: 12-15 minutes
- Total Time: 30 minutes
- Yield: 24 cookies
- Category: Dessert
- Method: Baking
- Cuisine: European
- Diet: Vegetarian
Description
These Deliciously Crispy Ladyfinger Cookies are light, airy, and perfectly sweetened, featuring a crisp texture achieved through a blend of all-purpose flour and cornstarch. Enhanced with vanilla and an optional hint of lemon zest, these cookies are piped into elegant fingers and dusted with powdered sugar for a delightful finish. Perfect for accompanying your coffee or tea, they’re a classic treat that’s simple to make and sure to impress.
Ingredients
Dry Ingredients
- 1 cup all purpose flour, sifted (helps create a lighter, fluffier cookie)
- 2 tbsp cornstarch (gives these cookies their signature crispy texture)
- 1 pinch salt (enhances overall flavor)
- Powdered sugar for dusting (adds a sweet contrast to the flavor)
Wet Ingredients
- 3 large free-range eggs (using fresh contributes to light texture)
- 2/3 cup granulated sugar (essential for balanced sweetness, divided)
- 1/4 tbsp vanilla extract (adds aroma and depth)
- 1 tsp lemon zest (optional, for a hint of citrus)
Instructions
- Preparation: Preheat your oven to 350°F (175°C) and line two cookie sheets with baking paper to prevent sticking.
- Prepare Piping Bag: Fit a large piping bag with a 1/2-inch round tip and stand it upright in a tall glass to make filling easier.
- Separate Eggs: Carefully separate the eggs, placing the yolks in one bowl and the whites in the mixer bowl.
- Whip Egg Yolks: Whip the egg yolks with half of the granulated sugar until the mixture becomes pale and fluffy, then stir in the vanilla extract.
- Add Lemon Zest: If using lemon zest, gently fold it into the yolk mixture at this stage to infuse a subtle citrus flavor.
- Whip Egg Whites: Beat the egg whites until they become fluffy, then gradually add the remaining sugar while continuing to whip until stiff peaks form for maximum volume.
- Combine Mixtures: Gently fold the stiff egg whites into the yolk mixture to preserve the airy texture.
- Incorporate Dry Ingredients: In a separate bowl, combine the sifted flour, cornstarch, and salt, then carefully fold this mixture into the combined egg mixture without deflating the batter.
- Pipe the Batter: Using the prepared piping bag, pipe finger-shaped strips of batter onto the lined cookie sheets, spacing them to allow for expansion during baking.
- Dust and Bake: Lightly dust the piped batter with powdered sugar and bake in the preheated oven for 12 to 15 minutes or until the edges are slightly golden.
- Cool: Allow the cookies to cool completely on the baking sheets to firm up and prevent breakage.
- Storage: Once cooled, store the ladyfinger cookies in an airtight container to maintain crispness until ready to serve.
Notes
- Ensure eggs are at room temperature for better whipping and volume.
- Sifting the flour and cornstarch is key to a delicate texture.
- Do not overmix when folding to preserve the light, airy batter.
- Optional lemon zest adds a lovely fresh note but can be omitted for a classic flavor.
- Cookies should be stored in an airtight container to keep them crispy.
- Use powdered sugar fresh before serving for the best presentation and flavor contrast.

