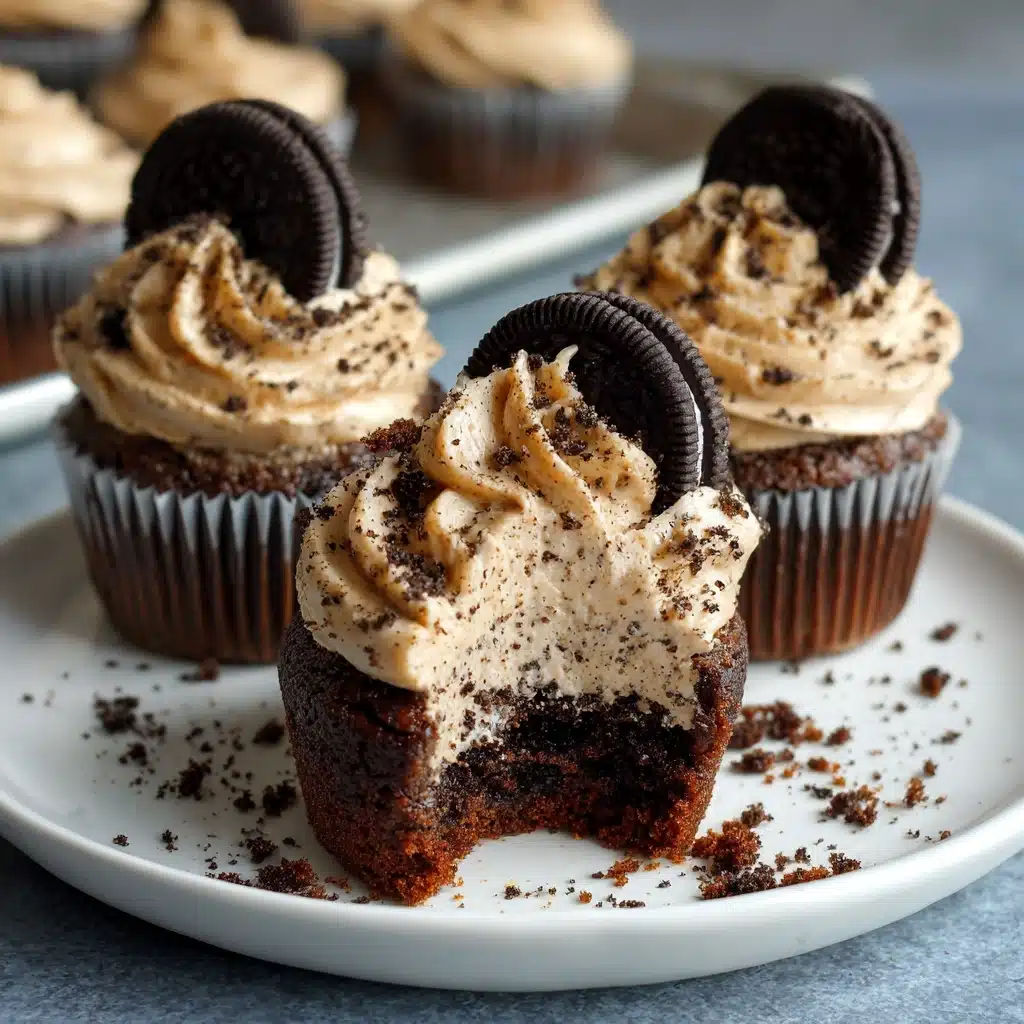
If you’re looking for a dessert that’s equal parts crowd-pleaser and pure comfort, Oreo Cheesecake Cookie Cups are about to become your new obsession. Imagine a creamy, tangy cheesecake nestled on top of a chocolatey Oreo base, then crowned with whipped cream and more crushed cookies — all in a perfectly portioned cup! These treats are playful, elegant, and ideal for parties or a cozy night in. Plus, they’re so easy to make that even beginner bakers will feel like pros. If you love Oreos and cheesecake, this is one recipe you absolutely need in your dessert lineup.
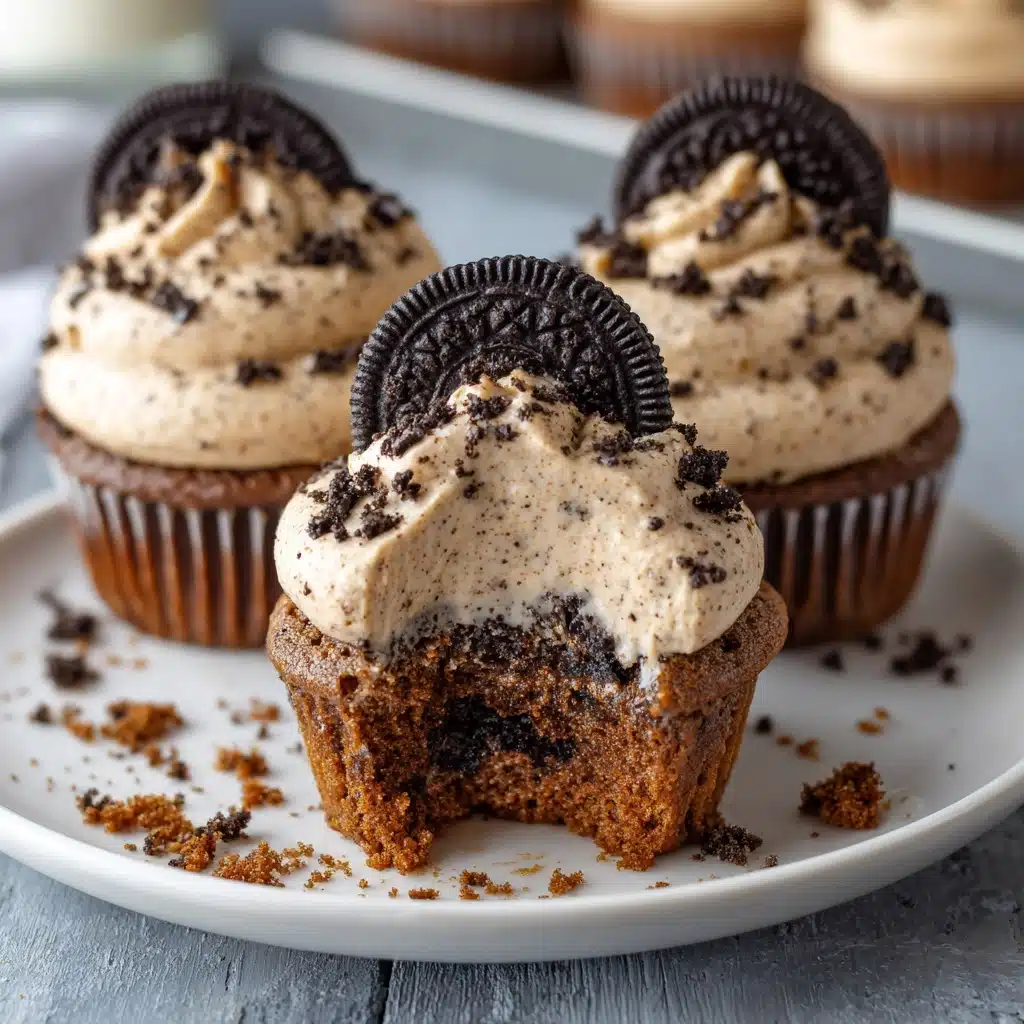
Ingredients You’ll Need
One of the best things about Oreo Cheesecake Cookie Cups is how approachable the ingredient list is. Each component has a purpose, working together for that signature flavor, creamy texture, and irresistible cookie crunch.
- Oreo cookies: These classic cookies serve as the base and add pockets of chocolatey goodness throughout.
- Cream cheese (16 ounces, softened): The star of the show, cream cheese gives the cups their signature rich and velvety filling.
- Granulated sugar (1/2 cup): Balances the tang of the cream cheese and sweetens every bite.
- Large eggs (2): Eggs help bind the filling together and create a smooth, custardy texture.
- Vanilla extract (1 teaspoon): Adds warmth and depth, rounding out the flavors beautifully.
- Sour cream (1/2 cup): Lends extra creaminess and a subtle tang that makes the cheesecake truly luscious.
- All-purpose flour (1/4 cup): Just enough flour to help set the filling without making it dense.
- Whipped cream (for topping, optional): A light, fluffy finish that makes these cups even more special.
- Extra crushed Oreos (for garnish): Because there’s no such thing as too many Oreos!
How to Make Oreo Cheesecake Cookie Cups
Step 1: Prep the Pan and Oreos
Begin by preheating your oven to 325°F (160°C) and lining a standard 12-cup muffin tin with paper liners. This not only makes cleanup a breeze, but also helps the Oreo Cheesecake Cookie Cups release perfectly. Drop one whole Oreo cookie into the bottom of each liner; these will become the crunchy, chocolatey base everyone loves.
Step 2: Make the Cheesecake Filling
In a large mixing bowl, beat the softened cream cheese and granulated sugar together until the mixture is completely smooth and creamy. This step is crucial for a lump-free filling, so take your time. Next, add the eggs one at a time, mixing well after each addition to maintain that silky texture.
Step 3: Add Flavor and Structure
Gently stir in the vanilla extract and sour cream until everything is beautifully incorporated. The sour cream adds a subtle tang and keeps the filling extra creamy. Finally, mix in the flour just until it disappears into the batter; overmixing can make the cheesecakes dense, so a gentle hand is best here.
Step 4: Assemble and Bake
Spoon the cheesecake batter evenly over the Oreo bases, filling each muffin cup almost to the top. The batter should cover the cookies completely. Pop the tray in the oven and bake for 18 to 20 minutes, or until the centers are set but still have a slight jiggle. This ensures the Oreo Cheesecake Cookie Cups stay creamy and don’t overbake.
Step 5: Cool and Chill
Once baked, let the cheesecakes cool in the pan for about 15 minutes. Then, transfer them to a wire rack to cool completely. For the best texture and flavor, chill them in the refrigerator for at least 2 hours. This waiting period is tough, but it’s what transforms these cups into a rich, dreamy dessert.
How to Serve Oreo Cheesecake Cookie Cups
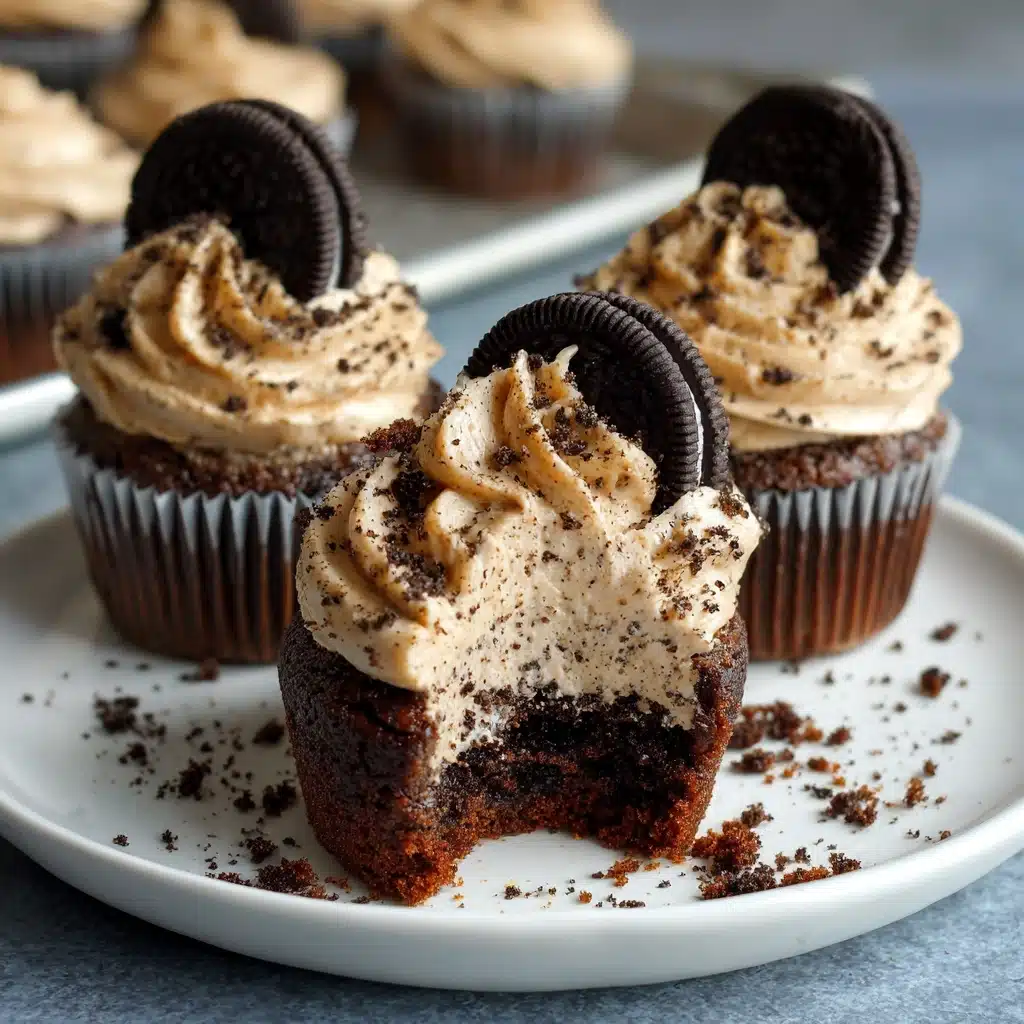
Garnishes
To make your Oreo Cheesecake Cookie Cups extra fancy, top each one with a generous swirl of whipped cream and a sprinkle of crushed Oreos. For special occasions, try colored sprinkles or a drizzle of chocolate sauce to add a festive touch.
Side Dishes
These cookie cups are delightful on their own, but if you want to create a full dessert spread, serve them alongside fresh berries, a scoop of vanilla ice cream, or a fruit compote for a tangy contrast. A hot cup of coffee or a cold glass of milk will complement their rich flavors perfectly.
Creative Ways to Present
Oreo Cheesecake Cookie Cups are made for sharing! Arrange them on a tiered dessert stand for parties, or package them individually in cupcake boxes for sweet gifts. You can also layer them in mini dessert jars with extra whipped cream and crushed Oreos for a fun parfait presentation.
Make Ahead and Storage
Storing Leftovers
If you find yourself with extra Oreo Cheesecake Cookie Cups (which is rare!), store them in an airtight container in the refrigerator. They’ll stay fresh and delicious for up to five days, making them a perfect make-ahead treat for busy weeks or special occasions.
Freezing
For longer storage, these cookie cups freeze beautifully. Arrange the cooled, un-garnished cheesecakes in a single layer in a freezer-safe container, separating layers with parchment paper. Freeze for up to two months. Thaw overnight in the fridge before serving and add fresh toppings.
Reheating
Though Oreo Cheesecake Cookie Cups are best enjoyed chilled or at room temperature, you can let them sit out for 10–15 minutes before serving if you prefer a softer texture. Avoid microwaving, as it can affect the creamy consistency of the cheesecake filling.
FAQs
Can I use different flavors of Oreos?
Absolutely! Feel free to experiment with Golden Oreos, peanut butter Oreos, or any seasonal varieties you love. Each version brings its own twist to the classic Oreo Cheesecake Cookie Cups.
What’s the best way to crush Oreos for garnish?
Place the cookies in a zip-top bag and use a rolling pin to gently crush them. This keeps the mess contained and gives you perfectly sized crumbs for topping your Oreo Cheesecake Cookie Cups.
Can I make these without paper liners?
Paper liners make removal and serving much easier, but you can also use silicone muffin cups or generously grease the pan. Just be extra gentle when taking the cheesecakes out to avoid breakage.
Why did my cheesecakes crack on top?
Cracking is usually caused by overbaking or rapid temperature changes. To avoid this, bake until just set and cool gradually. Even if a few cracks appear, a swirl of whipped cream will hide them beautifully on your Oreo Cheesecake Cookie Cups.
Can I double the recipe?
Definitely! If you’re making Oreo Cheesecake Cookie Cups for a crowd, simply double all the ingredients and use two muffin tins. Bake both pans at the same time, rotating halfway through for even results.
Final Thoughts
Once you try Oreo Cheesecake Cookie Cups, you’ll want them at every gathering! They’re just the right size, packed with flavor, and always a hit. Give this recipe a whirl and watch these little treats disappear before your eyes — you might want to make a double batch!
Print
Oreo Cheesecake Cookie Cups Recipe
- Total Time: 35 minutes plus 2 hours chilling time
- Yield: 12 servings 1x
- Diet: Vegetarian
Description
Delight in these creamy Oreo Cheesecake Cookie Cups, a perfect bite-sized dessert blending classic cheesecake flavors with the beloved crunch of Oreo cookies. Ideal for parties or a sweet treat anytime, these mini cheesecakes offer a luscious, rich texture topped with optional whipped cream and extra crushed Oreos for added indulgence.
Ingredients
Base
- 24 Oreo cookies
Cheesecake Filling
- 16 ounces cream cheese, softened
- 1/2 cup granulated sugar
- 2 large eggs
- 1 teaspoon vanilla extract
- 1/2 cup sour cream
- 1/4 cup all-purpose flour
Toppings (Optional)
- Whipped cream
- Extra crushed Oreos for garnish
Instructions
- Prepare Muffin Tin: Preheat the oven to 325°F (160°C) and line a 12-cup muffin tin with paper liners. Place one whole Oreo cookie into the bottom of each liner to form the base.
- Make Cheesecake Batter: In a large mixing bowl, beat the softened cream cheese and granulated sugar together until the mixture is smooth and creamy, ensuring there are no lumps.
- Add Eggs: Incorporate the eggs one at a time, mixing thoroughly after each addition to maintain a smooth consistency.
- Mix Flavors and Texture: Stir in the vanilla extract and sour cream until everything is fully combined, then gently fold in the all-purpose flour just until incorporated to avoid overmixing.
- Fill Muffin Cups: Evenly distribute the batter among the prepared muffin cups, filling each almost to the top to create a generous cheesecake portion.
- Bake: Place the muffin tin in the oven and bake for 18 to 20 minutes, or until the cheesecake centers are set but retain a slight jiggle, indicating perfect doneness.
- Cool: Remove the tin from the oven and allow the cheesecakes to cool in the pan for 15 minutes. Then transfer them to a wire rack to cool completely to room temperature.
- Chill: Refrigerate the cheesecake cups for at least 2 hours to set fully, enhancing their creamy texture and flavor.
- Serve: Just before serving, top each cheesecake cup with whipped cream and sprinkle with crushed Oreos for a delightful garnish if desired.
Notes
- For a richer chocolate flavor, add a tablespoon of cocoa powder to the cheesecake batter.
- Decorate with colored sprinkles or drizzle with chocolate sauce for a festive presentation.
- Prep Time: 15 minutes
- Cook Time: 20 minutes
- Category: Dessert
- Method: Baking
- Cuisine: American
Nutrition
- Serving Size: 1 cheesecake cup
- Calories: 245
- Sugar: 18 g
- Sodium: 190 mg
- Fat: 15 g
- Saturated Fat: 8 g
- Unsaturated Fat: 6 g
- Trans Fat: 0 g
- Carbohydrates: 22 g
- Fiber: 1 g
- Protein: 4 g
- Cholesterol: 60 mg
