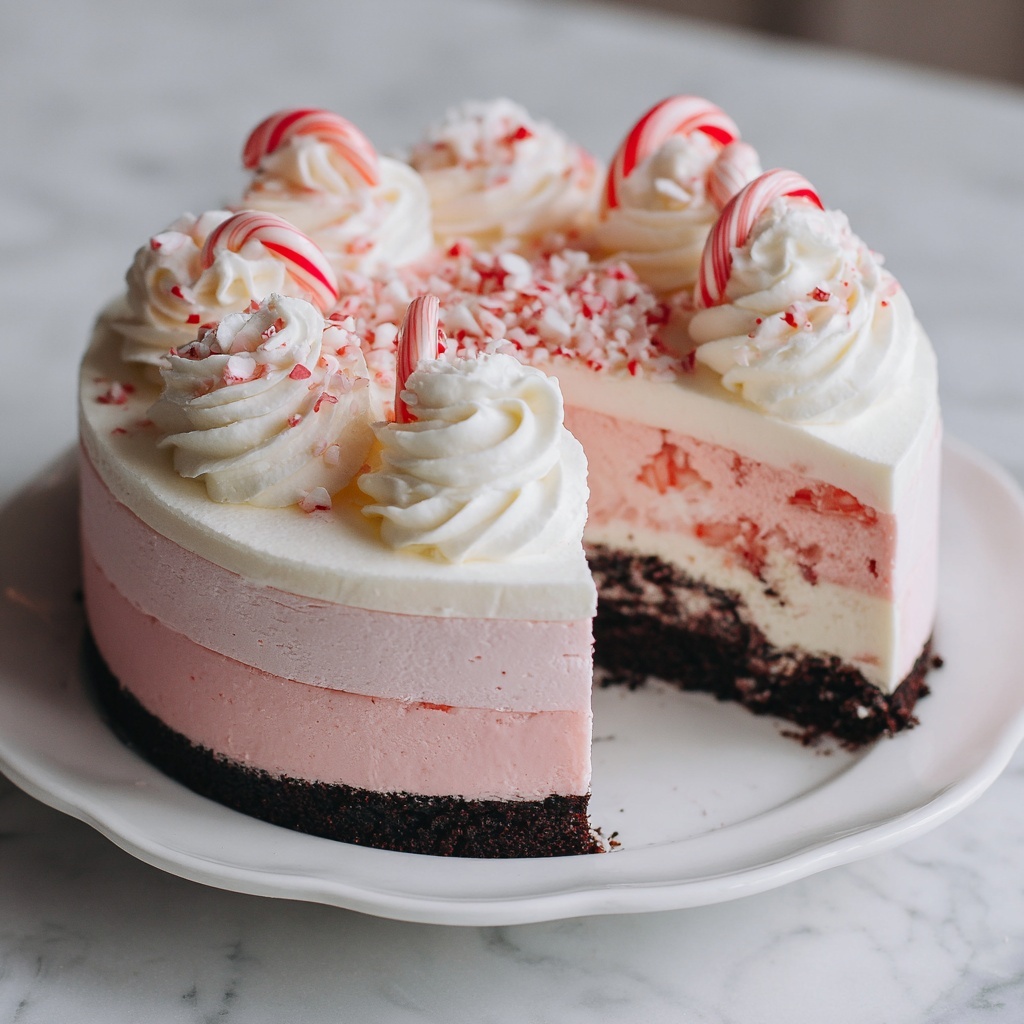
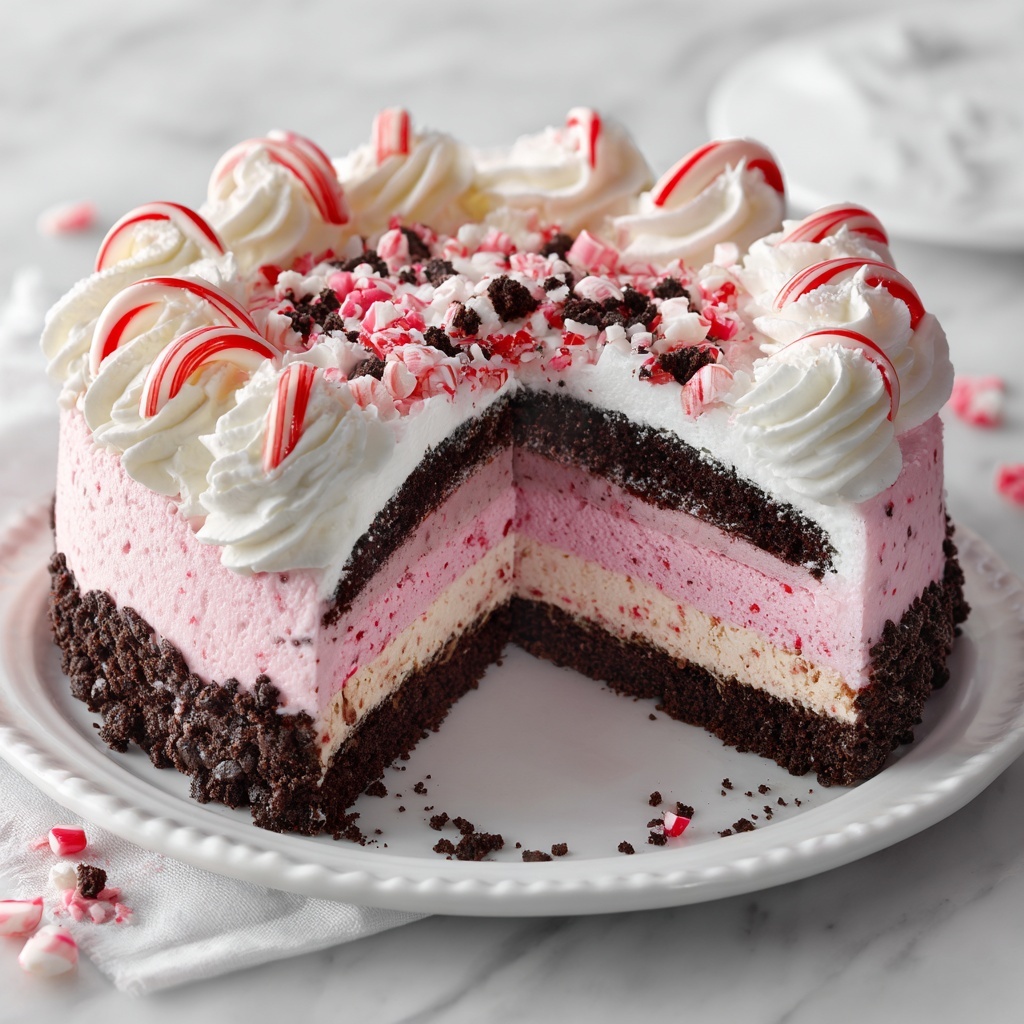
If you are on the hunt for a dessert that perfectly captures the spirit of the holidays, look no further than this Ultimate Festive Peppermint Ice Cream Cake Recipe. It’s a dazzling combination of creamy peppermint ice cream, crunchy chocolate cookie crust, and sweet, fluffy whipped cream topping—all layered with crushed candy canes for that extra festive crunch. Every bite bursts with winter cheer and the refreshing zing of peppermint, making it an irresistible centerpiece for any celebration. Trust me, once you try this, it will quickly become your go-to dessert whenever you want to impress guests or indulge yourself during the holiday season.
Ingredients You’ll Need
Gathering the right ingredients is half the fun and guarantees your Ultimate Festive Peppermint Ice Cream Cake Recipe turns out just perfect. This recipe relies on simple, well-balanced components that each bring their own magic, from the rich chocolate cookie crust to the cool minty ice cream and silky whipped topping.
- Chocolate cookie crumbs (2 cups/200g): These form a sturdy and flavorful base with a delightful chocolate crunch.
- Unsalted butter (6 tbsp/85g), melted: Helps bind the cookie crumbs into a firm, crispy crust.
- Peppermint ice cream (1 ½ quarts/1.4 liters), slightly softened: The star ingredient that brings that classic, refreshing mint flavor.
- Crushed peppermint candies or candy canes (½ cup/50g): Adds a festive, colorful crunch and intensifies the peppermint vibe.
- Heavy whipping cream (2 cups/480ml): Whipped to fluffy perfection for a light and creamy topping.
- Powdered sugar (3 tbsp): Sweetens and stabilizes the whipped cream without overpowering the flavor.
- Vanilla extract (½ tsp): Rounds out the whipped topping with a warm, comforting note.
- Chocolate shavings or mini chocolate chips: Optional, for an elegant, chocolatey garnish that complements the peppermint beautifully.
How to Make Ultimate Festive Peppermint Ice Cream Cake Recipe
Step 1: Prepare the Crust
Start by combining your chocolate cookie crumbs with the melted butter in a medium bowl. Mix until the crumbs are evenly coated and the mixture sticks together when pressed. This is your delicious base, so pack it firmly into the bottom of a springform pan or pie dish to create a smooth, even layer. Refrigerate this for at least 30 minutes to help it set and create that satisfying crunch you’ll love in every bite.
Step 2: Make the Ice Cream Layer
While the crust is chilling, let the peppermint ice cream soften just a bit at room temperature—it should be pliable but not melted. Spread the softened ice cream evenly over your chilled crust using a spatula, smoothing out the top for an even layer. Next, sprinkle the crushed peppermint candies or candy canes all over the ice cream, adding an extra burst of texture and vibrant holiday color. Freeze the cake for 3 to 4 hours to ensure it’s firm and perfectly set before going on to the next step.
Step 3: Prepare the Whipped Topping
In a large bowl, whip the heavy cream along with the powdered sugar and vanilla extract until soft peaks form—this means the cream holds gentle peaks but still feels light and airy. Spread this luscious whipped topping in an even layer over the ice cream layer. The contrast between the cool ice cream and the fluffy cream topping is what makes this cake so dreamy and festive.
Step 4: Garnish and Freeze Again
Now for the fun part: decorating! Generously top your cake with more crushed candy canes, peppermint candies, chocolate shavings, or mini chocolate chips. These garnishes not only add dazzling visual appeal but also pack an extra punch of flavor and texture. Pop the cake back into the freezer for at least 2 more hours to ensure everything is set and ready to serve. Patience here results in the most satisfying slices!
Step 5: Serve and Enjoy
Before serving, let your cake sit out at room temperature for a few minutes to soften slightly—this makes slicing a breeze. Serve chilled and watch your guests’ faces light up as they taste the perfect harmony of minty freshness, chocolatey delight, and creamy sweetness. Every forkful feels like a celebration wrapped up in a slice!
How to Serve Ultimate Festive Peppermint Ice Cream Cake Recipe

Garnishes
Besides the classic crushed peppermint candies and chocolate shavings, feel free to get creative. Fresh mint leaves can add a pop of green and a subtle herbal note. A drizzle of warm chocolate sauce elevates the richness and pairs beautifully with the cold ice cream. You might also sprinkle a few red and green edible sprinkles to amp up that festive holiday look, making the presentation as joyful as the taste.
Side Dishes
This peppermint ice cream cake is so rich and flavorful it really stands on its own, but pairing it with a simple hot drink like spiced cocoa or peppermint tea can really enhance the overall experience. Fresh berries or a small scoop of raspberry sorbet can also add a fruity contrast that cuts through the creamy sweetness beautifully, making each bite feel fresh and balanced.
Creative Ways to Present
If you want to impress your guests even more, serve this cake in individual clear glasses or small dessert bowls layered with cookie crumbs, ice cream, whipped cream, and garnish for a deconstructed cake experience. Alternatively, you can transform leftovers into festive ice cream sandwiches using extra cookie crumbs as “bread.” Either way, this Ultimate Festive Peppermint Ice Cream Cake Recipe offers plenty of fun presentation options that keep everyone smiling.
Make Ahead and Storage
Storing Leftovers
Leftover cake can be stored in the freezer wrapped tightly in plastic wrap and covered with foil to prevent ice crystals. Keeping it airtight ensures the flavors stay fresh and the texture remains incredible for up to a week. When you want to enjoy it again, just let it thaw a few minutes at room temperature before slicing.
Freezing
This ice cream cake freezes exceptionally well, making it a perfect make-ahead dessert. Once fully assembled and garnished, freeze it for several hours or up to a month. Just remember to tightly cover it to lock in the moisture and prevent freezer burn. This way, you can prepare ahead of time and pull it out on your special day hassle-free and ready-to-wow.
Reheating
Unlike traditional cakes, this ice cream cake is best served chilled so reheating is not recommended. Instead, allow it to soften slightly at room temperature for about 5 to 10 minutes before serving to get the perfect texture for slicing and eating. This gentle thawing is all you need to enjoy it at its best.
FAQs
Can I use other flavors of ice cream instead of peppermint?
Absolutely! While peppermint is festive and refreshing, you can experiment with chocolate, vanilla, or even a combination of flavors to personalize the Ultimate Festive Peppermint Ice Cream Cake Recipe to your taste. Just keep in mind the overall balance of flavors when choosing.
What can I substitute for chocolate cookie crumbs?
If you prefer, graham cracker crumbs or crushed ginger snaps make excellent alternatives. They’ll offer different flavor profiles—graham crackers contribute a mild sweetness, while ginger snaps add a warm, spicy note—both of which work wonderfully in this recipe.
Can I prepare this cake without a springform pan?
Yes! Any pie dish or cake pan with removable sides will do. Just be sure to line the pan with parchment paper for easy removal or serve it directly from the dish for a more casual approach. The key is to have a container that helps the cake keep its shape during freezing and serving.
How long can the cake sit out before serving?
Letting the cake sit out for about 5 to 10 minutes before slicing softens it just enough to get clean cuts without melting it. Avoid leaving it out longer than that, especially in warm environments, to keep it firm and delicious.
Can I make this recipe vegan or dairy-free?
With some substitutions, yes! Use dairy-free peppermint ice cream and coconut whipped cream alternatives. Also, check that your cookie crumbs are vegan-friendly. While the flavor might slightly differ, you can still create a wonderfully festive and refreshing cake with these swaps.
Final Thoughts
There’s something truly magical about the Ultimate Festive Peppermint Ice Cream Cake Recipe. It brings together nostalgic holiday flavors with an easy-to-make yet impressively elegant presentation that will undoubtedly brighten your celebrations. Whether you’re sharing it with loved ones or enjoying a quiet moment of festive indulgence, this cake is a joyful treat worth making a part of your holiday traditions. Give it a try—you won’t regret inviting this sweet, minty delight to your table!
Print
Ultimate Festive Peppermint Ice Cream Cake Recipe
- Prep Time: 40 minutes
- Cook Time: 0 minutes
- Total Time: 5 hours
- Yield: 12 servings
- Category: Dessert
- Method: No-Cook
- Cuisine: American
Description
This Ultimate Festive Peppermint Ice Cream Cake is a delightful holiday dessert featuring a crunchy chocolate cookie crust, a creamy peppermint ice cream layer studded with crushed peppermint candies, and a fluffy whipped cream topping garnished with festive candy and chocolate shavings. Perfect for celebrating the season with refreshing peppermint flavors and a rich chocolate base, this no-bake cake is easy to make and sure to impress your guests.
Ingredients
Crust
- 2 cups (200g) chocolate cookie crumbs (e.g., Oreos, without filling)
- 6 tbsp (85g) unsalted butter, melted
Ice Cream Layer
- 1 ½ quarts (1.4 liters) peppermint ice cream, slightly softened
- ½ cup (50g) crushed peppermint candies or candy canes
Whipped Topping
- 2 cups (480ml) heavy whipping cream
- 3 tbsp powdered sugar
- ½ tsp vanilla extract
Garnish
- Crushed candy canes or peppermint candies
- Chocolate shavings or mini chocolate chips
Instructions
- Prepare the Crust: In a medium bowl, combine the chocolate cookie crumbs with melted butter and mix until well combined. Press the mixture firmly into the bottom of a springform pan or pie dish to create an even crust layer. Place it in the refrigerator for at least 30 minutes to set firmly.
- Make the Ice Cream Layer: Allow the peppermint ice cream to soften slightly at room temperature for a few minutes to make it easier to spread. Evenly spread the softened ice cream over the chilled cookie crust, smoothing the surface with a spatula. Sprinkle the crushed peppermint candies or candy canes evenly atop the ice cream layer. Transfer the cake to the freezer and freeze for 3 to 4 hours until fully set.
- Prepare the Whipped Topping: In a large mixing bowl, whip the heavy cream, powdered sugar, and vanilla extract using a mixer until soft peaks form. Spread the whipped topping evenly over the frozen ice cream layer, smoothing it out carefully with a spatula to create an even, fluffy topping.
- Garnish: Decorate the whipped cream layer with additional crushed candy canes or peppermint candies and sprinkle with chocolate shavings or mini chocolate chips to enhance the festive look and add texture. Return the cake to the freezer and chill for at least 2 more hours to allow the topping to firm up.
- Serve: Before serving, let the cake sit at room temperature for a few minutes to soften slightly for easier slicing. Serve chilled to enjoy the refreshing peppermint and chocolate flavors in this festive ice cream cake.
Notes
- For best results, use a springform pan for easy removal of the ice cream cake.
- Softening the ice cream allows for easier spreading but avoid melting.
- The cake should be kept frozen until shortly before serving to maintain texture.
- You can substitute crushed peppermint candies with candy cane pieces or peppermint bark.
- Whip the cream just until soft peaks form to prevent over-whipping.


