
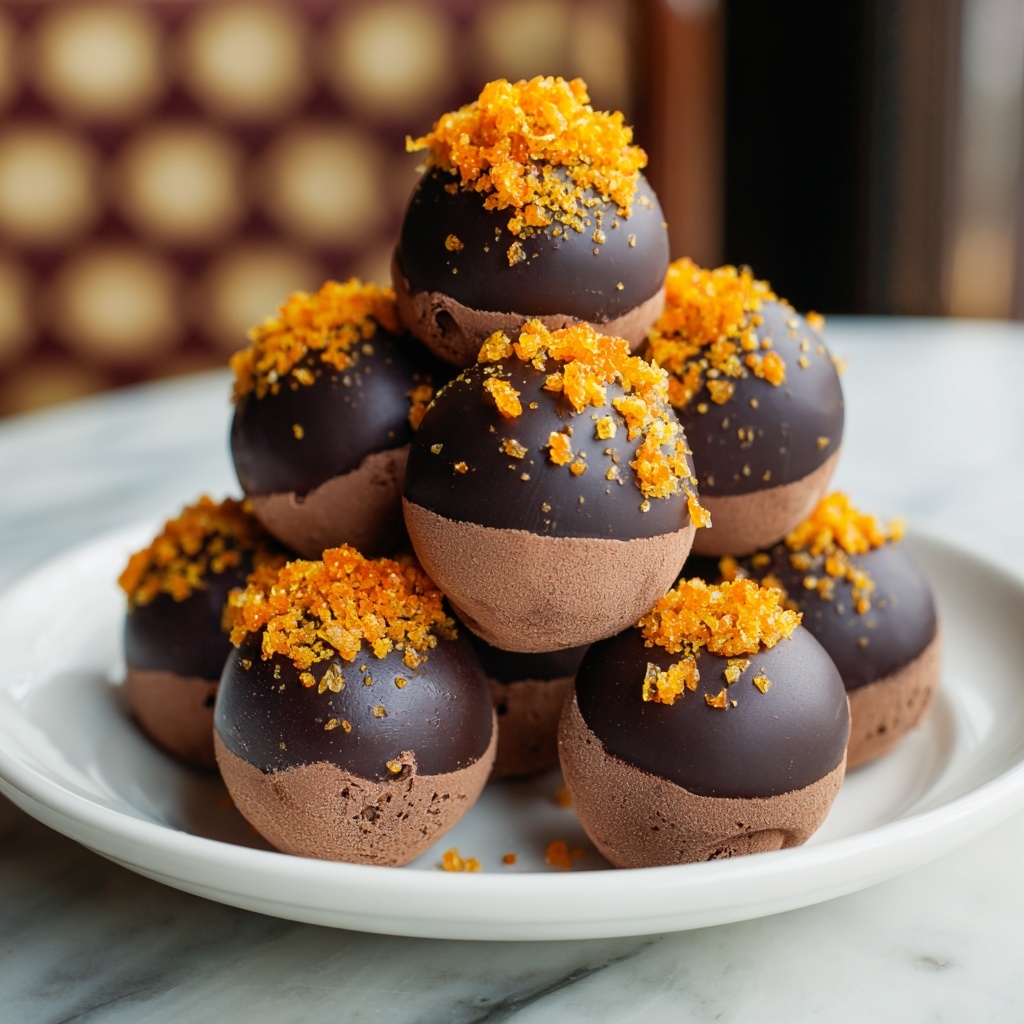
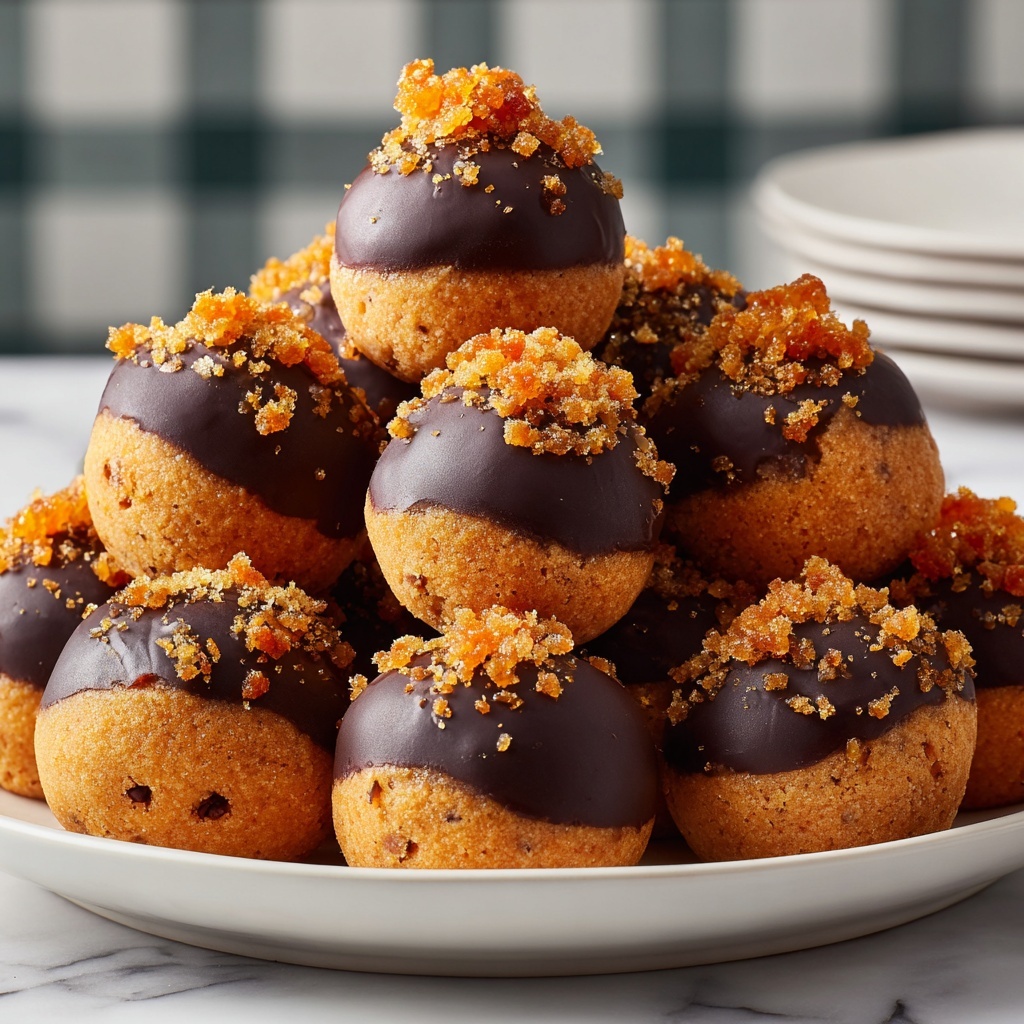
If you are looking for a sweet treat that is both nostalgic and irresistibly delicious, the Butterfinger Balls Recipe is exactly what you need. These bite-sized delights combine creamy peanut butter with the crunchy, flaky texture of crushed Butterfinger candy bars, all optionally wrapped in a smooth coat of melted chocolate. Perfect for parties, holidays, or a simple indulgence at home, this recipe is as fun to make as it is to eat, delivering that iconic Butterfinger flavor in a new, delightful form.
Ingredients You’ll Need
This Butterfinger Balls Recipe uses a handful of simple ingredients that each play a crucial role in creating the perfect balance of creamy, crunchy, and sweet. Knowing how these ingredients come together will help you appreciate this treat even more.
- Creamy peanut butter: The rich, smooth base that provides creaminess and a nutty flavor.
- Unsalted butter, softened: Adds a luscious texture and helps bind the mixture.
- Powdered sugar: Sweetens the mixture evenly and gives a soft texture.
- Vanilla extract: Enhances the flavor with a warm, aromatic note.
- Pinch of salt: Balances the sweetness and highlights the flavors.
- Butterfinger candy bars, finely crushed: The star ingredient, offering that signature crunch and buttery taste.
- Semisweet or milk chocolate (optional): Melts beautifully for dipping, adding a decadent chocolate coating.
How to Make Butterfinger Balls Recipe
Step 1: Prepare the Peanut Butter Mixture
Start by combining creamy peanut butter, softened butter, powdered sugar, vanilla extract, and a pinch of salt in a mixing bowl. Use an electric mixer or mix by hand until the texture is smooth and everything is thoroughly incorporated. This forms the rich, creamy foundation that balances sweet and salty flavors perfectly.
Step 2: Incorporate the Butterfinger Bars
Next, gently fold in the finely crushed Butterfinger candy bars. This step is crucial because it distributes the flaky, crunchy bits evenly throughout the peanut butter mixture, giving every bite that classic Butterfinger crunch and surprise.
Step 3: Form the Balls
Line a baking sheet with parchment or wax paper to keep things tidy. Scoop tablespoon-sized amounts of the peanut butter mixture and roll them into smooth balls. Placing them on the lined sheet ensures they stay round and ready for the next step.
Step 4: Dip in Chocolate (Optional)
If you love chocolate, melt your choice of semisweet or milk chocolate either on the stovetop over low heat or in the microwave in short bursts, stirring in between. Using a fork or dipping tool, coat each Butterfinger ball evenly. Tap off the excess chocolate before setting them back on the parchment-lined sheet. This adds an irresistible glossy finish and rich flavor layer.
Step 5: Chill and Set
Place the tray of balls in the refrigerator for about 30 minutes, allowing the chocolate to set firmly and the balls themselves to chill. This helps them hold their shape and ensures a satisfying texture when you bite into them.
Step 6: Serve and Store
Once chilled, transfer your Butterfinger balls to an airtight container. They can be enjoyed immediately or stored in the fridge for up to a week, making them a convenient treat to have on hand.
How to Serve Butterfinger Balls Recipe
Garnishes
While these Butterfinger balls are fabulous on their own, a sprinkle of crushed Butterfinger pieces on top after dipping adds extra crunch and visual appeal. You can also drizzle contrasting dark or white chocolate to create a beautiful swirl effect that makes them look like gourmet treats.
Side Dishes
These little sweets pair wonderfully with a cup of hot coffee or milk to balance their sweetness. They are also a crowd-pleaser alongside fresh fruit platters or vanilla ice cream, as the buttery, chocolatey richness offsets lighter flavors perfectly.
Creative Ways to Present
For parties or gifting, place these Butterfinger Balls in decorative mini cupcake liners or arrange them neatly in a jar tied with a ribbon. You can also skewer a few on cocktail sticks for an easy grab-and-go dessert that looks elegant and inviting.
Make Ahead and Storage
Storing Leftovers
Butterfinger balls keep best when stored in an airtight container in the refrigerator. The cool environment preserves their texture and flavor for up to a week, so you can enjoy them over several days without losing that fresh-baked appeal.
Freezing
If you want to make these treats in advance, they freeze beautifully. Place the balls on a baking sheet to freeze individually before transferring them to a freezer-safe container. This way, they won’t stick together and can be frozen for up to 2 months.
Reheating
When you’re ready to enjoy frozen Butterfinger balls, simply thaw them in the refrigerator overnight. If dipped in chocolate, keep them chilled to maintain the perfect bite. They don’t require heating, but if you prefer, microwave briefly for a few seconds to soften slightly.
FAQs
Can I use crunchy peanut butter instead of creamy?
While creamy peanut butter is recommended for a smooth blend, using crunchy peanut butter will add extra texture to the balls. It’s a personal preference but keep in mind it may affect the stickiness needed to hold the balls together well.
Do I have to dip the balls in chocolate?
Absolutely not! The chocolate coating is optional. The Butterfinger balls are delicious on their own thanks to the peanut butter and crushed candy bars. Chocolate just adds an extra indulgent layer.
Can I substitute Butterfinger bars with other candy bars?
While Butterfinger bars are key to the unique flavor and texture of this recipe, you could experiment with other crispy candy bars. Keep in mind that changing the candy will alter the taste and crunch.
How long do Butterfinger balls last?
When properly stored in the fridge, these balls stay fresh for up to a week. For longer storage, freezing is recommended and they can last about two months.
Is this recipe kid-friendly to make?
Definitely! This Butterfinger Balls Recipe is simple and hands-on, making it perfect for cooking with kids, especially the fun part of rolling balls and dipping in chocolate.
Final Thoughts
I cannot recommend this Butterfinger Balls Recipe enough for anyone who loves a sweet, crunchy, peanut buttery treat with just a hint of chocolate. It’s an easy, satisfying recipe that turns classic candy bars into a fun homemade dessert everyone will feel special enjoying. Give it a try – I promise, you’ll be coming back for more!
Print
Butterfinger Balls Recipe
- Prep Time: 15 minutes
- Cook Time: 0 minutes
- Total Time: 45 minutes (including chilling time)
- Yield: Approximately 20 servings
- Category: Dessert
- Method: No-Cook
- Cuisine: American
Description
Butterfinger Balls are a delicious no-bake treat combining creamy peanut butter, crushed Butterfinger candy bars, and optional chocolate coating. These bite-sized sweets are perfect for parties or a simple dessert, featuring a crunchy, peanut buttery center enveloped in smooth chocolate when dipped.
Ingredients
Peanut Butter Mixture:
- 1 cup creamy peanut butter
- 1/4 cup unsalted butter, softened
- 2 cups powdered sugar
- 1 teaspoon vanilla extract
- Pinch of salt
Butterfinger Candy:
- 6 Butterfinger candy bars, finely crushed
Chocolate Coating (Optional):
- 12 ounces semisweet or milk chocolate, chopped
Instructions
- Prepare the Peanut Butter Mixture: In a mixing bowl, combine creamy peanut butter, softened butter, powdered sugar, vanilla extract, and a pinch of salt. Mix until smooth and fully incorporated using an electric mixer or by hand to ensure an even texture.
- Incorporate the Butterfinger Bars: Gently fold in the finely crushed Butterfinger candy bars, making sure they are evenly distributed throughout the peanut butter mixture for consistent flavor and crunch.
- Form the Balls: Line a baking sheet with parchment or wax paper. Scoop tablespoon-sized portions of the peanut butter mixture and roll them into smooth balls, placing each on the prepared baking sheet to keep them separate.
- Dip in Chocolate (Optional): Melt the chopped semisweet or milk chocolate in a small saucepan over low heat, stirring constantly to prevent burning, or use the microwave in short intervals, stirring in between. Using a fork or dipping tool, dip each ball into the melted chocolate, coating evenly. Tap off excess chocolate and place the coated balls back onto the baking sheet.
- Chill and Set: Refrigerate the Butterfinger Balls for about 30 minutes or until the chocolate sets firmly and the balls harden, making them easier to handle and enhancing texture.
- Serve and Store: Once set, transfer the Butterfinger Balls into an airtight container. Store them in the refrigerator for up to one week to maintain freshness and taste.
Notes
- You can skip the chocolate coating for a simpler, peanut butter and Butterfinger candy treat.
- For easier rolling, refrigerate the peanut butter mixture for 15 minutes before shaping.
- To make cleanup easier, use parchment paper when rolling and dipping the balls.
- These treats should be stored in the refrigerator as they contain butter and peanut butter which can soften at room temperature.


