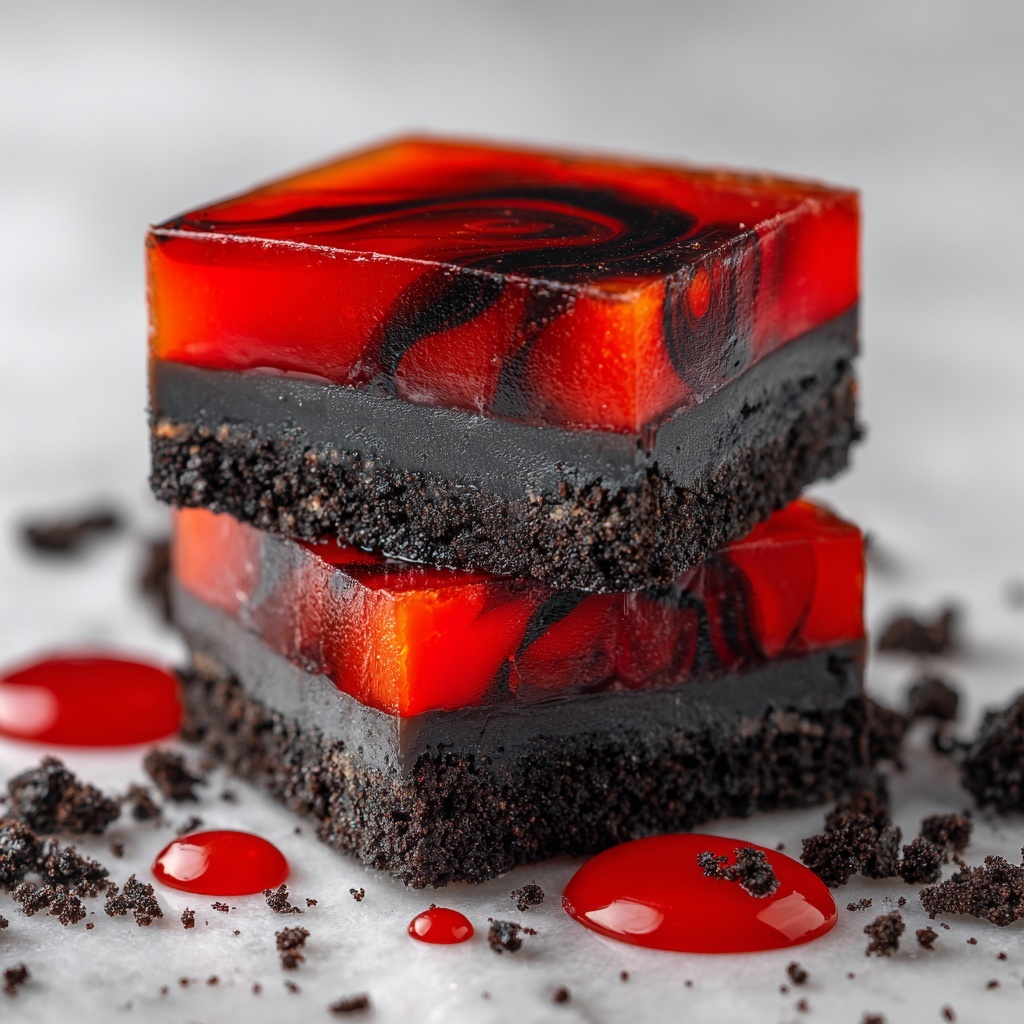
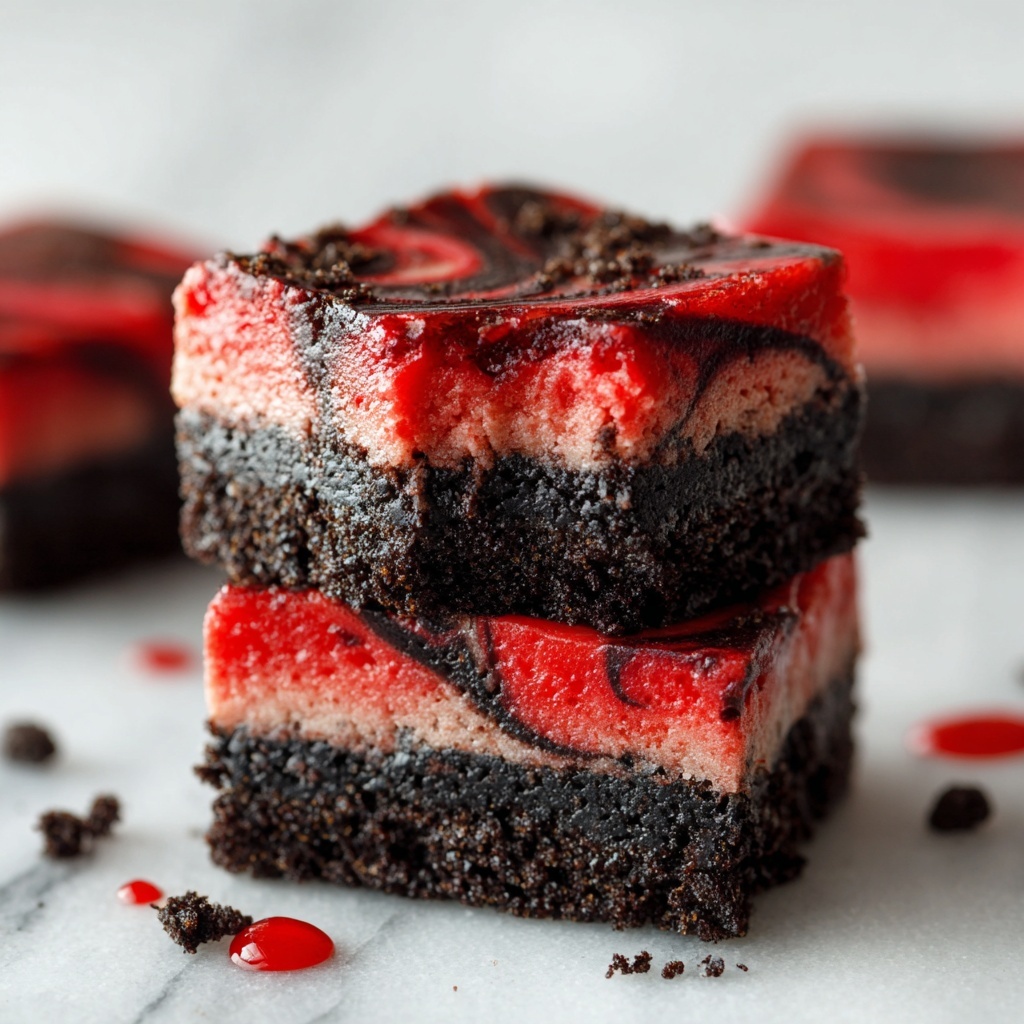
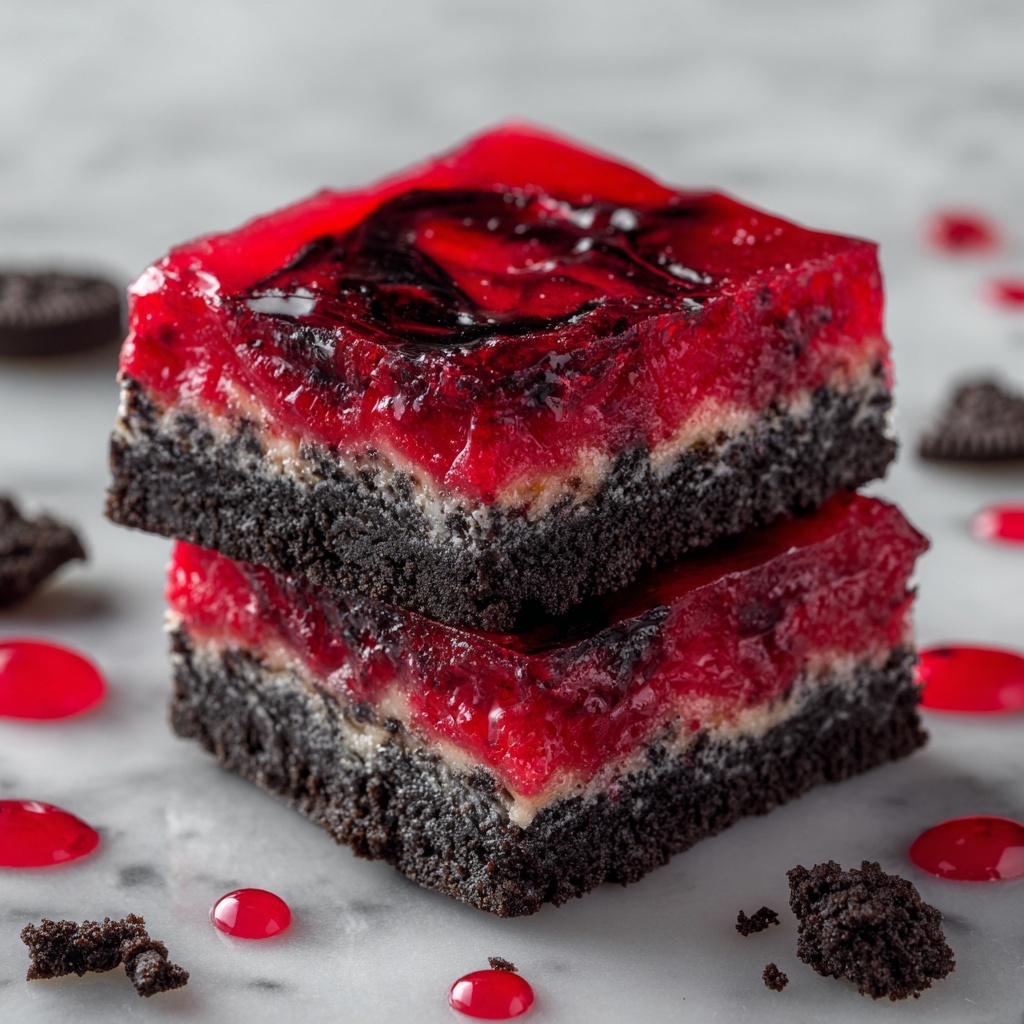
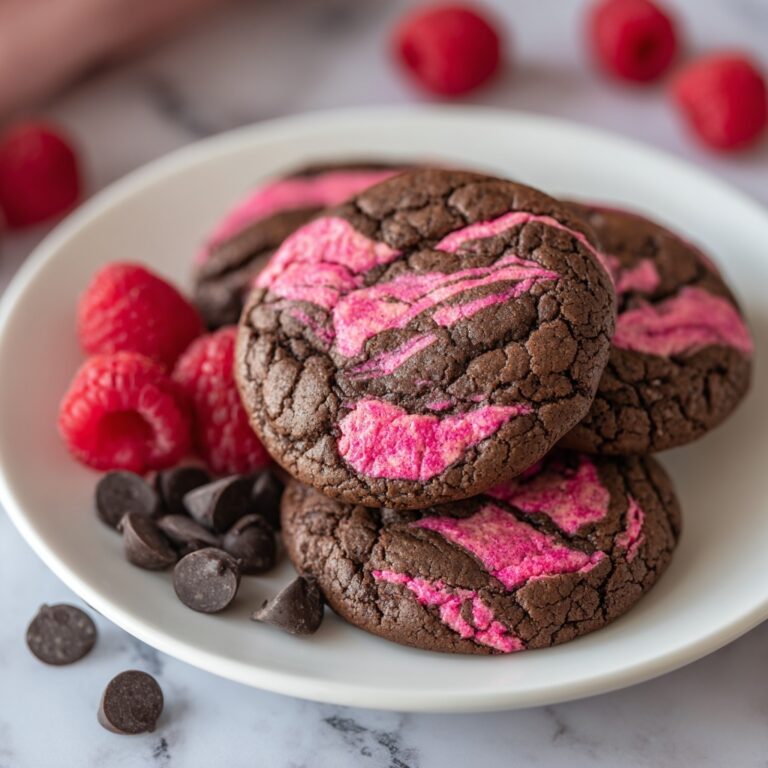
If you’re looking to bring a dash of delightfully spooky magic into your kitchen this season, then you absolutely must try the Vampire Fudge: A Spooky Sweet Treat Recipe. This isn’t just any fudge—it’s a rich, creamy, chocolatey sensation with a tantalizing swirl of blood-red peanut butter that looks so eerie yet tastes utterly divine. Whether you’re aiming to impress at a Halloween party or simply craving a sweet escape with a fun twist, this Vampire Fudge delivers on texture, flavor, and that dramatic visual wow factor that makes every bite irresistible.
Ingredients You’ll Need
There’s something wonderfully simple about this recipe’s ingredients, but each one plays a crucial role in creating the luscious texture, decadent flavor, and striking appearance of your Vampire Fudge: A Spooky Sweet Treat Recipe. From smooth peanut butter to the perfect blend of chocolates, every component adds depth and richness to this treat.
- Unsalted butter (1 cup or 2 sticks): Gives the fudge a silky, creamy base and helps with smooth melting.
- Sweetened condensed milk (1 can, 14 ounces): Adds sweetness and a thick, luscious consistency essential for fudge.
- Semi-sweet chocolate chips (1 bag, 12 ounces): Provides a classic chocolate richness with a slight hint of bitterness to balance the sweet.
- Milk chocolate chips (1 bag, 12 ounces): Brings a sweeter, creamier chocolate flavor that blends perfectly with semi-sweet chips.
- Creamy peanut butter (1 cup): The star of the swirl, peanut butter lends a salty, nutty note that complements the chocolate perfectly.
- Vanilla extract (1 teaspoon): Enhances all the flavors and adds a subtle aromatic depth.
- Powdered sugar (1/2 cup): Sweetens and thickens the peanut butter mixture for the signature swirled texture.
- Unsweetened cocoa powder (1/4 cup): Deepens the chocolate flavor, ensuring a rich fudge experience.
- Red food coloring gel (a tiny amount): Adds the dramatic and spooky blood-red hue to the peanut butter swirl, making this fudge truly special.
- Optional garnishes (pretzel sticks, crushed Oreos, chopped nuts): Offers extra crunch and texture variety while enhancing the visual appeal.
How to Make Vampire Fudge: A Spooky Sweet Treat Recipe
Step 1: Prepare Your Pan
Begin by lining an 8×8 inch baking pan with parchment paper, leaving enough overhang on the sides so you can easily lift the fudge out when it’s ready. This simple prep step saves cleanup stress and helps maintain that perfect, clean cut when slicing.
Step 2: Melt the Butter and Mix in Condensed Milk
In a large saucepan set to medium-low, melt the butter completely, stirring occasionally so it doesn’t brown. When melted, gradually whisk in the sweetened condensed milk until the mixture is smooth and luscious—this is the heart of your fudge’s creamy texture.
Step 3: Add the Chocolate Chips
Stir constantly as you add both the semi-sweet and milk chocolate chips. Watch for the mixture to melt completely and become glossy and smooth; this beautiful shine signals that your fudge base is perfectly melded.
Step 4: Stir in the Vanilla Extract
Once your chocolate is melted, blend in the vanilla extract for a fragrant touch that rounds out the intense cocoa flavors beautifully.
Step 5: Prepare the Red Peanut Butter Mixture
In a separate bowl, combine the creamy peanut butter and powdered sugar until you create a smooth, spreadable mixture. Next, add a very small amount of red food coloring gel and mix until an even, blood-red color emerges – this is what gives the vampire vibe its bite.
Step 6: Layer the Fudge
Pour half the chocolate mixture into your prepared pan, spreading it out evenly for a smooth base. Then drop spoonfuls of your red peanut butter mixture across the top and gently swirl it through the chocolate using a knife or skewer. Pour the remaining chocolate mixture over the top and spread out for a luxurious finish.
Step 7: Add Optional Toppings and Chill
Sprinkle on your choice of pretzel sticks, crushed Oreos, or chopped nuts for added crunch and a sinister spooky look. Cover the pan tightly with plastic wrap and refrigerate for at least 4 hours, or better yet, overnight to let the fudge set into a perfect, sliceable treat.
Step 8: Slice and Serve
Use the parchment overhang to carefully lift the fudge from the pan. Then, with a sharp knife wiped clean between cuts, slice it into small squares. Arrange them on a beautiful platter and get ready to serve as one of the most eye-catching candies you’ll ever make.
How to Serve Vampire Fudge: A Spooky Sweet Treat Recipe
Garnishes
To really amp up the spooky aesthetic of your Vampire Fudge: A Spooky Sweet Treat Recipe, think about adding crunchy or thematic garnishes. Pretzel sticks can look like eerie bones, while crushed Oreos add a touch of spidery darkness. Chopped nuts contribute a rustic contrast that tastes incredible with the fudgy texture.
Side Dishes
This fudge pairs wonderfully with a simple cup of hot coffee, rich hot cocoa, or even a bold black tea to balance the sweetness. For a Halloween spread, serve alongside pumpkin-themed treats or roasted spiced nuts for a cohesive seasonal snack table.
Creative Ways to Present
Presentation is half the fun with Vampire Fudge! Try serving it on a black slate board for a dramatic effect or in a decorative tiered tray alongside mini jack-o’-lantern candies. Wrapping individual pieces in wax paper tied with red ribbon makes for perfect party favors, bringing the fuss-free elegance and fun of this Vampire Fudge: A Spooky Sweet Treat Recipe to any gathering.
Make Ahead and Storage
Storing Leftovers
Keep your Vampire Fudge in an airtight container in the refrigerator to preserve its creamy texture and prevent it from drying out. Properly stored, it will stay fresh and delicious for up to two weeks, which makes it a fantastic treat to keep on hand.
Freezing
If you want to keep this spooky sweet treat longer, wrap each fudge piece tightly in plastic wrap and place them in a freezer-safe container. Frozen fudge stays wonderful for up to three months, and you can thaw individual pieces as needed—perfect for unexpected guests!
Reheating
Fudge is best enjoyed chilled or at room temperature. If your fudge feels too firm after refrigeration or thawing, let it sit out for 15-20 minutes before serving, allowing it to soften just enough for that perfect melt-in-your-mouth experience.
FAQs
Can I substitute peanut butter with another nut butter?
Absolutely! While peanut butter provides that classic flavor, creamy almond or cashew butter can be swapped in if you want a different twist or need a peanut-free option. Just keep the texture smooth for best results.
What if I don’t have red food coloring gel?
Red gel is recommended because it’s concentrated and won’t affect the consistency of the peanut butter mixture, but you can use liquid food coloring in small amounts. Just add it gradually to avoid making the mixture too runny.
Is there a way to make this fudge vegan?
For a vegan version, you can try using vegan butter and sweetened condensed coconut milk, along with dairy-free chocolate chips. Keep in mind that this might slightly alter the taste and texture but can still be delicious.
How thin or thick should I swirl the red peanut butter mixture?
Swirl as lightly or as dramatically as you like! Gentle swirls create a subtle marbled look, while more intricate swirling gives a bold, eye-catching design. The key is to mix just enough to keep the layers distinct but beautifully blended.
How can I ensure neat, clean fudge squares when cutting?
Use a long, sharp knife and wipe it clean with a warm, damp cloth between cuts. Chilling the fudge overnight helps it set firmly, so it slices without crumbling or sticking excessively.
Final Thoughts
Making Vampire Fudge: A Spooky Sweet Treat Recipe is not only a treat for your taste buds but a festive celebration of all things deliciously spooky. It’s one of those recipes that brings people together with its rich flavors and creepy-cool appearance. I highly encourage you to give it a try — it’s sure to become a favorite in your collection, perfect for gatherings, gift-giving, or simply indulging your sweet tooth with a fun, creative flair.
Print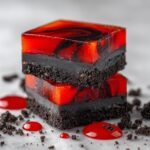
Vampire Fudge: A Spooky Sweet Treat Recipe
- Prep Time: 20 minutes
- Cook Time: 15 minutes
- Total Time: 4 hours 35 minutes
- Yield: 16 servings
- Category: Dessert
- Method: Stovetop
- Cuisine: American
Description
Vampire Fudge is a decadent and spooky sweet treat perfect for Halloween or any special occasion. This rich, creamy fudge combines a luscious blend of semi-sweet and milk chocolate with creamy peanut butter swirled with a dramatic red hue for a festive look. Topped with optional crunchy pretzels, crushed Oreos, or nuts, this no-bake fudge is chilled to perfection for a smooth, melt-in-your-mouth experience that serves 16.
Ingredients
Chocolate Mixture
- 1 cup (2 sticks) unsalted butter
- 1 (14 ounce) can sweetened condensed milk
- 1 (12 ounce) bag semi-sweet chocolate chips
- 1 (12 ounce) bag milk chocolate chips
- 1 teaspoon vanilla extract
Peanut Butter Swirl
- 1 cup creamy peanut butter
- 1/2 cup powdered sugar
- Red food coloring gel (a tiny amount, for dramatic effect)
Optional Garnishes
- Pretzel sticks
- Crushed Oreos
- Chopped nuts
Instructions
- Prepare the Pan: Line an 8×8 inch baking pan with parchment paper, ensuring there is an overhang on the sides for easy removal later.
- Melt Butter: In a large saucepan over medium-low heat, melt the butter completely, stirring occasionally to prevent burning.
- Add Sweetened Condensed Milk: Gradually whisk in the sweetened condensed milk until the mixture is smooth and fully combined.
- Melt Chocolate: Add both semi-sweet and milk chocolate chips to the saucepan and stir constantly until the chocolate is fully melted and the mixture is glossy.
- Flavoring: Stir in the vanilla extract to enhance the chocolate mixture’s flavor.
- Make Peanut Butter Mixture: In a separate bowl, combine the creamy peanut butter with the powdered sugar. Mix thoroughly until the texture is smooth and creamy.
- Add Color: Add a small amount of red food coloring gel to the peanut butter mixture and mix until the color is evenly distributed and vibrant.
- Layer Base Fudge: Pour half of the chocolate mixture into the prepared baking pan and spread it evenly to form the base layer.
- Add Peanut Butter Swirl: Spoon dollops of the red peanut butter mixture over the chocolate base. Gently swirl it with a skewer or knife to create a marbled effect.
- Top Layer: Pour the remaining chocolate mixture over the peanut butter swirl and spread evenly to cover the entire surface.
- Add Garnishes: Sprinkle optional pretzel sticks, crushed Oreos, or chopped nuts on top for added texture and visual appeal.
- Chill: Cover the pan tightly with plastic wrap and refrigerate for at least 4 hours, preferably overnight, to allow the fudge to set completely.
- Unmold: Use the parchment paper overhang to lift the fudge block out of the pan carefully.
- Slice: Cut into small squares using a sharp knife, wiping the knife clean between cuts to maintain clean edges.
- Serve: Arrange the fudge squares on a serving platter and serve chilled for the best texture and flavor.
Notes
- Use parchment paper with an overhang for easy removal of the fudge block from the pan.
- Be patient while melting the chocolate mixture over medium-low heat to prevent scorching.
- Adjust the amount of red food coloring gel to achieve your desired intensity of the swirl.
- Optional garnishes add texture and contrast but can be omitted if preferred.
- The fudge should be stored refrigerated and enjoyed within one week for optimal freshness.


