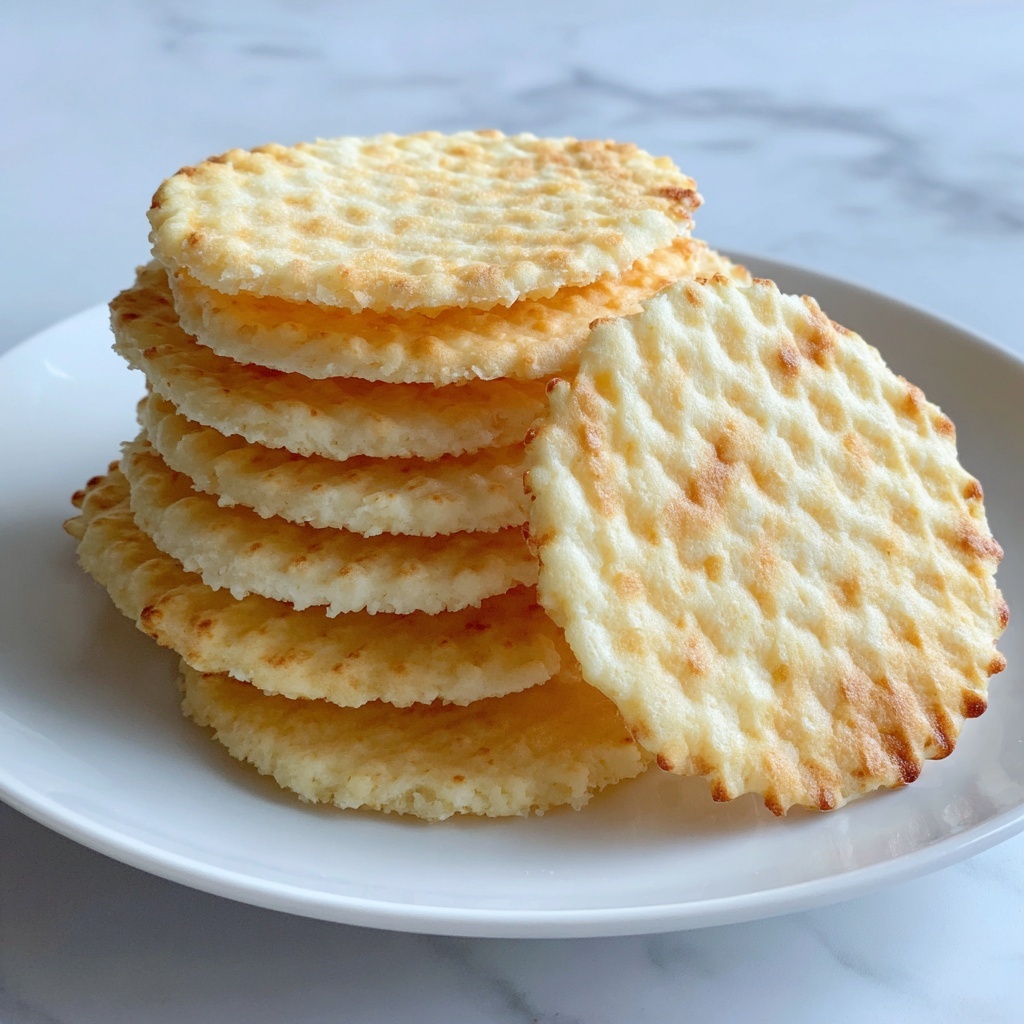
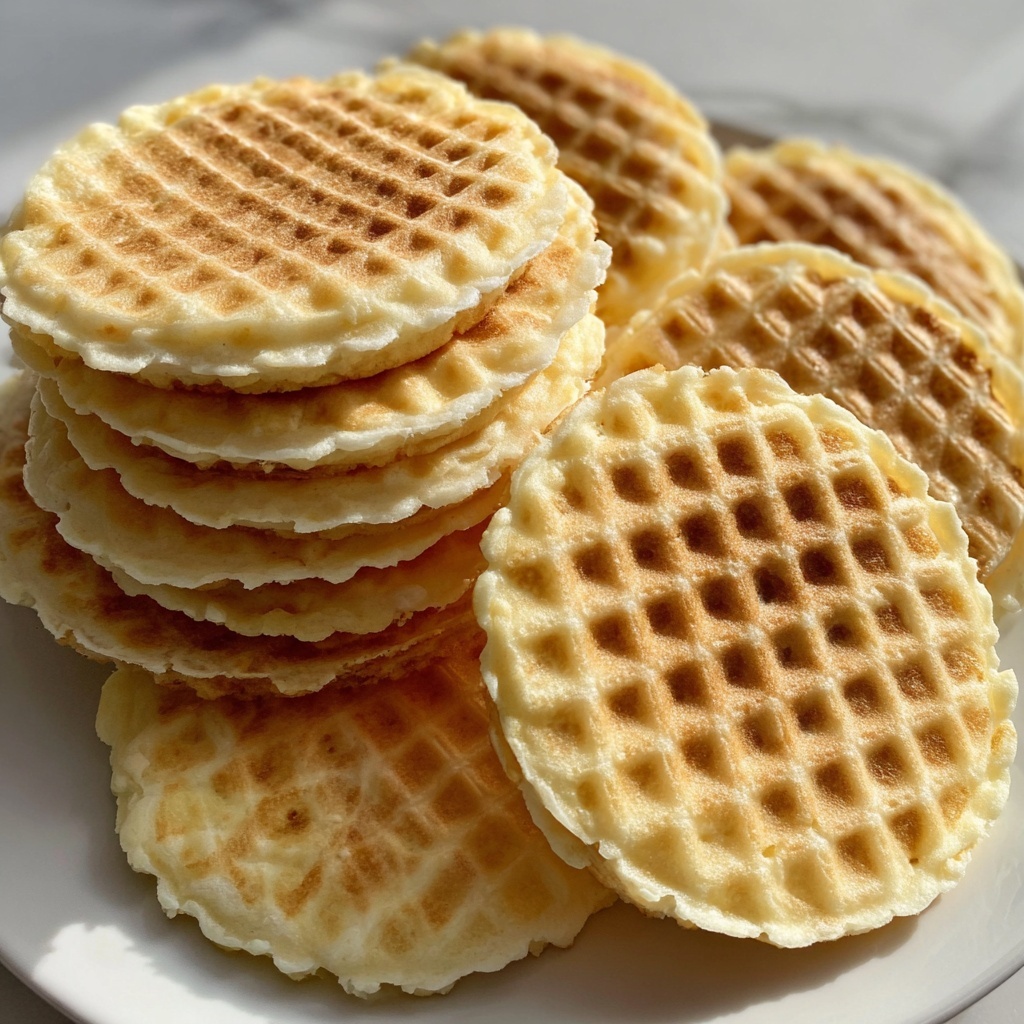
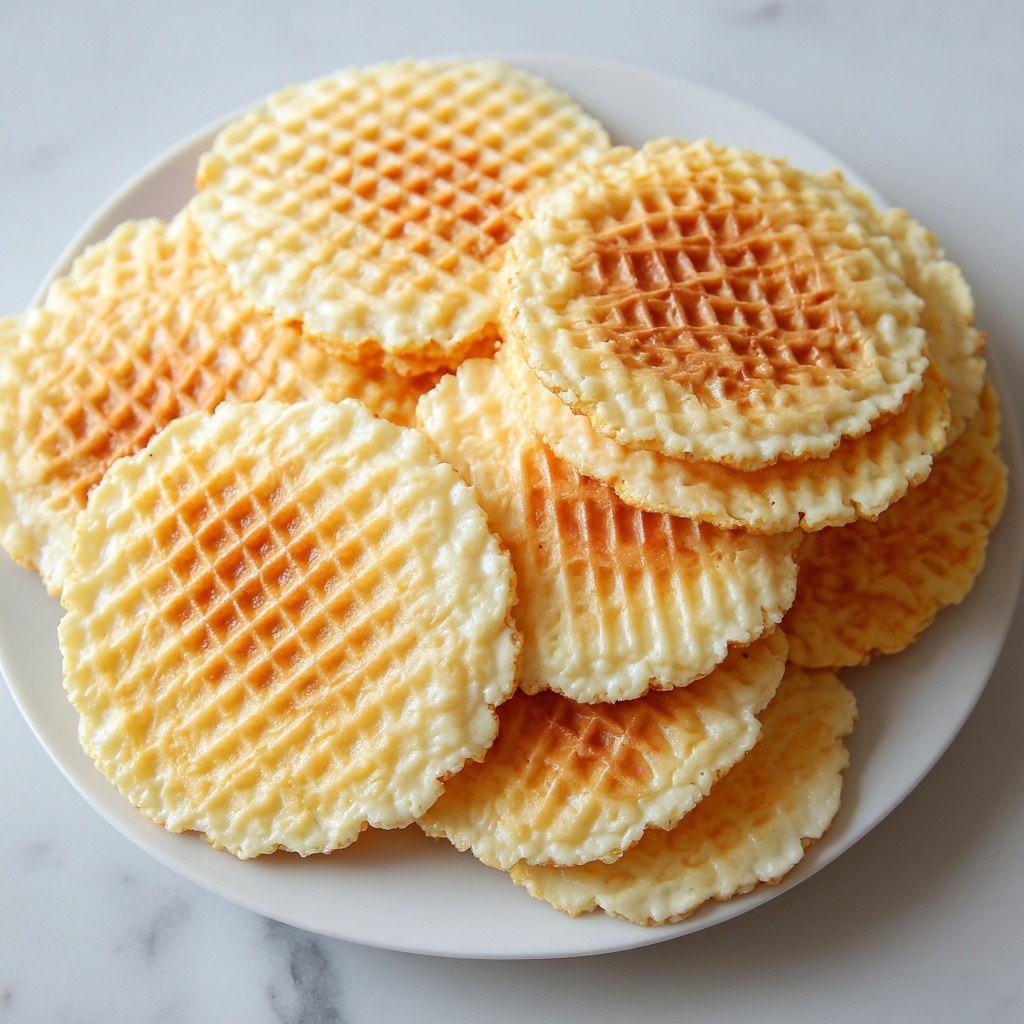
If you have a soft spot for cookies that feel like a warm hug in every bite, you are absolutely going to adore this Vegan Vanilla Wafers That Taste Like Pure Bliss in 5 Steps Recipe. These delightful little treats combine simplicity with remarkable flavor, creating wafers that are crispy, subtly sweet, and infused with the comforting essence of vanilla. Whether you’re new to vegan baking or just searching for a new favorite snack, this recipe will quickly become your go-to for satisfying that cookie craving without any fuss or complicated ingredients.
Ingredients You’ll Need
Only a handful of ingredients come together effortlessly to create these irresistible wafers. Each one plays a crucial role in bringing out the perfect balance of flavor, texture, and golden color.
- 1 cup all-purpose flour: The foundation that gives the wafers their delicate structure and soft crispness.
- 1/2 cup coconut oil, melted: Adds a subtle tropical aroma and keeps the wafers perfectly tender and rich.
- 1/2 cup maple syrup: A natural sweetener that imparts gentle sweetness and a hint of caramel flavor.
- 1 tablespoon vanilla extract: The star ingredient that transforms these wafers into a fragrant and warm vanilla dream.
- 1/4 teaspoon salt: Enhances all the other flavors by creating a balanced and irresistible taste.
How to Make Vegan Vanilla Wafers That Taste Like Pure Bliss in 5 Steps Recipe
Step 1: Preheat Your Oven
Start by heating your oven to 350°F (175°C). Preheating is essential because it ensures an even, golden bake for your vanilla wafers, locking in that perfect crispy edge and soft center.
Step 2: Mix Your Wet Ingredients
In a medium bowl, whisk together the melted coconut oil, maple syrup, and vanilla extract. This blend forms the luscious base of your dough, giving it a sweet, smooth, and inviting flavor that promises every bite will be full of bliss.
Step 3: Add the Dry Ingredients
Sprinkle in the all-purpose flour and salt, then gently stir until the dough just comes together. Be careful not to overmix; you want the wafers to have a tender, crumbly texture rather than being tough.
Step 4: Shape Your Wafers
Use a spoon to drop dollops of dough onto a baking sheet lined with parchment paper. Space them out evenly so they bake uniformly and crisp up without sticking together.
Step 5: Bake and Cool
Bake the wafers for 10 to 12 minutes or until they turn a delicate golden brown. Let them cool completely on the baking sheet – this step is key to achieving that ideal crunchy yet melt-in-your-mouth consistency.
How to Serve Vegan Vanilla Wafers That Taste Like Pure Bliss in 5 Steps Recipe
Garnishes
A simple dusting of powdered sugar or a gentle drizzle of melted vegan dark chocolate can elevate these vanilla wafers, adding a touch of elegance and extra flavor contrast.
Side Dishes
Pair your wafers with a cup of herbal tea or a refreshing glass of almond milk for a snack that feels like a small celebration, perfect for afternoon breaks or cozy evenings.
Creative Ways to Present
Stack these wafers as a mini tower tied with rustic twine for gifting, or crush a few and sprinkle over vegan ice cream or pudding for added texture and that extra pop of vanilla love.
Make Ahead and Storage
Storing Leftovers
Store your vanilla wafers in an airtight container at room temperature for up to a week. This keeps them crisp and fresh, so you can enjoy that “just-baked” joy anytime.
Freezing
If you want to keep these vegan vanilla wafers around longer, freeze them in a sealed container or freezer bag for up to three months. Just thaw at room temperature before indulging.
Reheating
To bring back that delightful crispness, pop your wafers in a warm oven for a few minutes. Avoid microwaving as it might soften them too much.
FAQs
Can I substitute coconut oil with another oil?
Absolutely! You can use melted vegan butter or vegetable oil, but coconut oil adds a subtle flavor and helps create that perfect wafer texture that defines this recipe.
Are these wafers gluten-free?
This recipe uses all-purpose flour, which contains gluten. For gluten-free wafers, try swapping in a gluten-free flour blend and adjust the consistency as needed.
How sweet are these wafers?
The sweetness is gentle and natural thanks to the maple syrup. If you prefer a less sweet cookie, you can reduce the maple syrup slightly without sacrificing flavor.
Can I add mix-ins like chocolate chips or nuts?
Yes! Toss in some vegan chocolate chips, chopped nuts, or shredded coconut for a fun twist, but keep in mind this will slightly change the crispy texture.
Is it necessary to let the wafers cool before eating?
It is recommended because the cooling process allows the wafers to firm up and develop their signature crispiness. Eating them warm might be deliciously soft but less wafer-like.
Final Thoughts
Trying the Vegan Vanilla Wafers That Taste Like Pure Bliss in 5 Steps Recipe is like giving yourself a little moment of pure happiness. With minimal ingredients, straightforward steps, and a ridiculously delicious outcome, this recipe invites you to enjoy the simple joys of baking. So grab your bowl, warm your oven, and share these lovely wafers with friends or keep them all to yourself — either way, bliss is guaranteed!
Print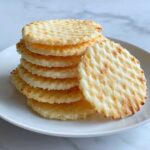
Vegan Vanilla Wafers That Taste Like Pure Bliss in 5 Steps Recipe
- Prep Time: 10 minutes
- Cook Time: 12 minutes
- Total Time: 22 minutes
- Yield: 24 servings
- Category: Dessert
- Method: Baking
- Cuisine: American
- Diet: Vegan
Description
These vegan vanilla wafers offer a delightful, melt-in-your-mouth experience made with simple, wholesome ingredients like coconut oil and maple syrup. Perfectly golden and sweet, they are an ideal treat for those seeking a dairy-free, egg-free cookie option that tastes like pure bliss.
Ingredients
Dry Ingredients
- 1 cup all-purpose flour
- 1/4 teaspoon salt
Wet Ingredients
- 1/2 cup coconut oil, melted
- 1/2 cup maple syrup
- 1 tablespoon vanilla extract
Instructions
- Preheat Oven: Set your oven to 350°F (175°C) to prepare it for baking.
- Combine Wet Ingredients: In a mixing bowl, thoroughly mix the melted coconut oil, maple syrup, and vanilla extract until well blended.
- Add Dry Ingredients: Incorporate the all-purpose flour and salt into the wet mixture, stirring gently until just combined to form the cookie dough.
- Form Cookies: Drop spoonfuls of the dough onto a baking sheet lined with parchment paper, spacing them evenly.
- Bake: Place the sheet in the oven and bake for 10-12 minutes, or until the cookies turn a light golden color.
- Cool: Remove from the oven and allow the wafers to cool completely on the baking sheet before serving to let them firm up.
Notes
- Use parchment paper or a silicone baking mat to prevent sticking.
- If you prefer a crisper wafer, bake an additional 1-2 minutes, keeping a close eye on them.
- Store the wafers in an airtight container at room temperature for up to 5 days.
- You can substitute maple syrup with agave nectar for a different flavor profile.
- Ensure coconut oil is fully melted but not hot before mixing to avoid cooking the batter prematurely.

