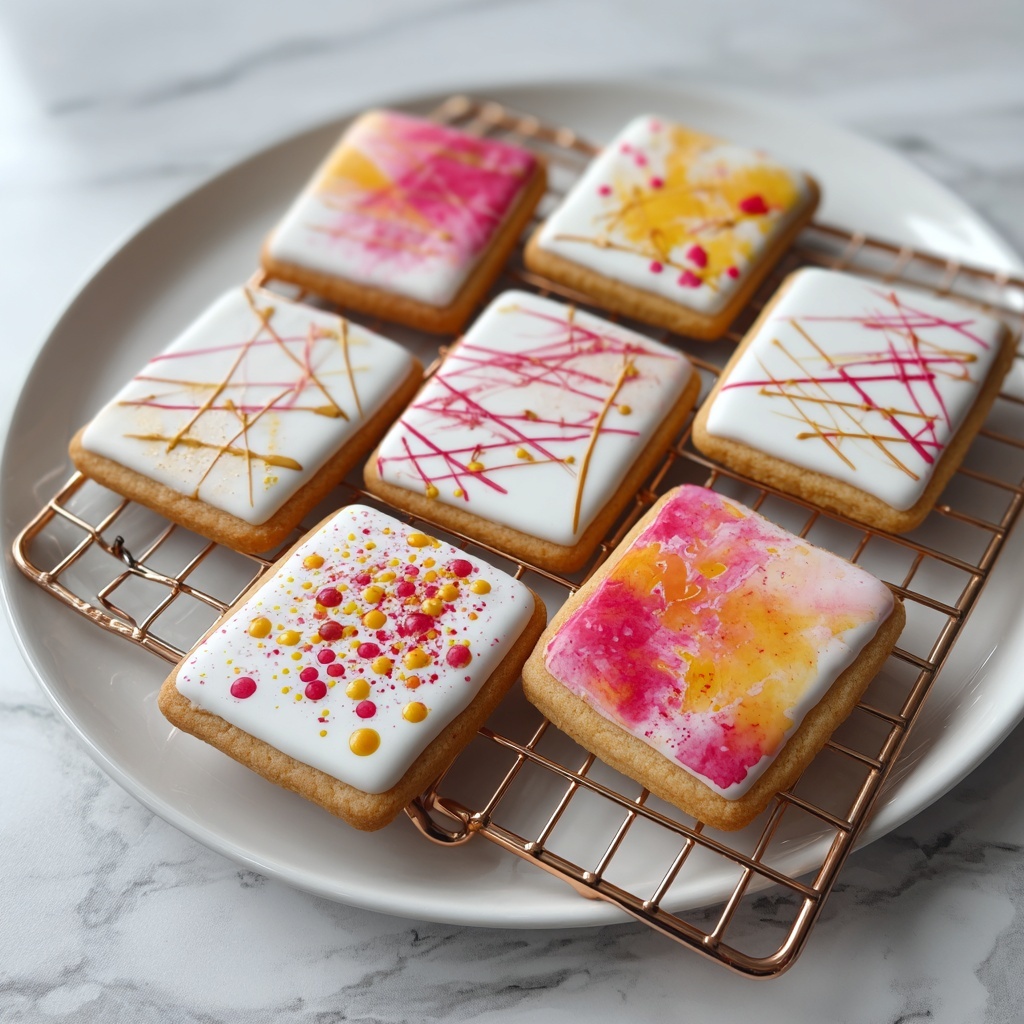
If you adore cookies that brighten your day both in flavor and appearance, you are going to fall head over heels for this Abstract Art Cookies Recipe. These colorful, playful treats combine a classic cookie base with vibrant chocolate candies, turning every bite into a delightful celebration of texture and taste. The way the candies melt and swirl inside each cookie creates a one-of-a-kind “abstract art” effect, making these cookies as stunning as they are scrumptious. Whether you are baking for a party, a cozy afternoon snack, or just because, these cookies bring joy and creativity right from your oven.
Ingredients You’ll Need
Simple ingredients make these Abstract Art Cookies Recipe truly shine. Each component has its special role, from creating the soft, chewy texture to adding that pop of sweet color and crunch.
- All-purpose flour: Provides structure and the perfect tender crumb for your cookies.
- Baking soda: Helps the cookies rise and adds lightness.
- Salt: Enhances all the flavors and balances sweetness perfectly.
- Unsalted butter, softened: Creates a rich, buttery base and softness in the cookie.
- Granulated sugar: Adds sweetness and a slight crisp on the edges.
- Brown sugar: Brings moisture, chewiness, and a hint of caramel flavor.
- Vanilla extract: Boosts the overall flavor with warm, comforting notes.
- Large eggs: Bind everything together and provide moisture.
- Colorful chocolate candies: Give each cookie its stunning, abstract art look and a melty surprise in every bite.
How to Make Abstract Art Cookies Recipe
Step 1: Preheat and Prepare
Start by preheating your oven to 375 degrees Fahrenheit (190 degrees Celsius). This ensures a hot oven once your dough is ready, which helps the cookies bake evenly and develop those slightly crisp edges that contrast so nicely with the chewy center.
Step 2: Combine Dry Ingredients
Whisk together 2 1/4 cups of all-purpose flour, 1 teaspoon of baking soda, and 1/2 teaspoon of salt. Mixing these dry ingredients first ensures your cookies will have the right texture and that the rising agent is evenly distributed for a perfect bake.
Step 3: Cream Butter and Sugars
In a separate bowl, beat your softened butter with both the granulated and brown sugars, plus 1 teaspoon of vanilla extract. This step is crucial for creating a smooth, creamy base which helps trap air for lightness and develops flavor as the sugars dissolve and caramelize during baking.
Step 4: Add the Eggs
Beat in the 2 large eggs one at a time, making sure they’re fully incorporated before adding the next. This builds structure and moisture, making sure your cookies come out perfectly balanced — not too dry, not too dense.
Step 5: Incorporate Dry Ingredients Gradually
Slowly add the dry mixture to your wet ingredients, mixing gently to combine. This gradual blending prevents overworking the dough, which can make cookies tough, and ensures an even distribution of flour and rising agents.
Step 6: Fold in Colorful Chocolate Candies
Finally, fold 1 cup of your favorite colorful chocolate candies into the dough. This is the magic touch of the Abstract Art Cookies Recipe! The candies scatter throughout the dough creating those vibrant spots of color that give each cookie its unique “abstract art” signature.
Step 7: Bake to Perfection
Drop rounded tablespoons of dough onto ungreased baking sheets, spacing them out enough for spreading. Bake for about 9 to 11 minutes until the edges turn golden but the centers remain soft. Then, let them cool on the baking sheet a few minutes before transferring to a wire rack. This cooling step lets the cookies firm up without losing their chewy texture.
How to Serve Abstract Art Cookies Recipe
Garnishes
If you want to add a little extra flair, a light drizzle of white or dark chocolate over the cooled cookies enhances their artistic appeal, making them even more visually captivating and indulgent. A sprinkle of coarse sea salt on top before baking can also balance the sweetness beautifully.
Side Dishes
Pair these cookies with a tall glass of cold milk or a cup of rich, freshly brewed coffee or tea. The creaminess of milk complements the chocolate candies, while the bitterness of coffee or tea balances their sweetness, making every bite and sip an absolute joy.
Creative Ways to Present
For an eye-catching display at parties, arrange your Abstract Art Cookies on a multi-tiered tray or scatter some edible flowers and fresh fruit around them. You can also gift-wrap them in clear cellophane bags tied with colorful ribbons — the vibrant colors of the candies peek through beautifully, making these cookies an instant showstopper.
Make Ahead and Storage
Storing Leftovers
Keep your Abstract Art Cookies fresh by storing them in an airtight container at room temperature. They will stay soft and tasty for up to a week, making them perfect to bake in advance for a week’s worth of snacking or sharing.
Freezing
If you want to enjoy these cookies later, freeze the unbaked cookie dough balls on a baking sheet until firm, then transfer to a freezer bag. Bake them straight from frozen, adding a couple of extra minutes to the baking time. You can also freeze fully baked cookies by layering them between parchment paper inside a container for up to 3 months.
Reheating
To revive the fresh-baked warmth, pop the stored cookies in the microwave for 10 to 15 seconds or warm them in a preheated oven at 300 degrees Fahrenheit for 5 minutes. This brings back that just-baked softness and the gooey charm of melted chocolate candies.
FAQs
Can I use different types of chocolate candies?
Absolutely! While colorful chocolate candies give the cookies their iconic abstract look, feel free to experiment with various sizes, brands, or even chocolate-covered nuts for interesting textures and flavors.
What if I don’t have brown sugar? Can I substitute it?
You can substitute brown sugar with an equal amount of white sugar plus a teaspoon of molasses if available. This will mimic the moistness and flavor depth that brown sugar adds to the cookies.
Are these cookies gluten-free?
This recipe uses all-purpose flour, so it is not gluten-free as is. However, you can try substituting with a gluten-free flour blend designed for baking, though texture might vary slightly.
How do I get the cookies to be chewy instead of crunchy?
The mix of brown sugar and butter, plus not overbaking, ensures chewiness. Keep baking time closer to 9 minutes for softer centers and store in airtight containers to maintain moisture.
Can I add nuts or other mix-ins?
Definitely! Chopped nuts like walnuts or pecans, dried fruit, or even white chocolate chips can add a nice twist to your Abstract Art Cookies Recipe and complement the colorful candies perfectly.
Final Thoughts
This Abstract Art Cookies Recipe is a joyful invitation to bake something beautiful and delicious. With its simple ingredients and straightforward method, it’s a fun project that yields cookies bursting with color, texture, and soul. Whether for yourself, friends, or family, these cookies are sure to bring smiles and maybe even inspire your own cookie decorating adventures. Grab your mixing bowls and let the delicious creativity begin!
Print
Abstract Art Cookies Recipe
- Prep Time: 15 minutes
- Cook Time: 11 minutes
- Total Time: 26 minutes
- Yield: 24 cookies
- Category: Dessert
- Method: Baking
- Cuisine: American
- Diet: Vegetarian
Description
These Abstract Art Cookies are buttery, soft, and packed with colorful chocolate candies that create a fun and vibrant treat. Perfect for sharing at parties or enjoying as a delightful snack, these classic cookies combine rich vanilla and brown sugar flavors with a playful twist.
Ingredients
Dry Ingredients
- 2 1/4 cups all-purpose flour
- 1 teaspoon baking soda
- 1/2 teaspoon salt
Wet Ingredients
- 1 cup unsalted butter, softened
- 3/4 cup granulated sugar
- 3/4 cup packed brown sugar
- 1 teaspoon vanilla extract
- 2 large eggs
Add-ins
- 1 cup colorful chocolate candies
Instructions
- Preheat Oven: Preheat your oven to 375°F (190°C) to ensure it reaches the proper temperature by the time your dough is ready for baking.
- Mix Dry Ingredients: In a medium bowl, whisk together the all-purpose flour, baking soda, and salt. This prepares the base for your cookie dough.
- Cream Butter and Sugars: In a separate large bowl, cream together the softened unsalted butter, granulated sugar, brown sugar, and vanilla extract until the mixture is smooth and fluffy.
- Add Eggs: Beat in the eggs one at a time, ensuring each is fully incorporated before adding the next. This helps create a smooth dough.
- Combine Dry and Wet: Gradually add the dry ingredients to the wet mixture, stirring continuously until just combined to avoid overmixing.
- Fold in Candies: Gently fold the colorful chocolate candies into the dough to evenly distribute them, giving the cookies their abstract, vibrant look.
- Shape Cookies: Drop rounded tablespoons of dough onto ungreased baking sheets, spacing them adequately to allow for spreading during baking.
- Bake: Bake the cookies in the preheated oven for 9 to 11 minutes, or until the edges are golden brown while the centers remain soft.
- Cool: Let the cookies cool on the baking sheets for a few minutes before transferring them to wire racks to cool completely. This helps them set and retain their shape.
Notes
- For best results, use room temperature butter for better creaming.
- You can substitute colorful chocolate candies with chocolate chips or nuts if desired.
- If you prefer crispier cookies, bake closer to 11 minutes; for softer cookies, aim for about 9 minutes.
- Store cookies in an airtight container at room temperature for up to one week.


