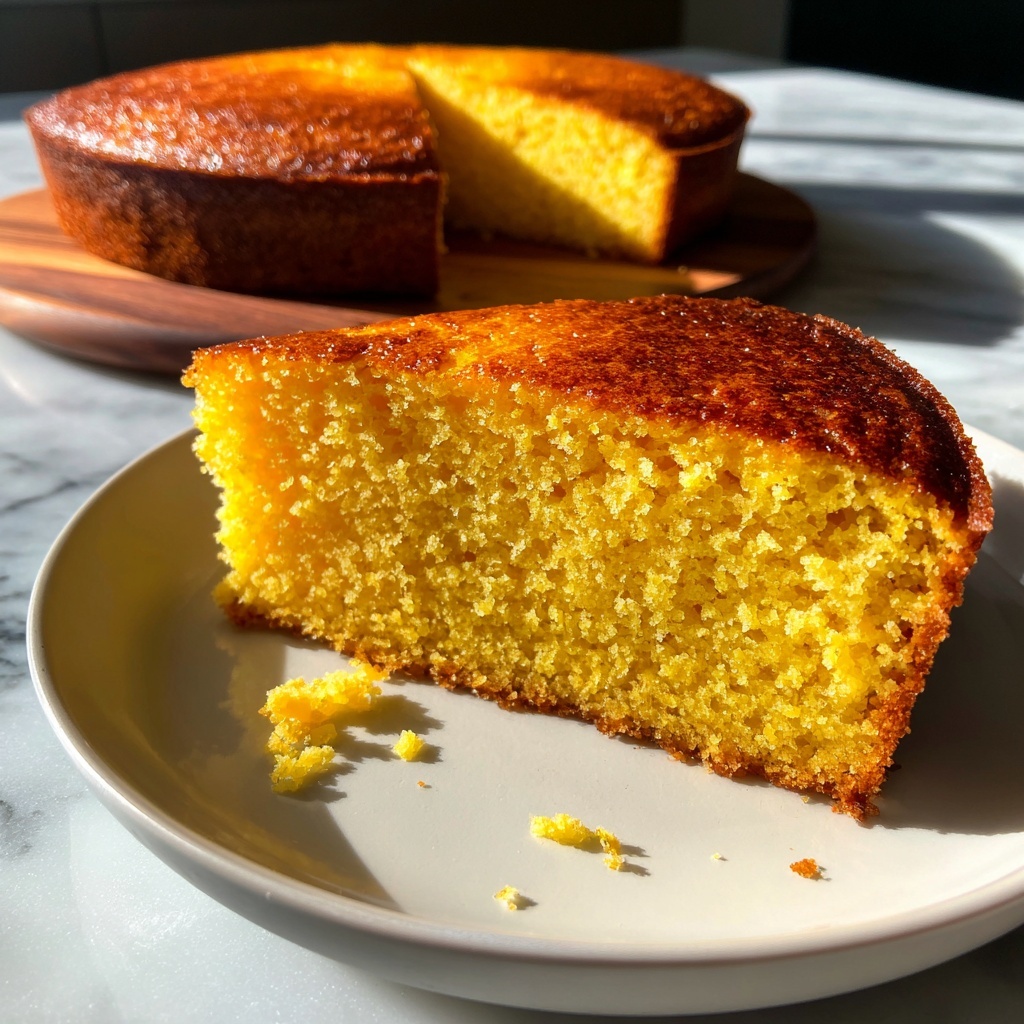
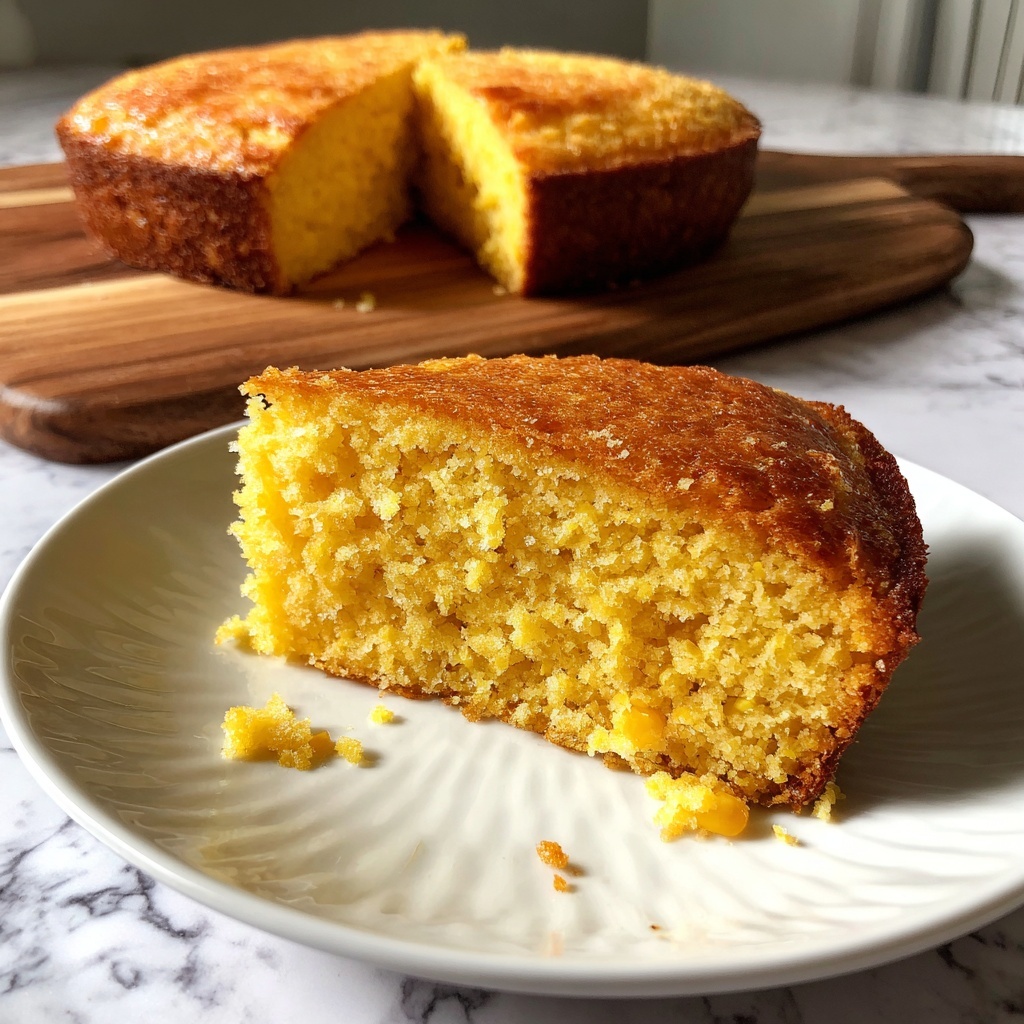
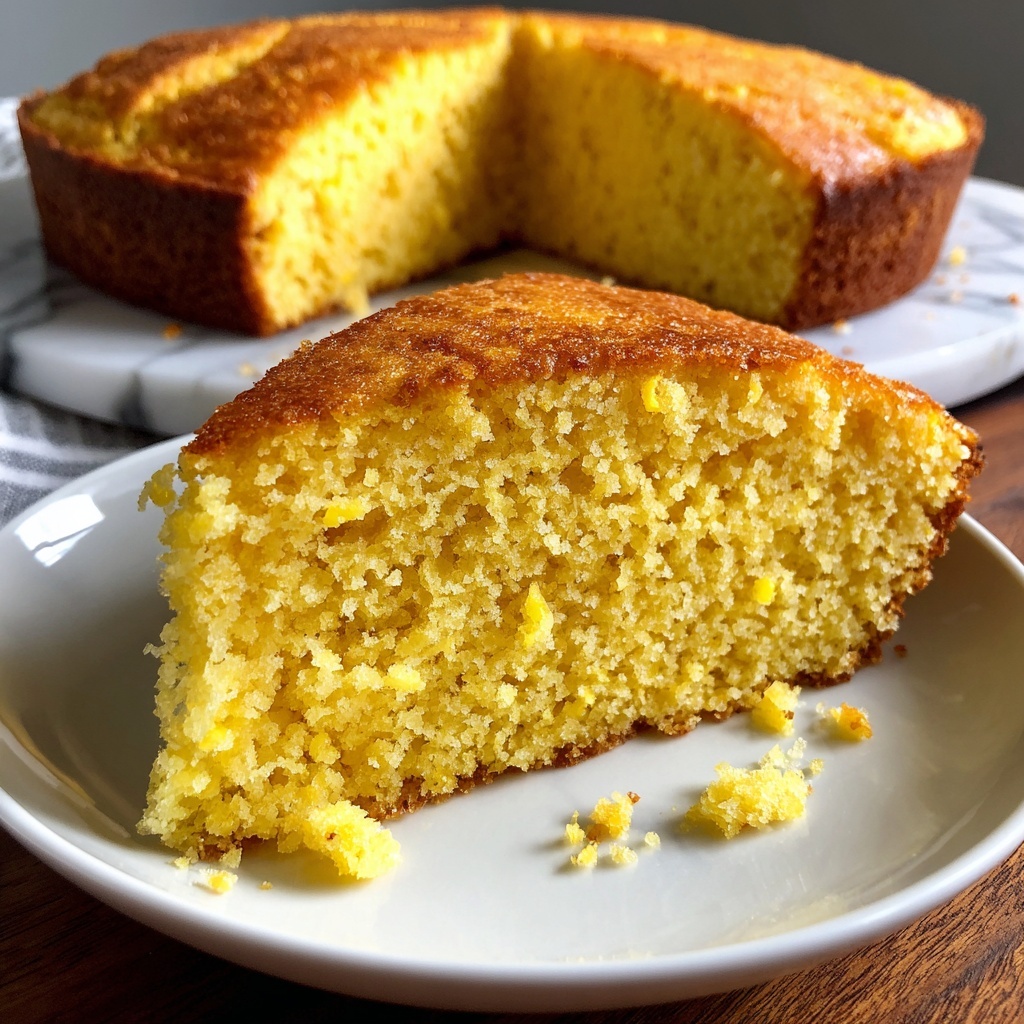
If you’re on the hunt for a warm, comforting treat that’s both wholesome and bursting with flavor, this Gluten Free Vegan Cornbread: 7 Fluffy Variations to Love Recipe is an absolute game-changer. Imagine a delicately tender crumb with the perfect hint of sweetness, all without gluten or animal products. Whether you’re catering to dietary needs or simply want a versatile side that’s easy to whip up, this recipe delivers a fluffy, tender cornbread every time, with seven different takes that promise to keep every bite exciting and nothing short of delicious.
Ingredients You’ll Need
Getting the ingredients right is half the magic in achieving that perfect texture and flavor. Each one is simple, accessible, and essential—working together, they bring moisture, rise, and that golden crumb we all crave in cornbread.
- Cornmeal: The heart of this recipe, giving cornbread its distinct grainy texture and delightful corn flavor.
- Gluten-free all-purpose flour: A vital base that provides structure while keeping it wheat-free.
- Baking powder: This little leavening agent ensures your cornbread puffs up light and fluffy.
- Salt: Balances sweetness and enhances the natural flavors.
- Almond milk: Adds creaminess and moisture without the dairy.
- Maple syrup: Offers natural sweetness and a subtle complexity.
- Vegetable oil: Keeps the cornbread tender and beautifully moist.
How to Make Gluten Free Vegan Cornbread: 7 Fluffy Variations to Love Recipe
Step 1: Preheat your oven
Start by heating your oven to 400°F (200°C). This high temperature initially helps set the crust so it gets that lovely firm edge while keeping the inside irresistibly soft.
Step 2: Mix the dry ingredients
In a large mixing bowl, whisk together the cornmeal, gluten-free flour, baking powder, and salt. Getting these well combined ensures even rising and a consistent crumb throughout your cornbread.
Step 3: Combine the wet ingredients
In another bowl, blend the almond milk, maple syrup, and vegetable oil. This trio adds moisture, sweetness, and fat – the perfect trifecta for a rich cornbread that isn’t greasy or heavy.
Step 4: Merge wet and dry
Pour the wet ingredients into the dry ones and stir gently until just combined. Be careful not to overmix; a few small lumps are perfectly fine and help keep the texture tender rather than dense.
Step 5: Transfer to a greased pan
Grease your baking pan lightly to prevent sticking, then pour in the batter. Smoothing the surface gently ensures an even bake and that classic golden top.
Step 6: Bake until ready
Pop the pan in your preheated oven and bake for about 20 to 25 minutes. Use a toothpick to check for doneness — it should come out clean or with only a crumb or two attached.
Step 7: Cool and slice
Once baked, allow your cornbread to cool for a few minutes. This lets it set up just right, making it easier to slice without crumbling apart.
How to Serve Gluten Free Vegan Cornbread: 7 Fluffy Variations to Love Recipe
Garnishes
Adding fresh herbs like chopped chives or parsley gives a pop of color and a fresh flavor twist, while a drizzle of vegan butter or a swipe of maple-infused jam complements the natural sweetness beautifully.
Side Dishes
This cornbread pairs wonderfully with savory beans, hearty stews, or tangy barbecue jackfruit. It’s also a standout alongside vibrant salads, adding just the right amount of carb comfort to your meal.
Creative Ways to Present
Consider cutting the cornbread into small cubes and serving as croutons over creamy soups, or crumble it on top of a vegan chili for added texture. You can also toast slices lightly and layer them like sandwiches with avocado and tomato for a delicious snack.
Make Ahead and Storage
Storing Leftovers
Let your cornbread cool completely, then store it in an airtight container at room temperature for up to two days. For longer keeping, refrigeration extends freshness for up to four days without drying it out.
Freezing
Freezing is a fantastic option if you want to enjoy this recipe gradually. Wrap individual slices tightly in plastic wrap and place them all in a freezer bag. Your cornbread will stay fresh for about two months in the freezer.
Reheating
To bring your cornbread back to life, reheat slices in a toaster oven or conventional oven at 350°F for 5 to 7 minutes. This helps restore the crumbly edges and soft centers, making it taste freshly baked.
FAQs
Can I use another plant-based milk instead of almond milk?
Absolutely! Oat, soy, or cashew milk work just as well and will subtly influence the flavor and creaminess, so feel free to use what you prefer or have on hand.
Is this recipe suitable for nut allergies?
If you have nut allergies, swap out almond milk for a nut-free alternative like oat or rice milk to keep the recipe safe and still delicious.
How can I add extra flavor variations?
Try stirring in jalapeño slices for spice, corn kernels for bursts of sweetness, or fresh herbs to add depth. Each twist keeps the core fluffy texture intact.
What pan size should I use?
An 8×8-inch square baking pan works perfectly, but a similar size round or rectangular pan will bake the cornbread evenly and maintain the right thickness for fluffy slices.
Can I make this cornbread sweeter or less sweet?
Definitely! Adjust the maple syrup to your taste; add more for extra sweetness or reduce it for a more savory profile. The recipe is very forgiving.
Final Thoughts
I cannot recommend enough taking the time to try this delightful Gluten Free Vegan Cornbread: 7 Fluffy Variations to Love Recipe. It’s a recipe that embraces everyone’s dietary needs while still feeling like a special treat on your table. Whether you’re savoring it fresh from the oven or enjoying leftovers in creative ways, I hope it brings warmth and joy to your kitchen as it does to mine.
Print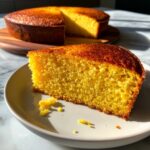
Gluten Free Vegan Cornbread: 7 Fluffy Variations to Love Recipe
- Prep Time: 10 minutes
- Cook Time: 25 minutes
- Total Time: 35 minutes
- Yield: 8 servings
- Category: Bread
- Method: Baking
- Cuisine: American
- Diet: Gluten Free
Description
This Gluten Free Vegan Cornbread recipe offers a fluffy, delicious alternative to traditional cornbread. Made with a blend of cornmeal and gluten-free all-purpose flour, sweetened with maple syrup and moistened with almond milk and vegetable oil, this easy-to-make bread is perfect for those seeking a dairy-free, egg-free, and gluten-free option. The cornbread is baked to golden perfection, delivering a tender crumb with slightly sweet and rich flavors that pair well with soups, chili, or as a standalone snack.
Ingredients
Dry Ingredients
- 1 cup cornmeal
- 1 cup gluten-free all-purpose flour
- 1 tablespoon baking powder
- 1/2 teaspoon salt
Wet Ingredients
- 1 cup almond milk
- 1/4 cup maple syrup
- 1/4 cup vegetable oil
Instructions
- Preheat Oven: Preheat your oven to 400°F (200°C) to ensure it’s at the perfect temperature for baking the cornbread evenly.
- Mix Dry Ingredients: In a large bowl, combine the cornmeal, gluten-free all-purpose flour, baking powder, and salt. Stir until all the dry ingredients are thoroughly mixed.
- Combine Wet Ingredients: In a separate bowl, whisk together the almond milk, maple syrup, and vegetable oil until well combined to create the wet mixture.
- Combine Wet and Dry Mixtures: Pour the wet ingredients into the bowl containing the dry ingredients. Gently mix until just combined; avoid overmixing to keep the cornbread fluffy.
- Prepare Baking Pan: Lightly grease a baking pan to prevent sticking. Pour the batter evenly into the pan and spread it out.
- Bake: Place the pan in the preheated oven and bake for 20-25 minutes. Check doneness by inserting a toothpick into the center; it should come out clean.
- Cool and Serve: Remove from the oven and let the cornbread cool before slicing. This helps to set the texture for perfect slices.
Notes
- Ensure not to overmix the batter to maintain fluffiness.
- Use a gluten-free all-purpose flour blend suitable for baking to achieve the best texture.
- To make it sweeter, consider adding some diced jalapeños or corn kernels for extra flavor.
- Store leftovers in an airtight container at room temperature for up to 3 days or refrigerate for up to a week.
- This recipe can be doubled for a larger batch.


