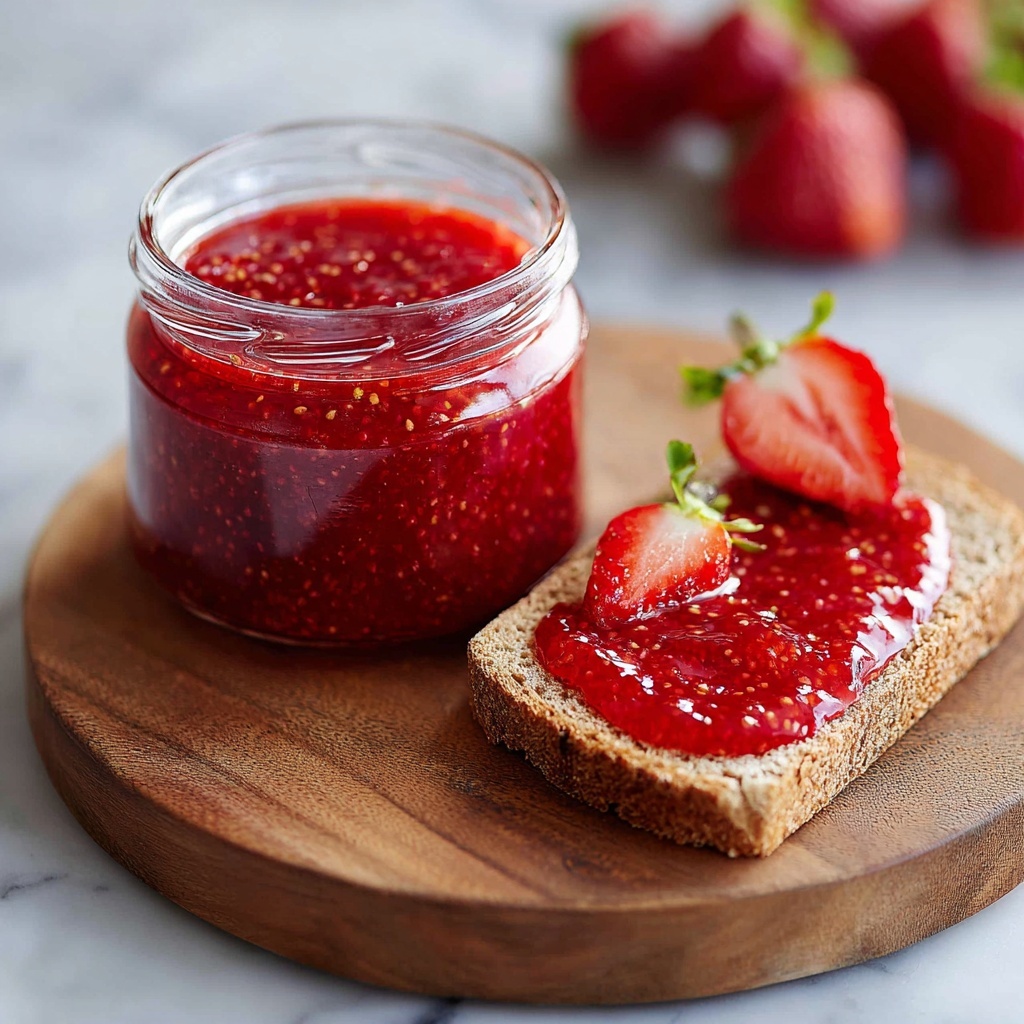
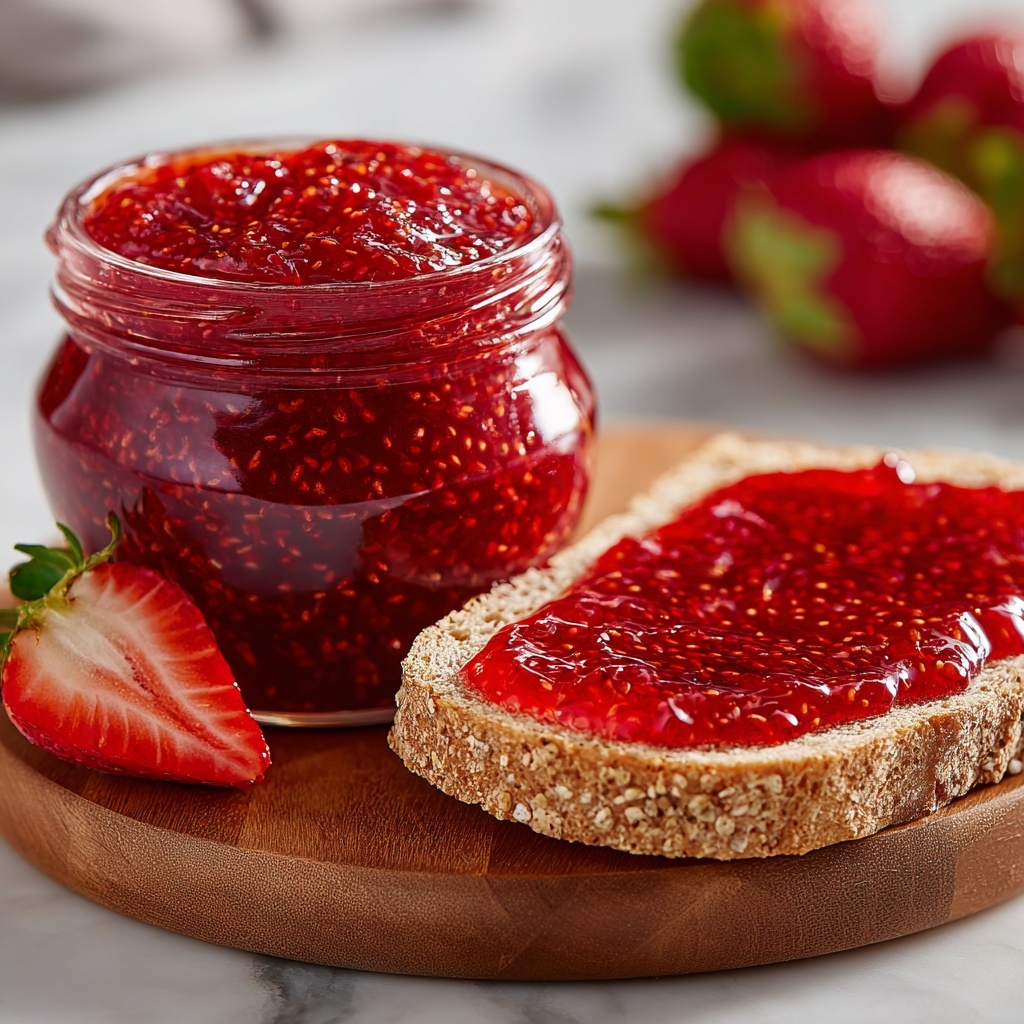
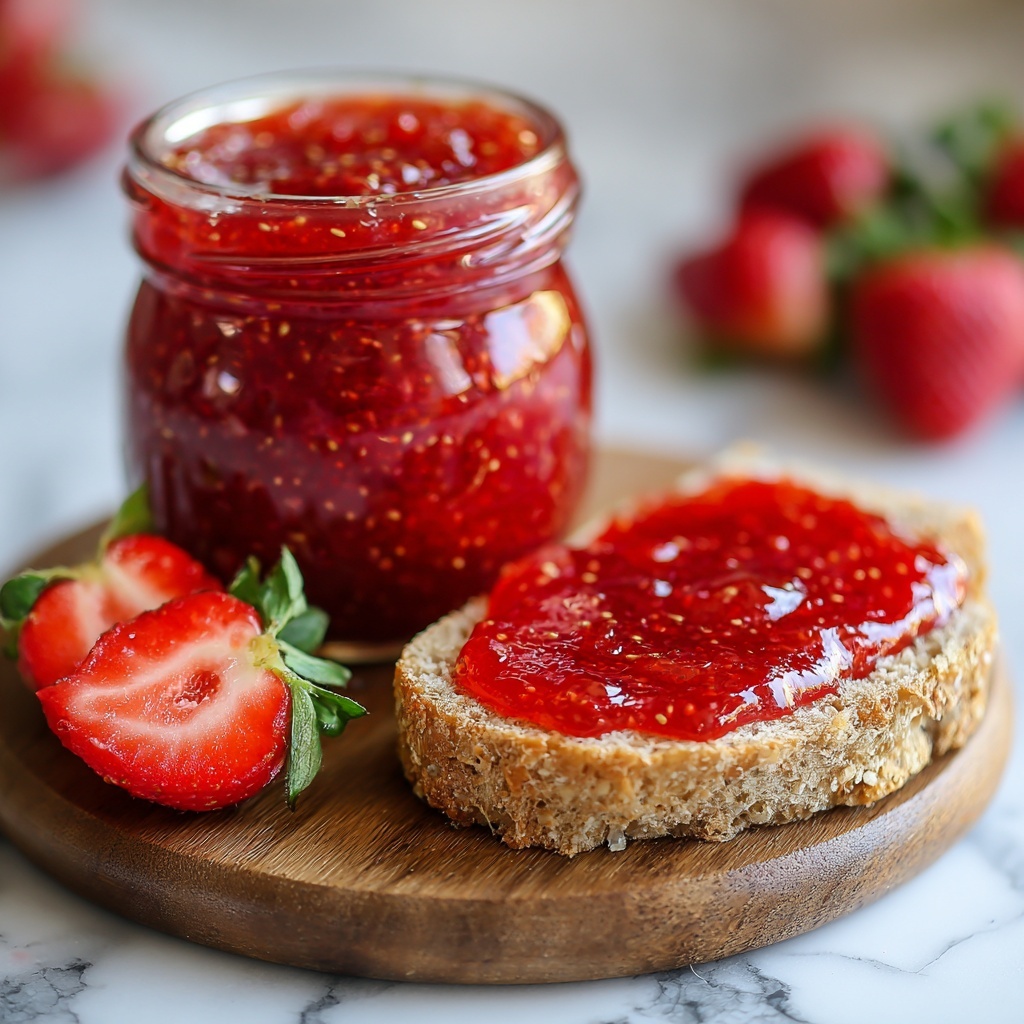
If you have ever dreamed of capturing the absolute essence of summer in a jar, then this Homemade Strawberry Jam: Bursting with Summertime Flavor Recipe is exactly what you need to try. There is nothing quite like the sweet, tangy, fresh taste of ripe strawberries simmered down into a luscious jam that’s perfect for morning toast, afternoon snacks, or adding a little sparkle to your desserts. This recipe not only brings out the natural brightness of fresh strawberries but lets you experience every vibrant note of the season with an easy, straightforward method that anyone can master.
Ingredients You’ll Need
With just a handful of simple ingredients, this recipe highlights how a few essentials can combine to create something truly special. Each component plays a crucial role in balancing flavor, texture, and preservation, making your jam both delicious and perfectly set.
- Fresh strawberries: Choose ripe, fragrant berries for the sweetest and most vibrant flavor.
- Granulated sugar: Not only sweetens but helps the jam reach the right consistency and preserve it.
- Fresh lemon juice: Adds brightness and acidity while helping the jam set properly.
How to Make Homemade Strawberry Jam: Bursting with Summertime Flavor Recipe
Step 1: Prepare the Strawberries
Begin by hulling and chopping your fresh strawberries. Then, gently crush them with a potato masher to release their juices while keeping some texture for that perfect jam mouthfeel. This step is key to capturing the fresh fruit’s essence.
Step 2: Combine Ingredients
In a heavy-bottomed saucepan, stir together the crushed strawberries, granulated sugar, and fresh lemon juice over low heat. Keep stirring until the sugar completely dissolves, which ensures a smooth base and helps all the flavors marry beautifully.
Step 3: Bring to a Boil and Cook
Turn up the heat and bring your mixture to a vigorous boil. Cook it until the jam reaches 220°F or successfully passes the sheet or spoon test. This cooking step thickens the jam and intensifies the flavors, transforming your fresh fruit into that irresistible spread.
Step 4: Skim Foam and Jar the Jam
Skim off any foam that forms on the surface to keep your jam clear and shiny. Then carefully ladle the hot jam into sterilized jars, leaving about ¼ inch of headspace. Proper jar filling is essential for safe storage and beautiful presentation.
Step 5: Seal Jars and Process
Wipe the rims clean before sealing. Then process the jars in a boiling water bath for 10 minutes to ensure long-term preservation. This classic canning method locks in freshness so you can enjoy your homemade jam well beyond strawberry season.
Step 6: Cool and Store
Allow the jars to cool completely without disturbing them for 12 to 24 hours. Once cooled, check the seals carefully. Any jars that have not sealed properly should be refrigerated and consumed sooner for the best taste and safety.
How to Serve Homemade Strawberry Jam: Bursting with Summertime Flavor Recipe
Garnishes
This jam shines on its own but adding a fresh mint sprig or a light dusting of powdered sugar can elevate its look and taste even more, making your serving feel fresh and inviting.
Side Dishes
Spread it on buttery toast, swirl it into plain yogurt, or dollop it over warm pancakes or waffles for a flavorful burst that livens up any breakfast or snack.
Creative Ways to Present
Try layering your Homemade Strawberry Jam: Bursting with Summertime Flavor Recipe in parfait glasses with granola and whipped cream, or use it as a glaze for roasted meats and desserts. The vibrant color and sweet-tart taste boost any dish.
Make Ahead and Storage
Storing Leftovers
Once opened, keep your strawberry jam refrigerated and use it within a month for the best taste and texture. Airtight containers help maintain freshness and prevent spoilage.
Freezing
If you want to store strawberry jam for even longer, freezing is a great option. Use freezer-safe containers, leaving enough headspace for expansion. When thawed, it may loosen slightly but will still be delicious.
Reheating
To remake the jam’s spreadable texture after refrigeration or freezing, gently warm it in a saucepan over low heat or use short bursts in the microwave, stirring frequently to avoid burning.
FAQs
Can I use frozen strawberries for this jam?
Frozen strawberries can work if fresh ones are out of season, but fresh strawberries provide the best texture and flavor for this Homemade Strawberry Jam: Bursting with Summertime Flavor Recipe.
How do I know when the jam has set properly?
Use a candy thermometer to reach 220°F or do the sheet test by dipping a cold spoon into the jam and seeing if it holds its shape. Both techniques indicate your jam is perfectly set.
Why do I add lemon juice to the jam?
Lemon juice adds necessary acidity to balance sweetness and helps the natural pectin in the strawberries set the jam firmly.
Can I reduce the sugar in this recipe?
While you can reduce sugar slightly, it’s important for the texture and preservation. Too little sugar may lead to a runnier jam that doesn’t store as well.
What is the best way to sterilize jars?
Boil jars and lids in water for 10 minutes or run them through a hot dishwasher cycle before filling. Proper sterilization ensures your jam stays fresh and safe to eat.
Final Thoughts
This Homemade Strawberry Jam: Bursting with Summertime Flavor Recipe is truly a joyful kitchen adventure that rewards you with jars full of sunshine all year long. Whether you gift it, savor it yourself, or share with loved ones, every spoonful promises the pure delight of summer strawberries preserved with love and care. Give this recipe a try and watch how it becomes your go-to favorite!
Print
Homemade Strawberry Jam: Bursting with Summertime Flavor Recipe
- Prep Time: 15 minutes
- Cook Time: 25 minutes
- Total Time: 40 minutes
- Yield: 4 cups (about 4 half-pint jars)
- Category: Preserves
- Method: Stovetop
- Cuisine: American
Description
This homemade strawberry jam captures the fresh, vibrant flavors of ripe strawberries, sweetened perfectly with sugar and brightened with fresh lemon juice. Made on the stovetop and preserved via a boiling water bath, this jam offers a delightful burst of summertime sweetness, perfect for spreading on toast, dolloping on yogurt, or using in your favorite desserts.
Ingredients
Ingredients
- 4 cups fresh strawberries, hulled and chopped
- 4 cups granulated sugar
- 2 tablespoons fresh lemon juice
Instructions
- Prepare Strawberries: Hull and chop the strawberries, then gently crush them with a potato masher to release juices and create texture for the jam.
- Combine Ingredients: In a heavy-bottomed saucepan, combine the crushed strawberries, sugar, and fresh lemon juice. Cook over low heat while stirring constantly until the sugar completely dissolves.
- Boil the Mixture: Increase heat and bring the mixture to a full rolling boil. Continue cooking and stir frequently until the jam reaches 220°F (104°C) or passes the sheet or spoon test, indicating it has properly set.
- Remove Foam: Skim off any foam that forms on the surface of the cooking jam to ensure clarity and consistency.
- Jar the Jam: Ladle the hot jam into clean, sterilized jars, leaving about ¼ inch of headspace at the top to allow for expansion during processing.
- Seal and Process: Wipe the rims of the jars clean to remove any residue, seal with lids and bands, then process the jars in a boiling water bath for 10 minutes to preserve the jam for long-term storage.
- Cool and Store: Remove jars from the water bath and let them cool undisturbed for 12 to 24 hours. After cooling, check the seals; refrigerate any jars that did not seal properly.
Notes
- Use ripe, fresh strawberries for best flavor and natural sweetness.
- The sheet test involves running a spoon through the jam; if it separates cleanly and the jam sheets off the spoon, it is ready.
- Ensure jars and lids are sterilized to prevent contamination and extend shelf life.
- You can adjust the sugar quantity slightly depending on the sweetness of the strawberries and personal preference.
- Stored properly in sealed jars, the jam can last up to one year in a cool, dark place.


