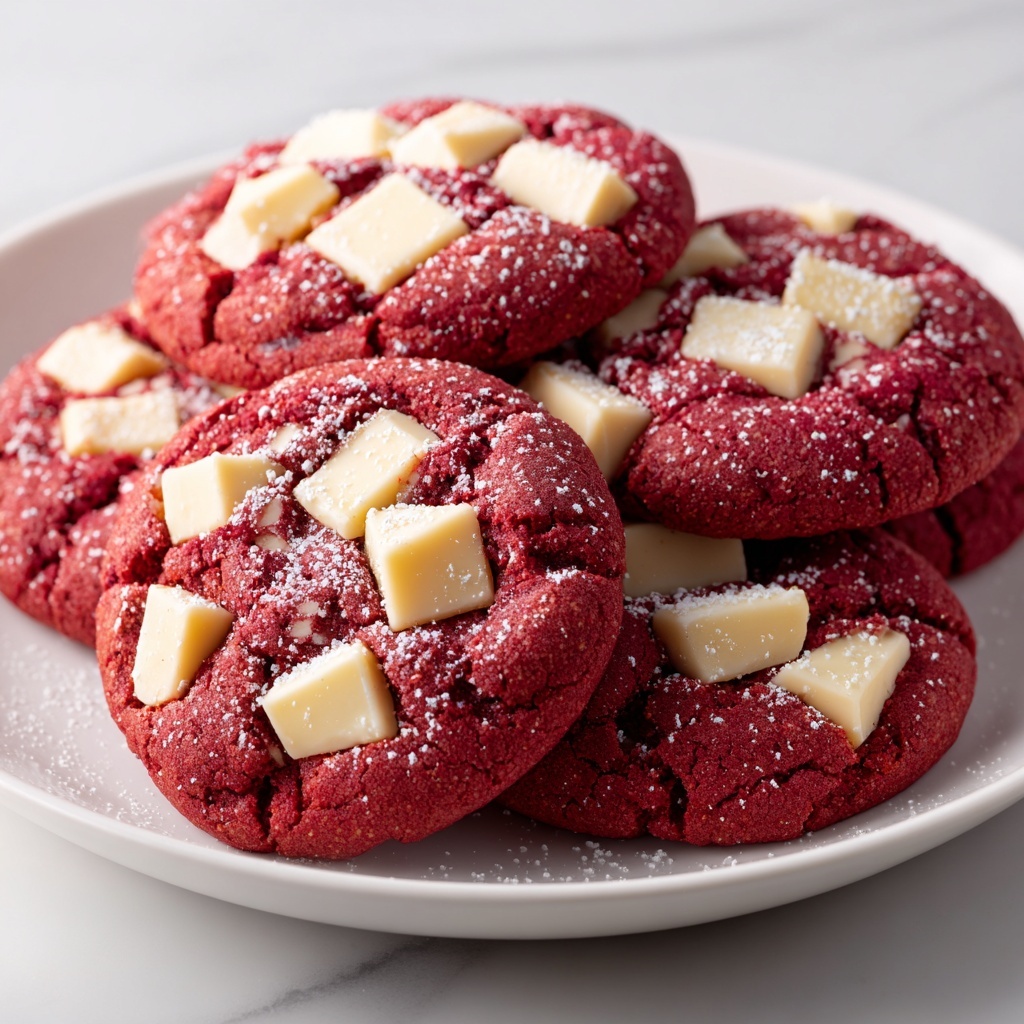
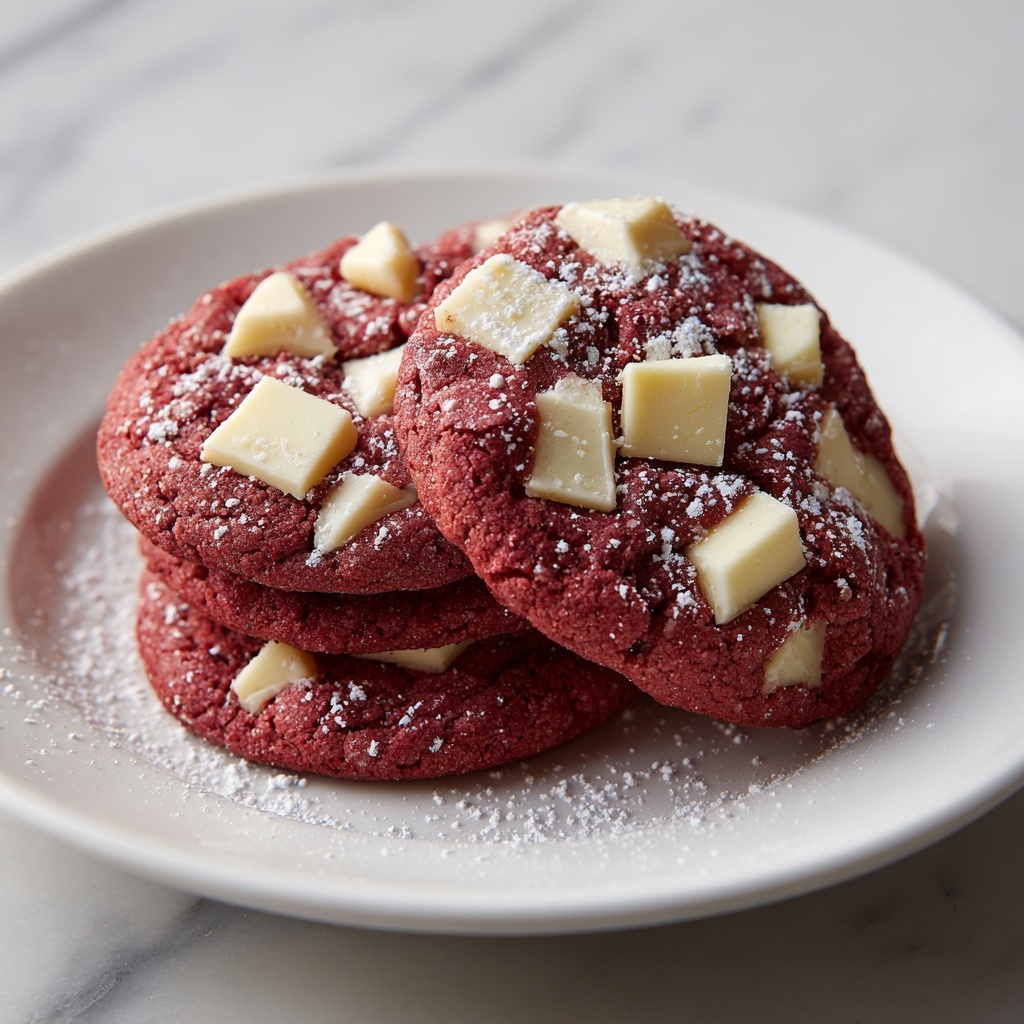
If you are ready to indulge in a truly delightful treat, this Red Velvet Cookies with White Chocolate Chunks Recipe is your perfect match. These cookies boast the vibrant red hue of classic red velvet, paired with the irresistible creaminess of white chocolate chunks that melt blissfully in every bite. Soft, chewy, and beautifully balanced between mild cocoa notes and sweet white chocolate, these cookies are sure to become a beloved favorite in your baking repertoire. Whether you’re baking for a special occasion or simply craving a cozy homemade dessert, this recipe is both straightforward and unforgettable.
Ingredients You’ll Need
Gathering the right ingredients is the first exciting step to creating perfect Red Velvet Cookies with White Chocolate Chunks. This recipe uses simple pantry staples that work together to create the signature texture and color that make these cookies stand out.
- Unsalted butter (1 cup, softened): Provides richness and helps achieve that tender, chewy texture.
- Granulated sugar (1 cup): Adds sweetness and contributes to cookie structure.
- Brown sugar (1 cup, packed): Gives moisture and a subtle caramel flavor for depth.
- Large eggs (2): Bind ingredients and add moisture for softness.
- Vanilla extract (1 teaspoon): Enhances the overall flavor with warm, aromatic notes.
- Red food coloring (2 tablespoons): The key to that iconic, vibrant red color that makes these cookies pop.
- All-purpose flour (3 cups): The foundation for structure and chewiness.
- Baking soda (1 teaspoon): Helps the cookies rise just enough for a soft bite.
- Cocoa powder (1 teaspoon): Adds a touch of cocoa flavor to bring the classic red velvet taste.
- Salt (1 teaspoon): Balances sweetness and enhances overall flavors.
- White chocolate chunks (2 cups): The star ingredient that gives bursts of creamy sweetness in each bite.
How to Make Red Velvet Cookies with White Chocolate Chunks Recipe
Step 1: Preheat and Prepare
Start by preheating your oven to 350°F (175°C). This ensures the oven is warm and ready to perfectly bake your cookies. Line a baking sheet with parchment paper or a non-stick baking mat to keep your cookies from sticking and make cleaning up a breeze.
Step 2: Cream the Butter and Sugars
In a large mixing bowl, beat the softened unsalted butter with the granulated sugar and brown sugar until the mixture is light and fluffy. This creaming process is crucial because it incorporates air into the dough, which helps give your cookies that tender, soft texture.
Step 3: Add Eggs, Vanilla, and Red Food Coloring
Now it’s time to add the eggs, vanilla extract, and red food coloring to the creamed butter mixture. Mix until everything is fully combined, and you start to see that gorgeous red hue emerging. This step infuses flavor and color, setting the foundation for your cookies to shine.
Step 4: Whisk Dry Ingredients Separately
In another bowl, whisk together the all-purpose flour, baking soda, cocoa powder, and salt. This ensures that all the dry components are evenly distributed, which prevents clumps and promotes a uniform texture in the dough.
Step 5: Combine Wet and Dry Ingredients
Gradually add the dry mixture into the wet mixture, mixing gently until just combined. Be careful not to overmix, as this can develop the gluten too much and result in tougher cookies. The dough will start to come together with a rich red color.
Step 6: Fold in White Chocolate Chunks
Gently fold in the white chocolate chunks, making sure they are evenly distributed throughout the dough. These chunks are the magic that adds delightful creamy pockets of sweetness in every bite, perfectly complementing the red velvet flavor.
Step 7: Scoop and Bake
Drop spoonfuls of cookie dough onto your prepared baking sheet, spacing them nicely apart to allow for slight spreading. Bake in the preheated oven for 10 to 12 minutes, or until the edges are set but the centers remain soft. This timing ensures a chewy and moist center with slight crisp edges.
Step 8: Cool Before Enjoying
Once baked, let the cookies cool on the baking sheet for a few minutes after removing them from the oven. This helps them set up and makes transferring to a wire rack easier without breakage. Cooling your cookies fully enhances their texture and flavor.
How to Serve Red Velvet Cookies with White Chocolate Chunks Recipe
Garnishes
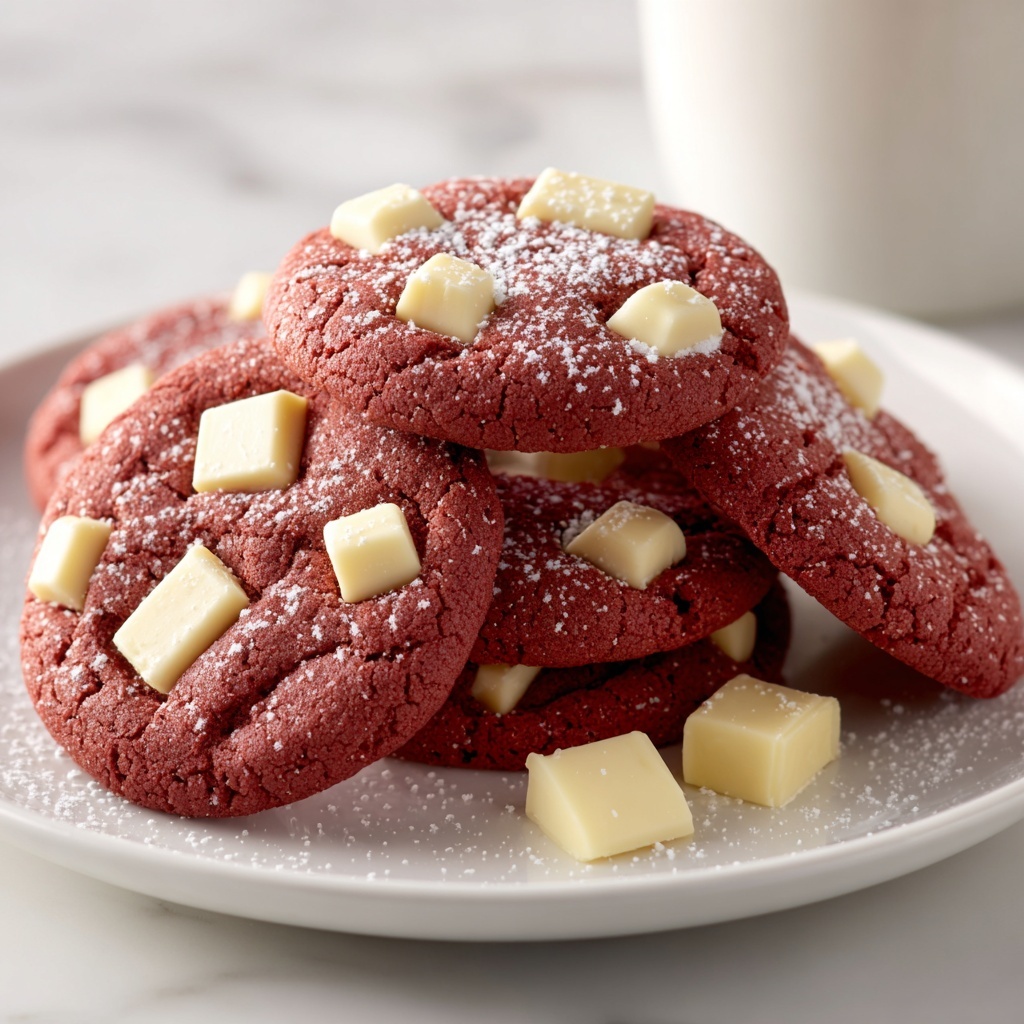
You can sprinkle a little powdered sugar on the cooled cookies for an elegant touch, or add a few extra white chocolate chunks on top before baking for extra visual appeal. A light drizzle of melted white chocolate or a tiny pinch of sea salt can also add exciting flavor contrasts.
Side Dishes
Serve these cookies alongside a cold glass of milk, a cup of rich coffee, or even a cozy hot chocolate. Their sweetness pairs beautifully with these drinks, turning a simple cookie into a memorable snack or dessert experience.
Creative Ways to Present
For a festive touch, arrange the cookies on a decorative platter with red and white themed accents. You could also sandwich two cookies together with a layer of cream cheese frosting or mascarpone for an extra indulgent treat reminiscent of a red velvet cake.
Make Ahead and Storage
Storing Leftovers
Place your leftover cookies in an airtight container at room temperature, and they’ll stay fresh for up to a week. Keeping them sealed prevents them from drying out and maintains that perfect chewy texture you love.
Freezing
If you want to save the cookies for longer, freeze them in a freezer-safe container for up to three months. You can freeze the dough as well—just scoop portions onto a tray, freeze until firm, and then store in a bag. Bake directly from frozen, adding a couple minutes to the baking time.
Reheating
To bring your cookies back to that freshly baked softness, warm them in the microwave for 10 to 15 seconds or in a low oven (about 300°F) for 5 minutes. This will melt the white chocolate chunks slightly and revive their chewy goodness.
FAQs
Can I use milk chocolate instead of white chocolate chunks?
Absolutely! Milk chocolate chunks will add a different flavor profile but still complement the red velvet base nicely. Just keep in mind the sweetness and texture will vary slightly.
What can I substitute for red food coloring?
If you prefer to avoid artificial coloring, you can use natural alternatives like beet juice or powder for that vibrant red tint. However, the color might be more subtle compared to standard food coloring.
Can I make these cookies vegan?
With a few ingredient swaps such as vegan butter, flax eggs, and dairy-free white chocolate, you can create a vegan version. It may alter the texture slightly but will still be delicious.
How thick should the cookie dough be for proper baking?
The dough should be thick enough to hold its shape when scooped but soft enough to spread slightly in the oven. If it’s too stiff, consider adding a touch of milk or another egg to adjust.
Do these cookies taste like traditional red velvet cake?
They capture the essence with cocoa and vanilla flavors plus the signature color, but the cookie form offers a unique chewy texture and the delightful surprise of white chocolate chunks rather than cream cheese frosting.
Final Thoughts
There is something truly special about baking a batch of red velvet cookies adorned with luscious white chocolate chunks. This recipe is simple to follow, yields irresistible results, and brings joy with every bite. I encourage you to give this Red Velvet Cookies with White Chocolate Chunks Recipe a try—you might just find your new go-to comfort cookie that family and friends will rave about for years to come.
Print
Red Velvet Cookies with White Chocolate Chunks Recipe
- Prep Time: 10 minutes
- Cook Time: 12 minutes
- Total Time: 27 minutes
- Yield: 24 servings
- Category: Dessert
- Method: Baking
- Cuisine: American
Description
Delight in these soft and chewy Red Velvet Cookies studded with luscious white chocolate chunks. Combining the classic flavors of red velvet cake with the satisfying texture of a cookie, this recipe yields a batch of irresistible treats perfect for any occasion.
Ingredients
Wet Ingredients
- 1 cup unsalted butter, softened
- 1 cup granulated sugar
- 1 cup brown sugar, packed
- 2 large eggs
- 1 teaspoon vanilla extract
- 2 tablespoons red food coloring
Dry Ingredients
- 3 cups all-purpose flour
- 1 teaspoon baking soda
- 1 teaspoon cocoa powder
- 1 teaspoon salt
Add-ins
- 2 cups white chocolate chunks
Instructions
- Preheat Oven: Preheat your oven to 350°F (175°C) to prepare for baking the cookies.
- Cream Butter and Sugars: In a large mixing bowl, use a mixer to cream together the softened butter, granulated sugar, and brown sugar until the mixture is light and fluffy.
- Add Eggs, Vanilla, and Food Coloring: Beat in the eggs one at a time, followed by the vanilla extract and red food coloring. Mix until the ingredients are fully combined, resulting in a vibrant red dough.
- Mix Dry Ingredients: In a separate bowl, whisk together the all-purpose flour, baking soda, cocoa powder, and salt to evenly distribute the leavening agents and cocoa flavor.
- Combine Wet and Dry: Gradually add the dry ingredients to the wet ingredients, mixing gently until just combined to avoid overworking the dough.
- Fold in White Chocolate Chunks: Gently fold the white chocolate chunks into the cookie dough to evenly distribute them without breaking them up.
- Form and Space Cookies: Drop spoonfuls of cookie dough onto a baking sheet lined with parchment paper or a silicone baking mat, leaving adequate space between each for spreading.
- Bake: Bake in the preheated oven for 10-12 minutes, or until the edges are set but the centers remain soft, ensuring a tender texture.
- Cool: Allow the cookies to cool on the baking sheet for a few minutes before transferring them to a wire rack to cool completely, which helps them set perfectly.
Notes
- Make sure not to overmix the dough once the dry ingredients are added to keep the cookies tender.
- Use fresh white chocolate chunks for the best melty texture and flavor.
- For more intense red coloring, you can adjust the amount of red food coloring slightly.
- These cookies freeze well—store cooled cookies in an airtight container in the freezer for up to 3 months.
- Let the butter soften at room temperature for easier creaming and better texture.


