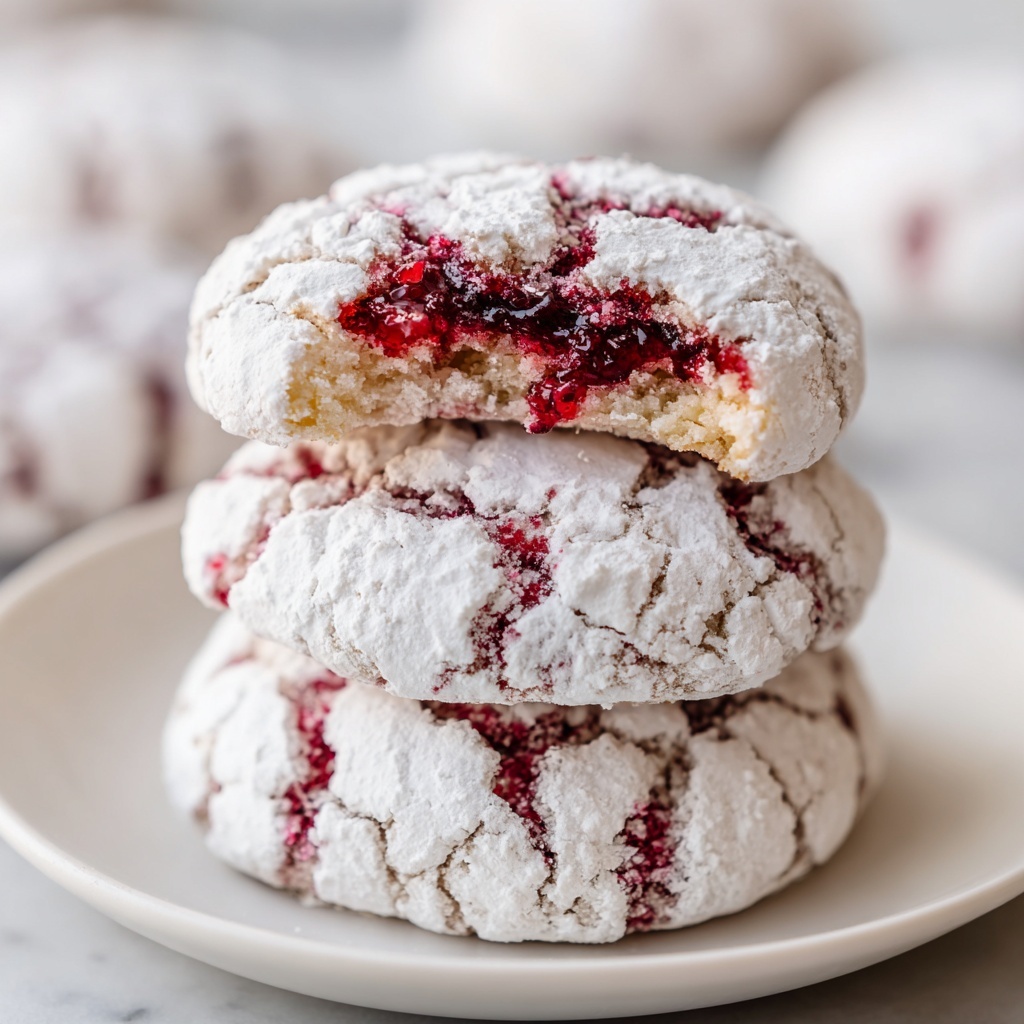
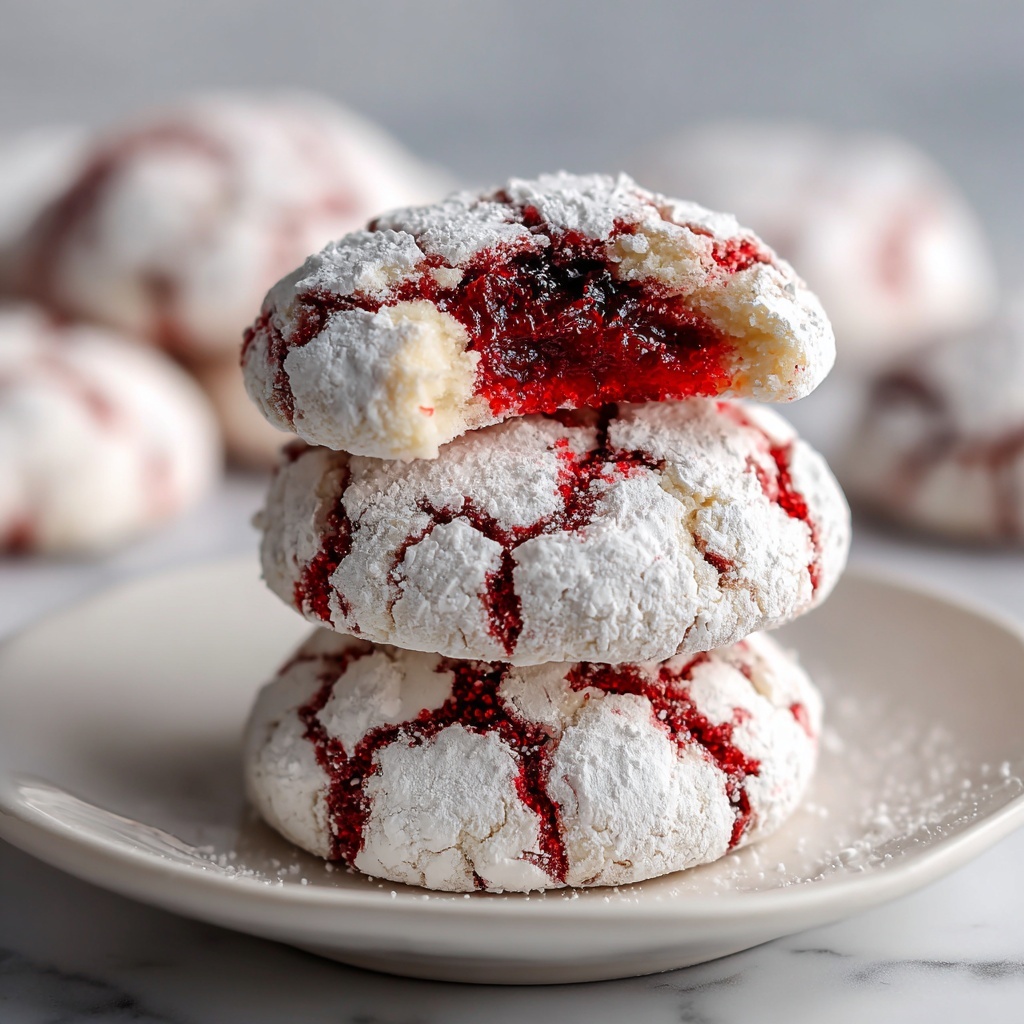
If you’re craving a delightful twist on a classic favorite, this Red Velvet Crinkle Cookies Recipe is exactly what you need. These cookies boast a rich red hue contrasted by a tender, fudgy cocoa flavor and a snowy powdered sugar coating that cracks beautifully as they bake. They strike the perfect balance between soft and chewy, making every bite irresistibly comforting. Whether you’re baking for a special occasion or just because, these cookies make an unforgettable treat that brings joy with every bite.
Ingredients You’ll Need
Simple ingredients create magic in this recipe. Each component plays a crucial role in achieving that classic red velvet taste, gorgeous color, and the perfect chewy-crinkle texture that makes these cookies so addicting.
- 1 ½ cups all-purpose flour: The base that gives structure and a tender crumb to the cookies.
- ½ cup unsweetened cocoa powder: Adds a subtle chocolate depth that perfectly complements the red velvet flavor.
- 1 teaspoon baking powder: Ensures the cookies rise nicely and achieve that perfectly soft texture.
- 1 teaspoon salt: Balances all the sweetness and enhances the cocoa flavor.
- ½ cup unsalted butter, softened: Provides richness and moisture; make sure it’s soft for easier mixing.
- 1 cup granulated sugar: Sweetens the dough while helping create a slightly crisp edge on the cookies.
- 2 large eggs: Binds ingredients together and adds moisture for that soft chew.
- 1 teaspoon vanilla extract: Lifts the flavors, adding warmth and depth.
- 1 tablespoon red food coloring: Gives the signature vibrant red color that makes these cookies so eye-catching.
- ½ cup powdered sugar (for rolling): Creates that classic crinkle appearance and adds a subtle sugary coating.
How to Make Red Velvet Crinkle Cookies Recipe
Step 1: Prep Your Oven and Dry Ingredients
Start by preheating your oven to 350°F (175°C) and line a baking sheet with parchment paper or a silicone baking mat to prevent sticking. In a medium bowl, whisk together the all-purpose flour, cocoa powder, baking powder, and salt. This ensures the dry ingredients are evenly combined and ready to blend perfectly with the wet mixture.
Step 2: Cream Butter and Sugar
In a separate large bowl, beat your softened butter and granulated sugar together. This step is crucial because beating them until light and fluffy incorporates air, which helps give the cookies a wonderful texture. The result is a dough that bakes into soft yet slightly crisp cookies every time.
Step 3: Add Eggs, Vanilla, and Red Food Coloring
Now it’s time to mix in your eggs one at a time, followed by vanilla extract and the all-important red food coloring. Mix these ingredients until fully combined. The vibrant red hue will take center stage here, signaling you’re one step closer to cookie heaven.
Step 4: Combine Wet and Dry Ingredients
Gently fold the dry ingredients into the wet mixture until a soft dough forms. Be careful not to overmix, as that could make the cookies tough. If you have time, chilling the dough for 20 to 30 minutes is a great idea to firm it up, making it easier to shape and helping the flavors deepen.
Step 5: Form Cookies and Roll in Powdered Sugar
Scoop the dough into 1 to 1.5 inch balls—this size gives you perfectly-sized cookies that bake evenly. Roll each ball generously in powdered sugar until fully coated. The powdered sugar is what creates the classic crinkle effect and adds a lovely contrast to the deep red.
Step 6: Bake to Perfection
Place your powdered sugar-coated balls about 2 inches apart on the prepared baking sheet to allow spreading during baking. Pop them into the oven and bake for 10 to 12 minutes, watching for edges to set while the centers remain soft. This balance is key for that melt-in-your-mouth texture.
Step 7: Cool and Enjoy
Let the cookies cool on the baking sheet for about 5 minutes—they’ll firm up slightly but stay tender inside—then transfer them to a wire rack to cool completely. This cooling step keeps the bottoms from becoming soggy and helps maintain their perfect crinkle cookie texture.
How to Serve Red Velvet Crinkle Cookies Recipe
Garnishes
These cookies look stunning on their own, but you can add a little extra flair. Try sprinkling a tiny pinch of edible glitter or some mini white chocolate chips on top right after rolling in powdered sugar for festive sparkle and extra sweetness.
Side Dishes
Pairing your Red Velvet Crinkle Cookies Recipe with a tall glass of cold milk or a creamy cup of hot cocoa makes for an unbeatable comfort combo. For adults, a rich espresso or a smooth red wine can also complement the cocoa notes wonderfully.
Creative Ways to Present
If you want to impress guests or make your cookie platter pop, stack the cookies with layers of cream cheese frosting in between for mini cookie sandwiches. Alternatively, serve them stacked on a festive plate garnished with fresh berries or mint leaves to bring out the holiday vibes or any special celebration.
Make Ahead and Storage
Storing Leftovers
Store any leftover cookies in an airtight container at room temperature for up to 4 days. They’ll stay soft, fudgy, and delicious, perfect for an afternoon snack or last-minute dessert.
Freezing
You can freeze baked cookies for longer storage by placing them in a single layer on a baking sheet to freeze solid first, then transferring to a freezer-safe container or bag. Frozen cookies can be kept for up to 3 months and thaw quickly at room temperature.
Reheating
To refresh the delightful freshness, warm cookies in a microwave for about 10 to 15 seconds or pop them in a warm oven at 300°F for 5 minutes. This will soften the cookies slightly and revive that just-baked smell and texture.
FAQs
Can I use natural cocoa powder instead of Dutch-processed?
Yes, you can use natural cocoa powder, but it may slightly affect the color and taste. Red velvet traditionally uses Dutch-processed cocoa to achieve a smoother, less acidic flavor and vibrant color, but natural cocoa will still give you delicious results.
What if I don’t have red food coloring?
Without red food coloring, you won’t get the signature intense red color these cookies are known for, but they will still taste wonderful. You might consider using natural alternatives like beet juice, though the color will be subtler and may change the flavor slightly.
Can I make these cookies gluten-free?
Absolutely! Substitute the all-purpose flour with a 1:1 gluten-free flour blend that includes xanthan gum. This will keep the cookies tender with a similar texture, but be sure to check your cocoa powder and other ingredients to ensure they’re gluten-free too.
How thick will the cookies spread during baking?
When placed 2 inches apart on the baking sheet, the cookies will spread moderately, creating a nice soft edge but maintaining a chewy center. Don’t overcrowd the pan or they might merge into one another.
Can I add mix-ins like chocolate chips or nuts?
Definitely! Mini chocolate chips or chopped walnuts can be folded into the dough before chilling for added texture and flavor. Just be mindful not to overload the dough to preserve the crinkle texture and baking time.
Final Thoughts
This Red Velvet Crinkle Cookies Recipe is a delightful twist on a beloved classic that’s sure to win hearts at any gathering or cozy night in. With its irresistible color, soft texture, and rich flavor, these cookies are as fun to make as they are to eat. I hope you’ll enjoy baking and sharing these warm, charming cookies as much as I do—it’s one recipe you’ll return to again and again!
Print
Red Velvet Crinkle Cookies Recipe
- Prep Time: 15 minutes
- Cook Time: 12 minutes
- Total Time: 55 minutes
- Yield: 18 cookies
- Category: Dessert
- Method: Baking
- Cuisine: American
- Diet: Vegetarian
Description
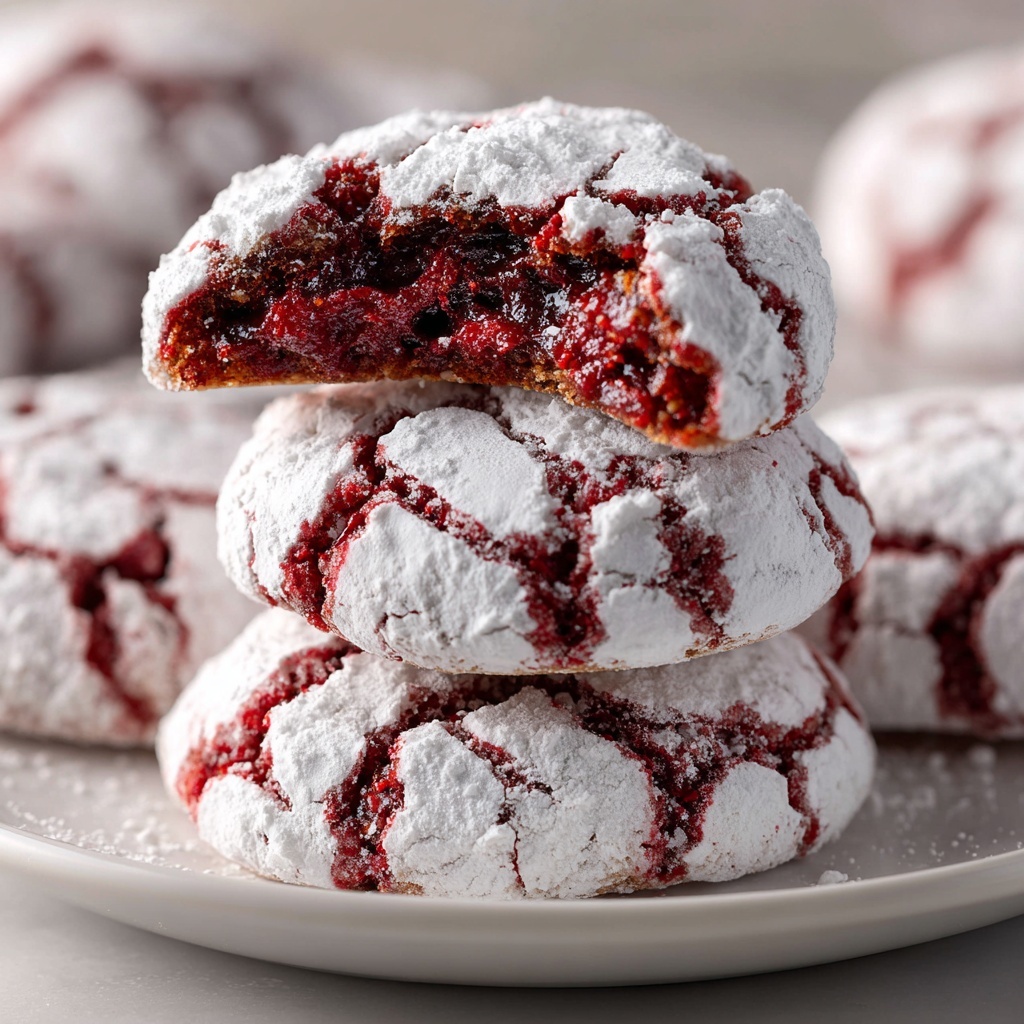
These Red Velvet Crinkle Cookies are soft, chewy, and perfectly fudgy with a classic red velvet flavor. Rolled in powdered sugar, they bake up with a beautiful crinkled surface and a melt-in-your-mouth texture—ideal for holiday treats or any special occasion.
Ingredients
Dry Ingredients
- 1 ½ cups all-purpose flour
- ½ cup unsweetened cocoa powder
- 1 tsp baking powder
- 1 tsp salt
Wet Ingredients
- ½ cup unsalted butter, softened
- 1 cup granulated sugar
- 2 large eggs
- 1 tsp vanilla extract
- 1 tbsp red food coloring
Coating
- ½ cup powdered sugar (for rolling)
Instructions
- Preheat Oven: Preheat your oven to 350°F (175°C) and line a baking sheet with parchment paper or a silicone baking mat to prevent sticking and promote even baking.
- Mix Dry Ingredients: In a medium bowl, whisk together the all-purpose flour, unsweetened cocoa powder, baking powder, and salt until fully combined to create a smooth dry mixture.
- Cream Butter and Sugar: In a separate bowl, beat the softened unsalted butter and granulated sugar using an electric mixer or whisk until the mixture is light, fluffy, and pale in color, which helps create tender cookies.
- Add Eggs, Vanilla, and Coloring: Incorporate the large eggs one at a time, then stir in the vanilla extract and red food coloring until the batter is evenly colored and smooth.
- Combine Wet and Dry: Gradually fold the dry ingredient mixture into the wet ingredients, mixing just until a soft, cohesive dough forms. Avoid overmixing to keep cookies tender.
- Chill Dough (Optional): For easier handling and better texture, chill the dough in the refrigerator for 20 to 30 minutes to firm it up.
- Shape and Roll Dough: Scoop dough into 1 to 1.5-inch balls using a cookie scoop or spoon. Roll each ball generously in powdered sugar until fully coated, which will create the signature crinkle effect during baking.
- Arrange and Bake: Place the coated dough balls on the prepared baking sheet, spacing them about 2 inches apart to allow for spreading. Bake in the preheated oven for 10 to 12 minutes until the edges are set but the centers remain soft.
- Cool Cookies: Let the cookies cool on the baking sheet for 5 minutes to firm up, then transfer them to a wire rack to cool completely, ensuring a perfect texture and easy removal.
Notes
- For a deeper red color, use gel food coloring rather than liquid.
- Chilling the dough is optional but recommended to prevent spreading and improve texture.
- Do not overbake; cookies are best when centers stay soft and slightly underdone.
- Store cookies in an airtight container at room temperature for up to 5 days.
- Ensure powdered sugar is fresh for best rolling results and visual appeal.


