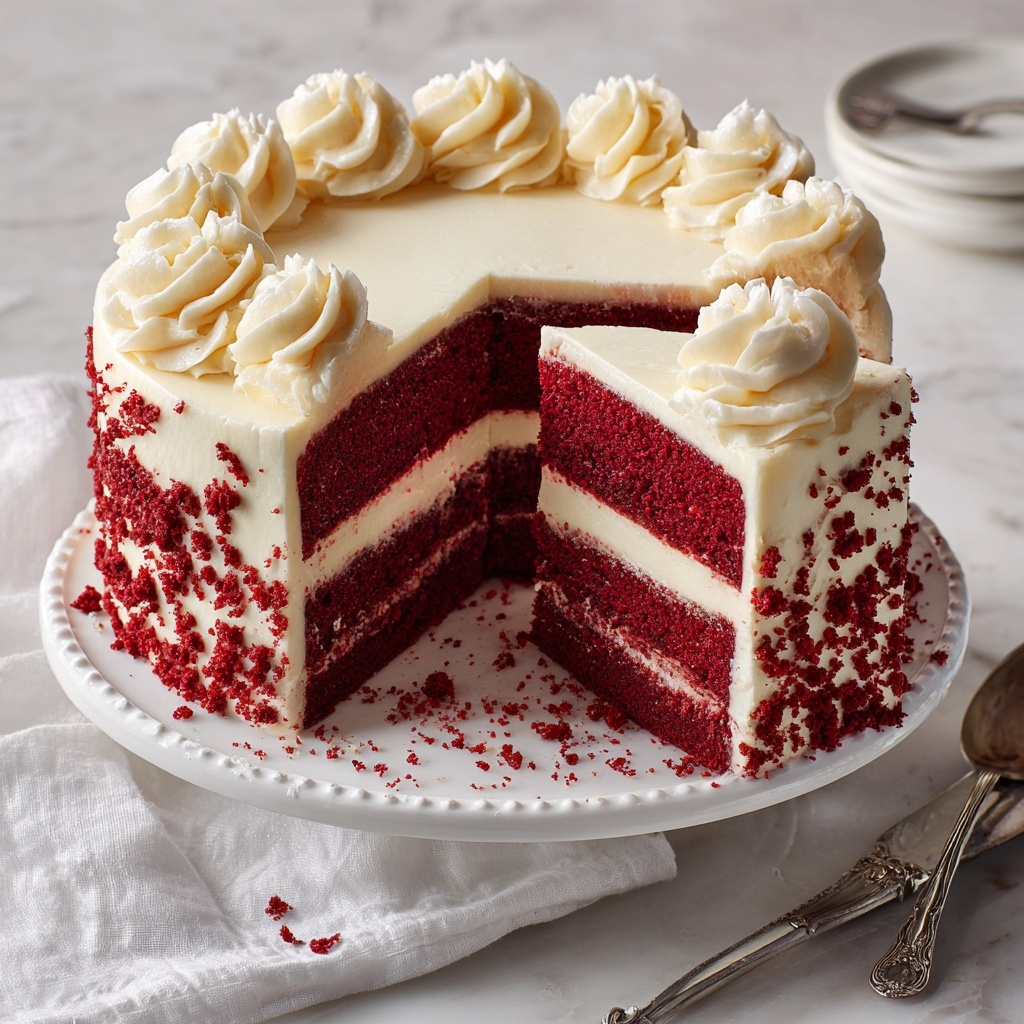
If you’ve ever craved a dessert that’s as stunning to look at as it is delicious to eat, the Red Velvet Layer Cake with Cream Cheese Frosting Recipe is your dream come true. This cake brings together the perfect moist, tender crumb with that iconic, rich red color and a subtle hint of cocoa, all wrapped in a luxuriously smooth cream cheese frosting. Whether it’s for a celebration or just because you deserve a decadent treat, this layered beauty is sure to become a beloved classic in your baking repertoire.
Ingredients You’ll Need
This recipe uses simple, essential ingredients that each play a pivotal role in delivering that classic red velvet flavor and texture you adore. From the tang of buttermilk to the creaminess of full-fat cream cheese, every element works in harmony to create a cake that’s utterly memorable.
- 2 1/2 cups cake flour: Provides a tender, soft crumb that’s just right for layering.
- 1 teaspoon baking soda: Helps the cake rise perfectly, keeping it light and fluffy.
- 1 tablespoon unsweetened cocoa powder: Adds a subtle chocolate note essential to authentic red velvet taste.
- 1/2 teaspoon salt: Balances sweetness and enhances flavor depth.
- 1/2 cup unsalted butter, softened: Gives richness and moisture to the cake layers.
- 1 1/2 cups granulated sugar: Sweetens and helps create a tender texture.
- 1/2 cup neutral oil: Keeps the cake moist and soft for days.
- 2 large eggs: Bind the ingredients together and add structure.
- 1 tablespoon vanilla extract: Elevates the overall flavor with a warm sweetness.
- 1 teaspoon white vinegar: Reacts with baking soda to create a light, airy texture and enhances tang.
- 1 tablespoon red food coloring: Delivers that signature vibrant red hue we all love.
- 1 cup buttermilk: Adds tang and tenderness, keeping the crumb soft and delicious.
- 16 ounces full-fat cream cheese, softened: The star of the frosting with its creamy tang.
- 3/4 cup unsalted butter, softened (for frosting): Gives the frosting a smooth, spreadable texture.
- 4 1/2 cups powdered sugar: Sweetens and thickens the frosting to perfection.
- 1 1/2 teaspoons vanilla extract (for frosting): Adds warmth and complexity to the frosting.
- Pinch of salt: Balances sweetness in the frosting for a well-rounded flavor.
How to Make Red Velvet Layer Cake with Cream Cheese Frosting Recipe
Step 1: Prepare Your Pans and Oven
Start by preheating your oven to 350°F (175°C). Grease two 9-inch round cake pans and line them with parchment paper to ensure the cakes release easily after baking and maintain their shape beautifully.
Step 2: Mix Dry Ingredients
In a medium bowl, whisk together the cake flour, baking soda, cocoa powder, and salt. This step ensures all dry ingredients are evenly combined, setting the foundation for a perfectly textured cake.
Step 3: Cream Butter and Sugar
In a large bowl, beat softened butter and granulated sugar until the mixture is light and fluffy. This is a crucial step for incorporating air and building the cake’s tender crumb.
Step 4: Add Wet Ingredients and Color
Mix in the neutral oil until smooth, then beat in the eggs one at a time. Follow with the vanilla extract, white vinegar, and vibrant red food coloring. These ingredients add flavor, lift, and that gorgeous red characteristic of red velvet.
Step 5: Combine Dry and Wet Mixtures
Add the dry ingredients to the wet mixture in three parts, alternating with the buttermilk. Gently mix each addition until just combined to avoid overworking the batter, which keeps your cake light and tender.
Step 6: Bake the Cakes
Divide the batter evenly between the prepared pans and smooth the tops with a spatula. Bake for 28 to 32 minutes, or until a toothpick inserted in the centers comes out clean. This timing is key for moist cakes with a perfect crumb.
Step 7: Cool the Cakes
Allow the cakes to cool for a few minutes in the pans, then gently transfer them to wire racks to cool completely. Cooling the cakes fully before frosting prevents the frosting from melting and sliding off.
Step 8: Make the Cream Cheese Frosting
Beat together the softened cream cheese and butter until smooth and creamy. Gradually add powdered sugar, vanilla extract, and a pinch of salt, beating until the frosting becomes light and fluffy—ready to generously coat your cake layers.
Step 9: Assemble the Cake
If needed, level the cake layers by trimming any domes for a flat surface. Place one layer on your serving plate, spread a generous amount of frosting on top, then add the second layer.
Step 10: Frost the Whole Cake
Use the remaining frosting to cover the top and sides of the cake evenly. For a smooth finish, use an offset spatula and chill the cake for about 30 minutes before slicing to set the frosting perfectly.
How to Serve Red Velvet Layer Cake with Cream Cheese Frosting Recipe
Garnishes
To add a charming finishing touch, sprinkle the cake with fresh raspberries, edible rose petals, or a dusting of cocoa powder. These garnishes not only make your cake stunning but also add subtle complementary flavors and textures.
Side Dishes
This cake pairs beautifully with a variety of accompaniments like vanilla bean ice cream, freshly whipped cream, or a cup of rich espresso. These sides enhance the indulgent experience by balancing the tang and sweetness of the cake.
Creative Ways to Present
Consider serving individual slices on elegant dessert plates with a drizzle of raspberry coulis or chocolate sauce. Another fun idea is to make mini layered cupcakes using the same batter and frosting for personal-sized treats perfect for parties.
Make Ahead and Storage
Storing Leftovers
Store any leftover Red Velvet Layer Cake with Cream Cheese Frosting Recipe in an airtight container in the refrigerator. It will stay fresh and moist for up to 4 days, making it perfect for enjoying a slice or two over several days.
Freezing
If you want to keep your cake longer, wrap it tightly with plastic wrap and then foil before freezing. The cake can be frozen for up to 2 months and thawed overnight in the refrigerator for a fresh-from-the-oven taste.
Reheating
To enjoy it slightly warm, bring a slice to room temperature or gently warm it in the microwave for 15 to 20 seconds. This softens the frosting and enhances the flavors without melting the cream cheese too much.
FAQs
Can I make this cake without red food coloring?
You can omit the red food coloring, but the cake will lose its signature vibrant hue. To keep the visual appeal, you might substitute with natural coloring options like beet juice, though the color may be less intense.
Is buttermilk essential for this recipe?
Yes, buttermilk adds tang and moisture that define the classic red velvet flavor and texture. If you don’t have buttermilk, you can make a substitute by adding 1 tablespoon of vinegar or lemon juice to 1 cup of milk and letting it sit for 5 minutes.
How do I prevent the cream cheese frosting from being too runny?
Make sure your cream cheese and butter are softened but not melted. Also, gradually add powdered sugar while beating until the frosting is thick and fluffy. Chilling the frosting before use can also help it set perfectly.
Can I bake the cake layers ahead of time?
Absolutely! You can bake the cake layers up to 2 days in advance. Wrap them tightly in plastic wrap and keep refrigerated. Assemble and frost the cake just before serving for best results.
What’s the best way to level cake layers?
Use a serrated knife or a cake leveler to gently trim off domed tops from each cake layer. Level layers stack more evenly, giving your Red Velvet Layer Cake with Cream Cheese Frosting Recipe a professional, clean appearance.
Final Thoughts
Baking this Red Velvet Layer Cake with Cream Cheese Frosting Recipe is like wrapping yourself in a warm, delicious hug. It’s perfect for making memories with family or impressing friends at any occasion. Trust me, once you experience the moist, flavorful layers combined with that luscious cream cheese frosting, you’ll want to make it time and time again. So go ahead and give this recipe a try—you won’t regret it!
Print
Red Velvet Layer Cake with Cream Cheese Frosting Recipe
- Prep Time: 25 minutes
- Cook Time: 30 minutes
- Total Time: 1 hour 30 minutes
- Yield: 12 servings
- Category: Dessert
- Method: Baking
- Cuisine: American
Description
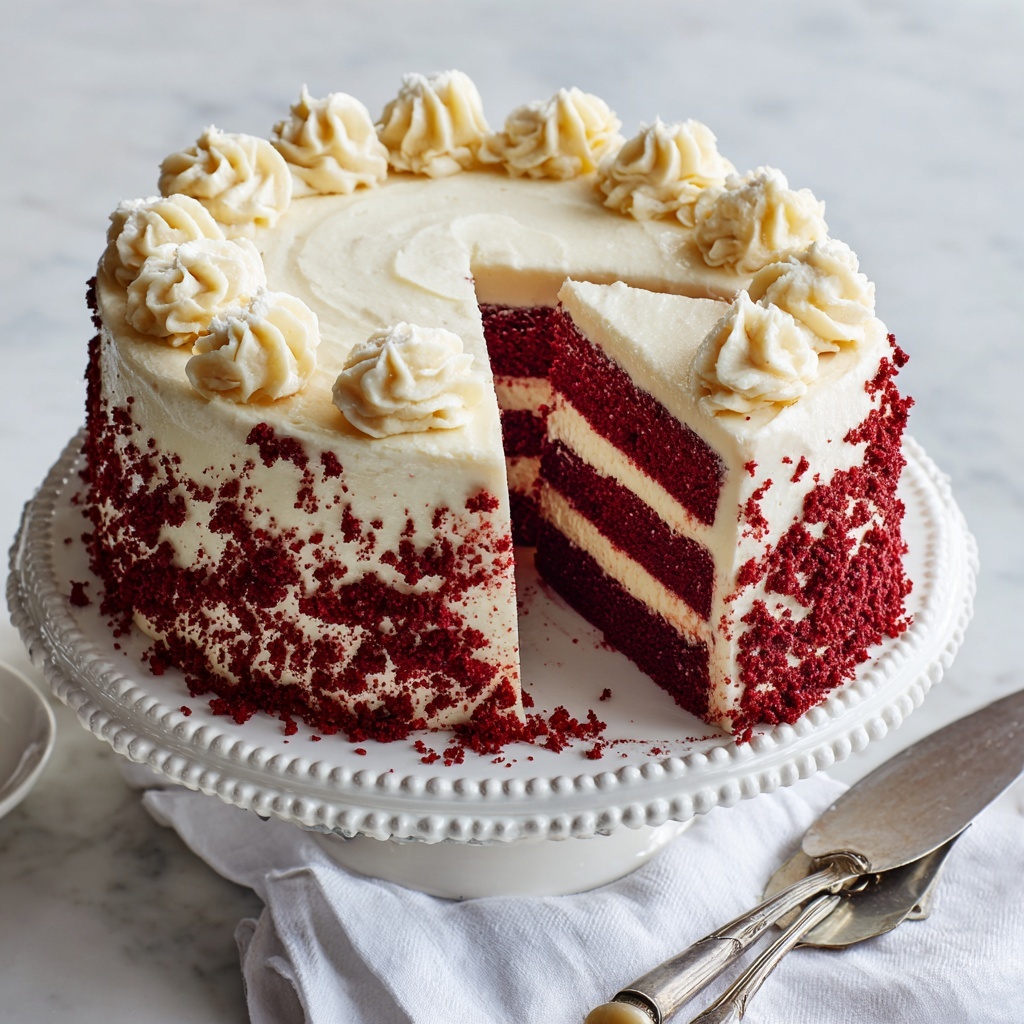
This Red Velvet Layer Cake with Cream Cheese Frosting is a classic dessert featuring tender and moist red velvet cake layers with a slight cocoa flavor, perfectly complemented by a rich and creamy full-fat cream cheese frosting. The cake is vibrant, fluffy, and ideal for celebrations or any special occasion.
Ingredients
Cake Ingredients
- 2 1/2 cups cake flour
- 1 teaspoon baking soda
- 1 tablespoon unsweetened cocoa powder
- 1/2 teaspoon salt
- 1/2 cup unsalted butter, softened
- 1 1/2 cups granulated sugar
- 1/2 cup neutral oil (such as vegetable or canola oil)
- 2 large eggs
- 1 tablespoon vanilla extract
- 1 teaspoon white vinegar
- 1 tablespoon red food coloring
- 1 cup buttermilk
Frosting Ingredients
- 16 ounces full-fat cream cheese, softened
- 3/4 cup unsalted butter, softened
- 4 1/2 cups powdered sugar
- 1 1/2 teaspoons vanilla extract
- Pinch of salt
Instructions
- Prepare Oven and Pans: Preheat your oven to 350°F (175°C). Grease two 9-inch round cake pans thoroughly and line the bottoms with parchment paper to prevent sticking.
- Mix Dry Ingredients: In a medium bowl, whisk together the cake flour, baking soda, unsweetened cocoa powder, and salt until well combined.
- Cream Butter and Sugar: In a large mixing bowl, beat the softened butter and granulated sugar with a mixer until the mixture is light and fluffy, which helps create a tender cake crumb. Add the neutral oil and mix until fully incorporated and smooth.
- Add Wet Ingredients: Beat in the eggs one at a time to ensure even mixing. Then add vanilla extract, white vinegar, and red food coloring, mixing thoroughly to achieve a consistent red hue.
- Combine Dry and Wet Ingredients: Alternate adding the dry ingredients and buttermilk to the wet mixture in three additions. Begin and end with the dry ingredients. Mix gently and just until combined to avoid overworking the batter, which could make the cake dense.
- Bake the Cake: Divide the batter evenly between the prepared pans, smoothing the tops with a spatula. Bake in the preheated oven for 28 to 32 minutes, or until a toothpick inserted in the center comes out clean.
- Cool the Layers: Let the cakes cool in their pans for about 10 minutes, then carefully transfer them to wire racks to cool completely. This ensures the frosting won’t melt when applied.
- Prepare Frosting: Beat together the softened cream cheese and butter until smooth and creamy. Gradually add powdered sugar, vanilla extract, and a pinch of salt, then beat until the frosting is fluffy and spreadable.
- Assemble Cake: If necessary, level the cake layers with a serrated knife for even stacking. Place one layer on your serving plate and spread a generous amount of frosting on top. Place the second layer over the first.
- Frost the Cake: Use the remaining frosting to cover the top and sides of the cake evenly. For best results, chill the cake in the refrigerator for 30 minutes before slicing to allow the frosting to set.
Notes
- Make sure all your ingredients are at room temperature before mixing to ensure a smooth batter and frosting.
- Use full-fat cream cheese and butter for the richest frosting flavor and texture.
- Do not overmix the batter beyond combining ingredients to keep the cake tender.
- Red food coloring quantity can be adjusted for desired intensity; gel food coloring can provide more vibrant color without thinning the batter.
- You can use cake flour substitute (all-purpose flour plus cornstarch) if cake flour is unavailable.
- Allow the cake to cool completely before frosting to prevent melting.
- Store leftovers covered in the refrigerator for up to 3 days.

