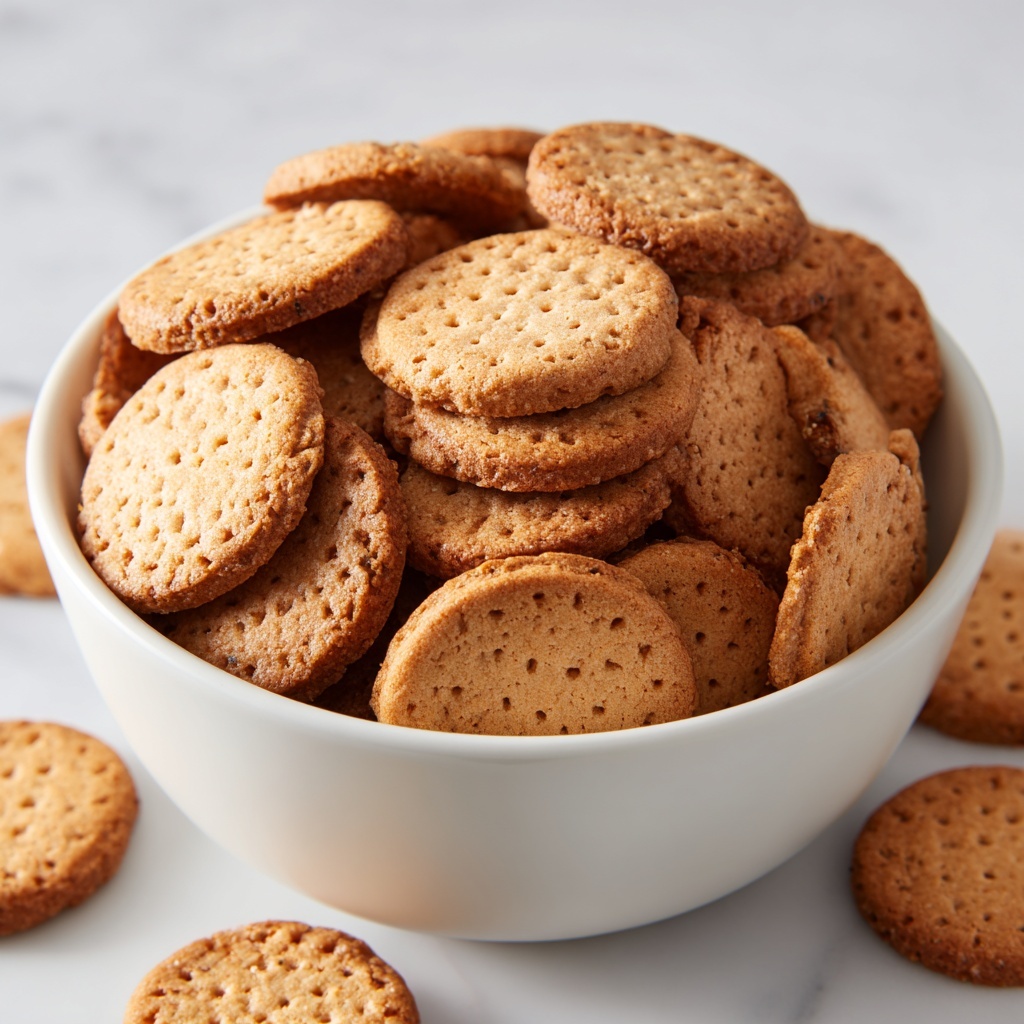
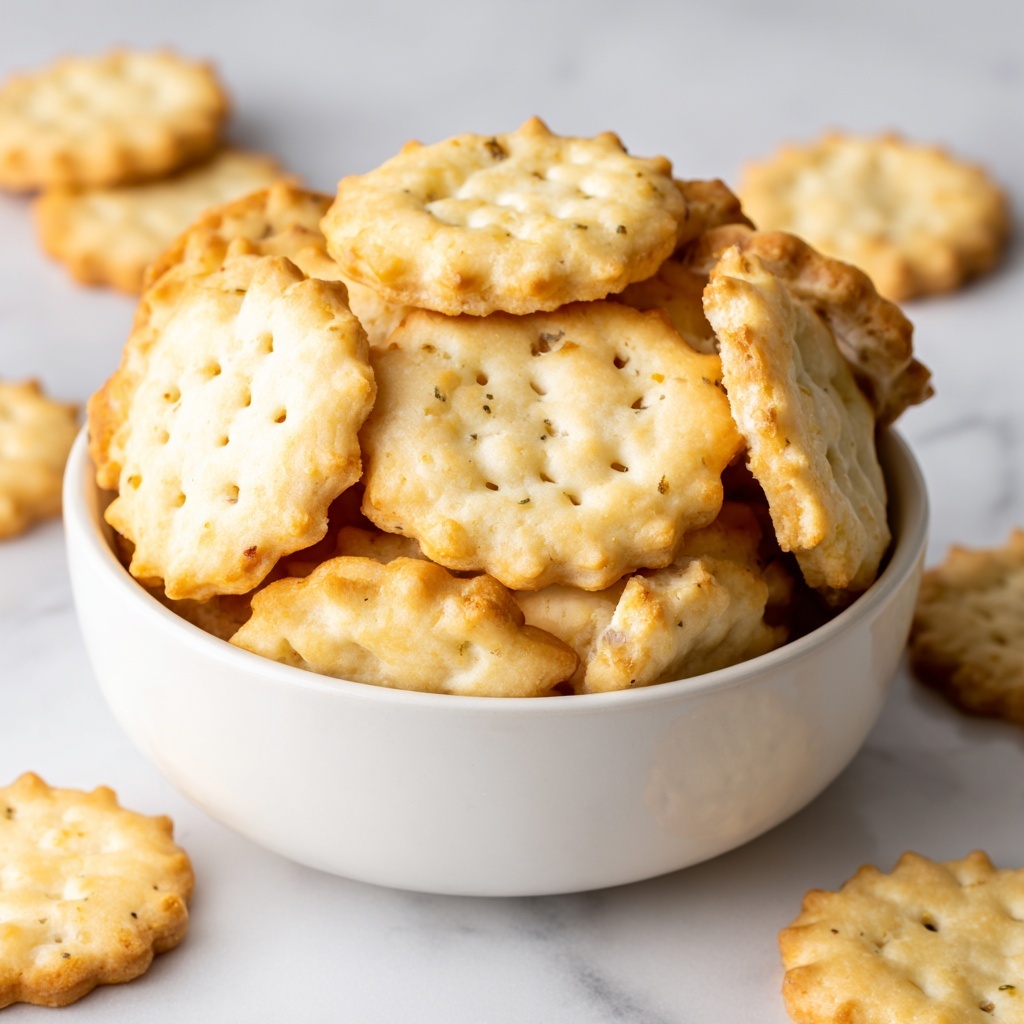
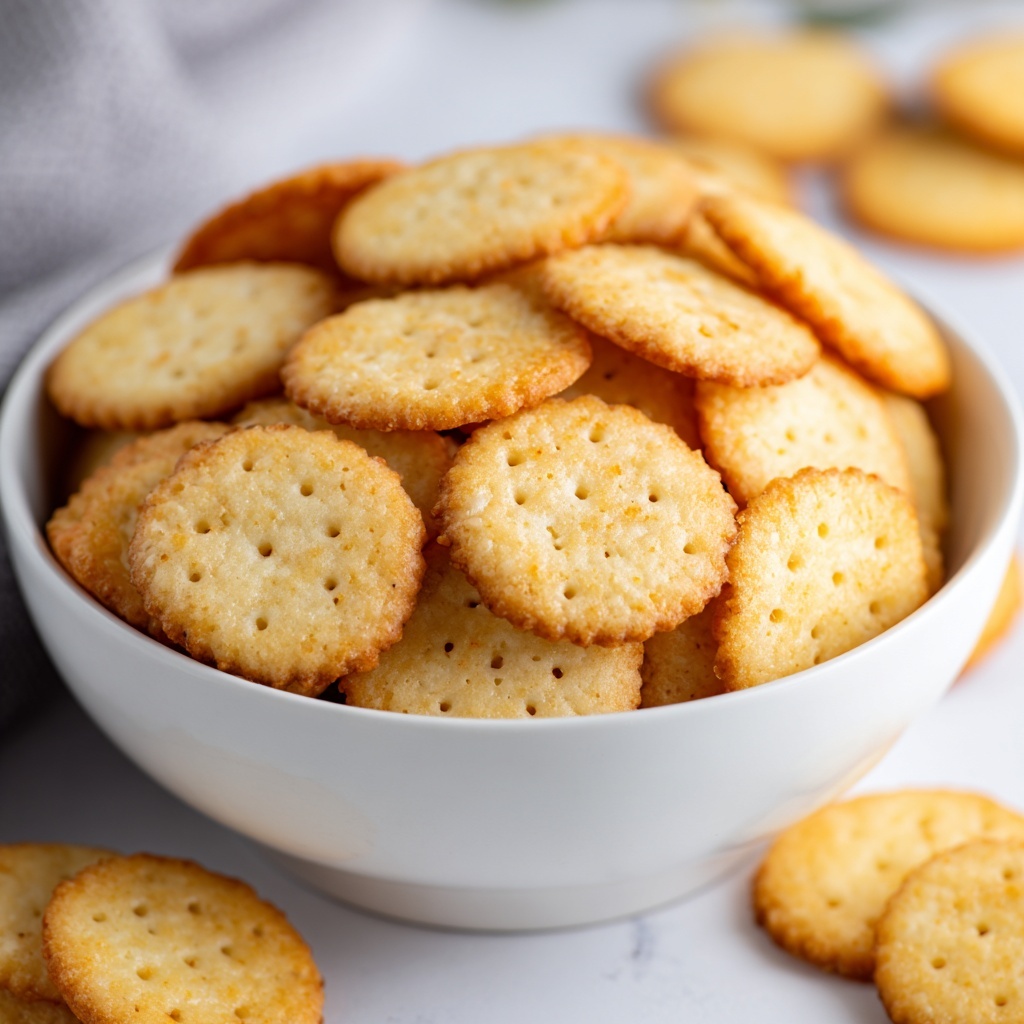
If you have ever dreamed about the perfect sweet treat that pairs the nostalgic crunch of a classic cookie with a compassionate, plant-based twist, then this Vegan Vanilla Wafers Recipe is about to become your new go-to. These wafers capture the delicate balance of vanilla’s comforting warmth and the light, buttery crispiness that melts gently on your tongue—without any animal products. Whether you’re indulging in a simple snack, layering them in a plant-based banana pudding, or sharing with loved ones, these vegan vanilla wafers bring joyful flavor and a nostalgic smile in every bite.
Ingredients You’ll Need
This recipe calls for simple, pantry-friendly ingredients that come together effortlessly but are each essential for creating those melt-in-your-mouth, golden wafers. Each component plays a starring role in delivering the perfect taste, texture, and classic vanilla aroma.
- Vegan butter (100 g, room temperature): Provides richness and a tender crumb, mimicking traditional butter perfectly.
- Granulated sugar (120 g): Sweetens the wafers and helps create that lovely crisp exterior.
- Aquafaba (40 ml): This magical chickpea water acts as an egg replacer, lending structure and a light texture.
- Vanilla extract (2 tablespoons): The star flavor that infuses warmth and sweetness in every bite.
- Plain flour (170 g): The base ingredient that holds everything together for that classic wafer bite.
- Baking powder (1 teaspoon): Gives a gentle lift to the wafers, keeping them light and airy.
- Sea salt (½ teaspoon): Just enough salt to balance and amplify all the sweet and vanilla notes.
- Soy milk (1 tablespoon): Adds moisture and helps bring the dough together perfectly; almond or oat milk work wonderfully too.
How to Make Vegan Vanilla Wafers Recipe
Step 1: Prepare Your Oven and Trays
First things first, preheat your oven to 175°C (347°F). Line two large baking trays with parchment paper. This ensures your wafers bake evenly without sticking. If your trays aren’t quite large enough, no worries — just bake the wafers in batches so they have plenty of space to spread without merging.
Step 2: Cream the Vegan Butter and Sugar
In a large mixing bowl or your stand mixer, add the vegan butter and granulated sugar. Whisk these together for about 3 to 4 minutes until the mixture becomes pale, fluffy, and light as a cloud. This step is crucial for adding air into your batter, helping the wafers bake up beautifully crisp yet tender.
Step 3: Incorporate Aquafaba and Vanilla
Slowly pour in the aquafaba while continuing to whisk gently. This ingredient performs the magic of replacing eggs by binding your dough and introducing lift. After the aquafaba is fully incorporated, whisk in the vanilla extract. The scent alone will start to get you excited about what’s coming next!
Step 4: Mix Dry Ingredients and Combine
In a separate bowl, blend together the plain flour, baking powder, and sea salt. Sift this mixture over the butter and sugar bowl. Add the spoonful of soy milk to help bring it all together. Using a spatula, gently fold until you see no dry flour patches—be careful not to overmix to keep your wafers delightfully tender.
Step 5: Pipe the Cookie Dough
Transfer the dough into a piping bag fitted with a medium-sized tip, or snip the end of a reusable bag for a simple approach. Pipe dough evenly onto the lined trays in small mounds—aim for about 1 teaspoon in volume for perfectly petite wafers or up to 1.5 teaspoons for slightly larger bites. Make sure you leave 1.5 to 2 inches space between them so they bake uniformly. If you have extra dough, pop it in the fridge until the trays are ready.
Step 6: Bake to Golden Perfection
Slide your trays into the preheated oven and bake until your wafers turn a lovely golden brown all over. Once done, let them rest on the baking sheet for 5 minutes to firm up. Then, carefully slide the parchment with the cookies onto a cooling rack and give them another 15-20 minutes to reach room temperature. Trust me, the wait is worth it!
How to Serve Vegan Vanilla Wafers Recipe
Garnishes
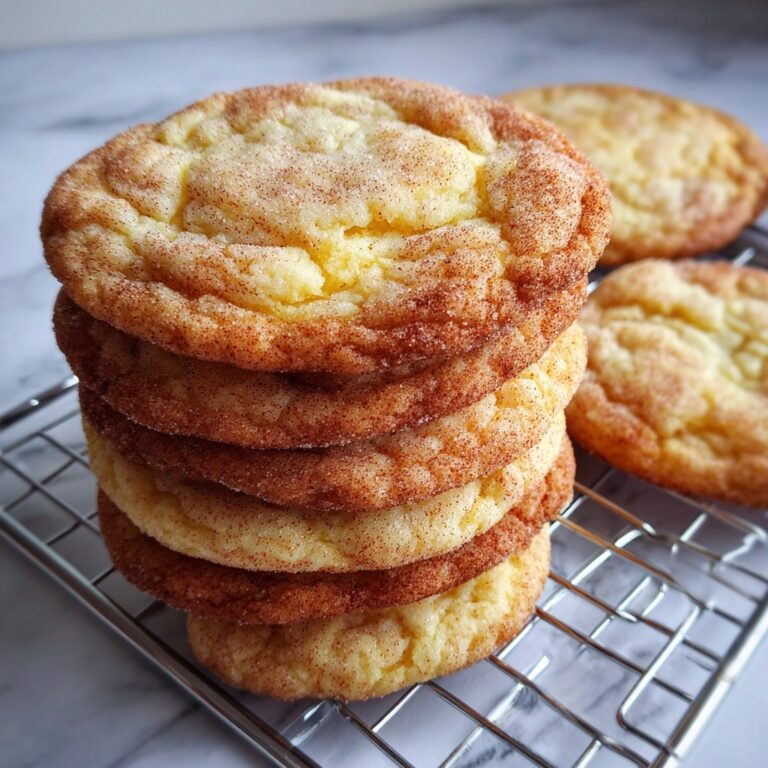
These wafers shine naturally but make for even more delightful bites when paired with a sprinkle of powdered sugar, a dusting of cinnamon, or a thin drizzle of vegan chocolate or caramel sauce. A tiny twist of lemon zest can add a refreshing lift too, creating a complex but cozy finish.
Side Dishes
Vegan vanilla wafers are incredibly versatile—you can enjoy them simply with a warm cup of tea or coffee for a comforting afternoon snack. They also make an amazing accompaniment to vegan whipped cream and fresh berries or serve as a crunchy layer in dairy-free banana pudding for an irresistible dessert upgrade.
Creative Ways to Present
Want to impress your guests? Use these wafers as a base for mini vegan cheesecakes or sandwich them with dairy-free frosting or jam to create little cookie “sandwiches.” Their delicate vanilla notes and light crunch add texture and flavor that perfectly contrast creamy, rich fillings.
Make Ahead and Storage
Storing Leftovers
Once cooled, store your vegan vanilla wafers in an airtight container at room temperature for up to one week. This keeps them crisp and fresh-tasting, ready to brighten your snack time whenever cravings strike.
Freezing
If you want to keep them longer, these wafers freeze beautifully. Layer them between sheets of parchment paper in an airtight container or freezer-safe bag and they’ll stay delicious for up to 3 months. When you’re ready to enjoy, just thaw at room temperature.
Reheating
To bring back that just-baked aroma and crunch, gently warm wafers in a preheated oven at 160°C (320°F) for 5 minutes. This little step refreshes their crispness without drying them out.
FAQs
Can I substitute aquafaba with something else?
While aquafaba is fantastic for replicating egg’s binding and leavening qualities, if you don’t have it on hand, you can try flaxseed meal mixed with water (1 tablespoon flaxseed + 3 tablespoons water) as an egg replacement, though it may slightly alter texture.
Do I have to use soy milk or can I use other plant milks?
Absolutely! Soy milk is recommended for its neutral flavor and creaminess, but almond, oat, or even rice milk work well too. Just choose unsweetened and unflavored varieties to avoid affecting the wafers’ taste.
How do I make these wafers gluten-free?
Use a gluten-free all-purpose flour blend in place of plain flour. Make sure it contains xanthan gum or a binder for the best structure. Keep baking time similar but watch carefully for browning.
What makes these wafers vegan compared to traditional recipes?
The big difference is using vegan butter instead of dairy and aquafaba instead of eggs. This keeps the texture and flavor close to classic vanilla wafers without any animal products.
Can I add mix-ins like chocolate chips or nuts?
Yes! Feel free to fold in vegan chocolate chips, finely chopped nuts, or even dried fruit for a fun twist. Just add them after the dry ingredients are combined to keep the dough smooth enough to pipe easily.
Final Thoughts
Making this Vegan Vanilla Wafers Recipe is like giving yourself and your loved ones a warm hug in the form of a cookie. They’re incredibly simple yet yield such a charming and satisfying result that you’ll want to bake them again and again. Whether you’re vegan or simply in love with a good homemade treat, these vanilla wafers promise to be a delightful staple in your kitchen. So go ahead, preheat that oven, and treat yourself to these crisp, flavorful gems!
Print
Vegan Vanilla Wafers Recipe
- Prep Time: 7 minutes
- Cook Time: 15 minutes
- Total Time: 22 minutes
- Yield: 100 small wafers
- Category: Dessert
- Method: Baking
- Cuisine: Vegan
- Diet: Vegan
Description
These Vegan Vanilla Wafers are light, crisp, and perfectly sweet treats crafted without any dairy or eggs. Made with vegan butter, aquafaba, and a hint of vanilla, these cookies are ideal for a vegan lifestyle or anyone seeking delicious, plant-based baked goods. Baked until golden brown, they are delightful on their own or paired with tea or coffee.
Ingredients
Wet Ingredients
- 100 g vegan butter (room temperature)
- 120 g granulated sugar
- 40 ml aquafaba
- 2 tablespoons vanilla extract
- 1 tablespoon soy milk (or almond milk, or oat milk)
Dry Ingredients
- 170 g plain flour
- 1 teaspoon baking powder
- ½ teaspoon sea salt
Instructions
- Preheat oven: Preheat your oven to 175°C (347°F) and line the base of 2 large baking trays with parchment paper. If your trays are smaller, plan to bake in batches.
- Whisk butter and sugar: In a large mixing bowl or the bowl of a stand mixer, add the vegan butter and sugar. Whisk for 3-4 minutes until the mixture is light and fluffy, allowing for proper aeration which results in tender cookies.
- Add aquafaba and vanilla: Slowly pour the aquafaba while whisking continuously to combine fully. Then whisk in the vanilla extract to incorporate the flavor evenly.
- Mix dry ingredients: In a medium bowl, stir together the plain flour, baking powder, and sea salt. Sift this mixture into the wet ingredients bowl for even distribution and to avoid lumps. Add the soy milk, then stir gently with a spatula until just combined to avoid overmixing the dough.
- Pipe cookie dough: Transfer the cookie dough into a piping bag and snip off the tip or use a reusable piping bag with a medium-sized nozzle. Pipe out even mounds onto the prepared baking trays, about 1 teaspoon per small wafer or 1.5 teaspoons for larger ones. Leave 1.5-2 inches of space between mounds to allow for spreading. Refrigerate any leftover dough until ready to bake.
- Bake: Bake in the preheated oven for approximately 12-15 minutes or until the cookies are evenly golden brown. Baking time may vary slightly depending on oven and size of cookies.
- Cool cookies: Remove the trays from the oven and let the cookies sit on the baking trays for about 5 minutes to firm up. Carefully transfer the parchment paper with cookies onto a cooling rack and allow them to cool completely for 15-20 minutes to reach room temperature before serving.
- Storage: Store the vegan vanilla wafers in an airtight container at room temperature for up to a week. For longer storage, freeze the baked cookies for up to 3 months, thawing at room temperature before enjoying.
Notes
- Use room temperature vegan butter for the best creaming results.
- Aquafaba (chickpea water) acts as an egg replacer, creating lightness and binding the dough.
- Alternative plant milks such as almond or oat milk can be used instead of soy milk.
- Make sure not to overmix the dough to avoid dense cookies.
- Piping the dough ensures uniform cookie sizes and even baking.
- Cookies can be baked in batches if trays are small.
- Store leftovers in airtight containers to maintain crispness.


